Purpose
This page will explain some of the item types you can view and use in your ArcGIS Online account
Requirements
- You will need to have a username and password set up for you by a Cadasta team member. If you do not have a user please contact support@cadasta.org
- You will need to sign to your account - see Introduction to your account for a reminder.
Steps
Navigate to Content

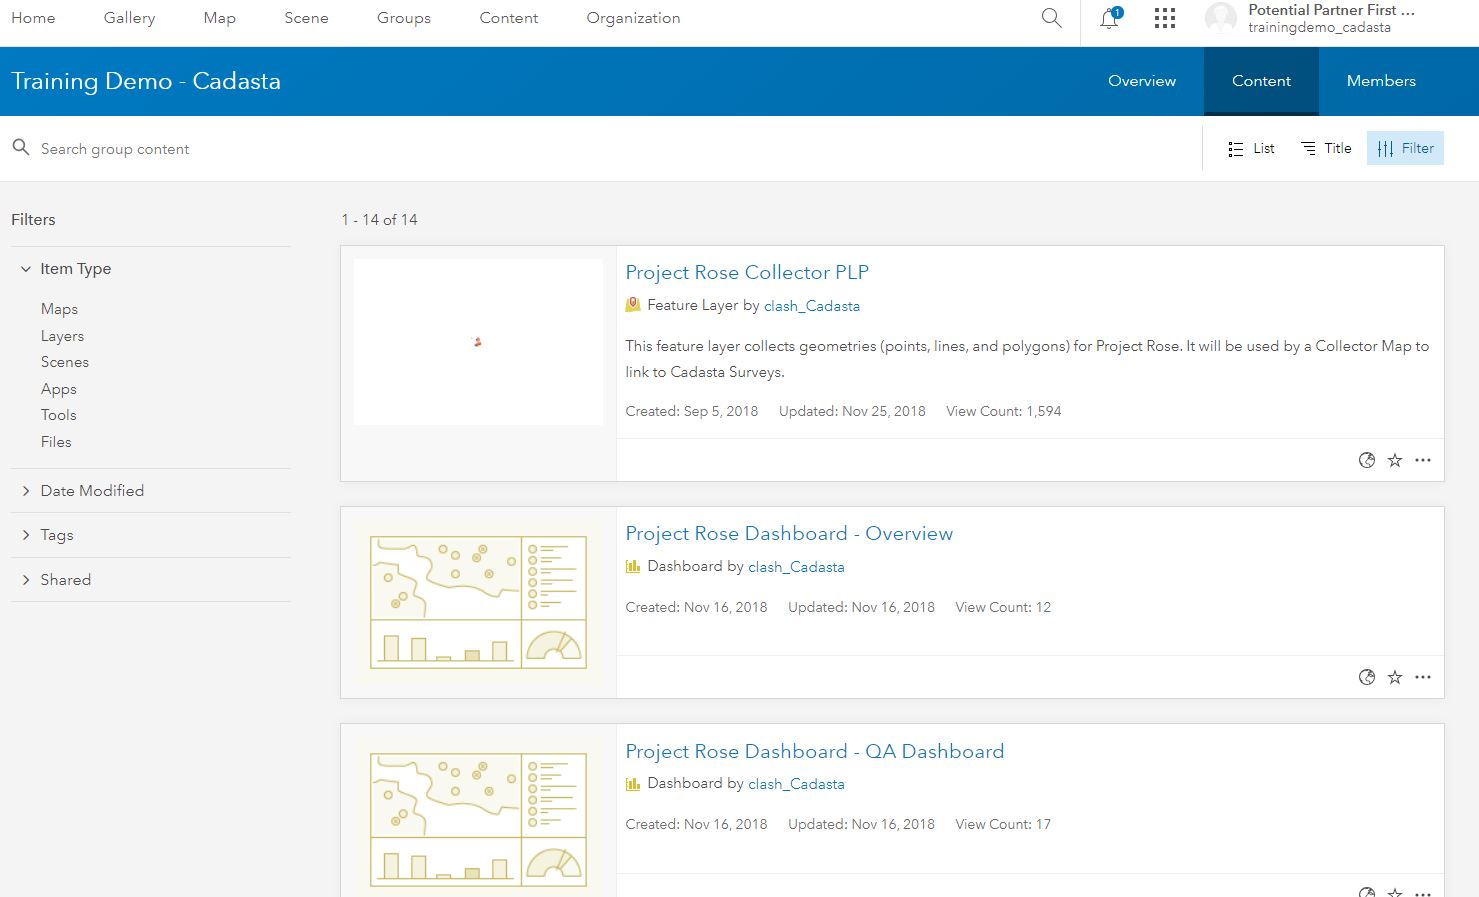
See Item Types in the Sidebar
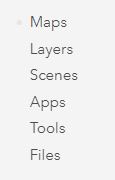
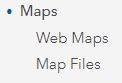
Select item type Maps
Note: There are two sub-item types (1) Web Maps and (2) Map Files
Select item sub-type Web Maps
Note: There are no Map Files sub-type in the demo group and are not covered in this
documentation.

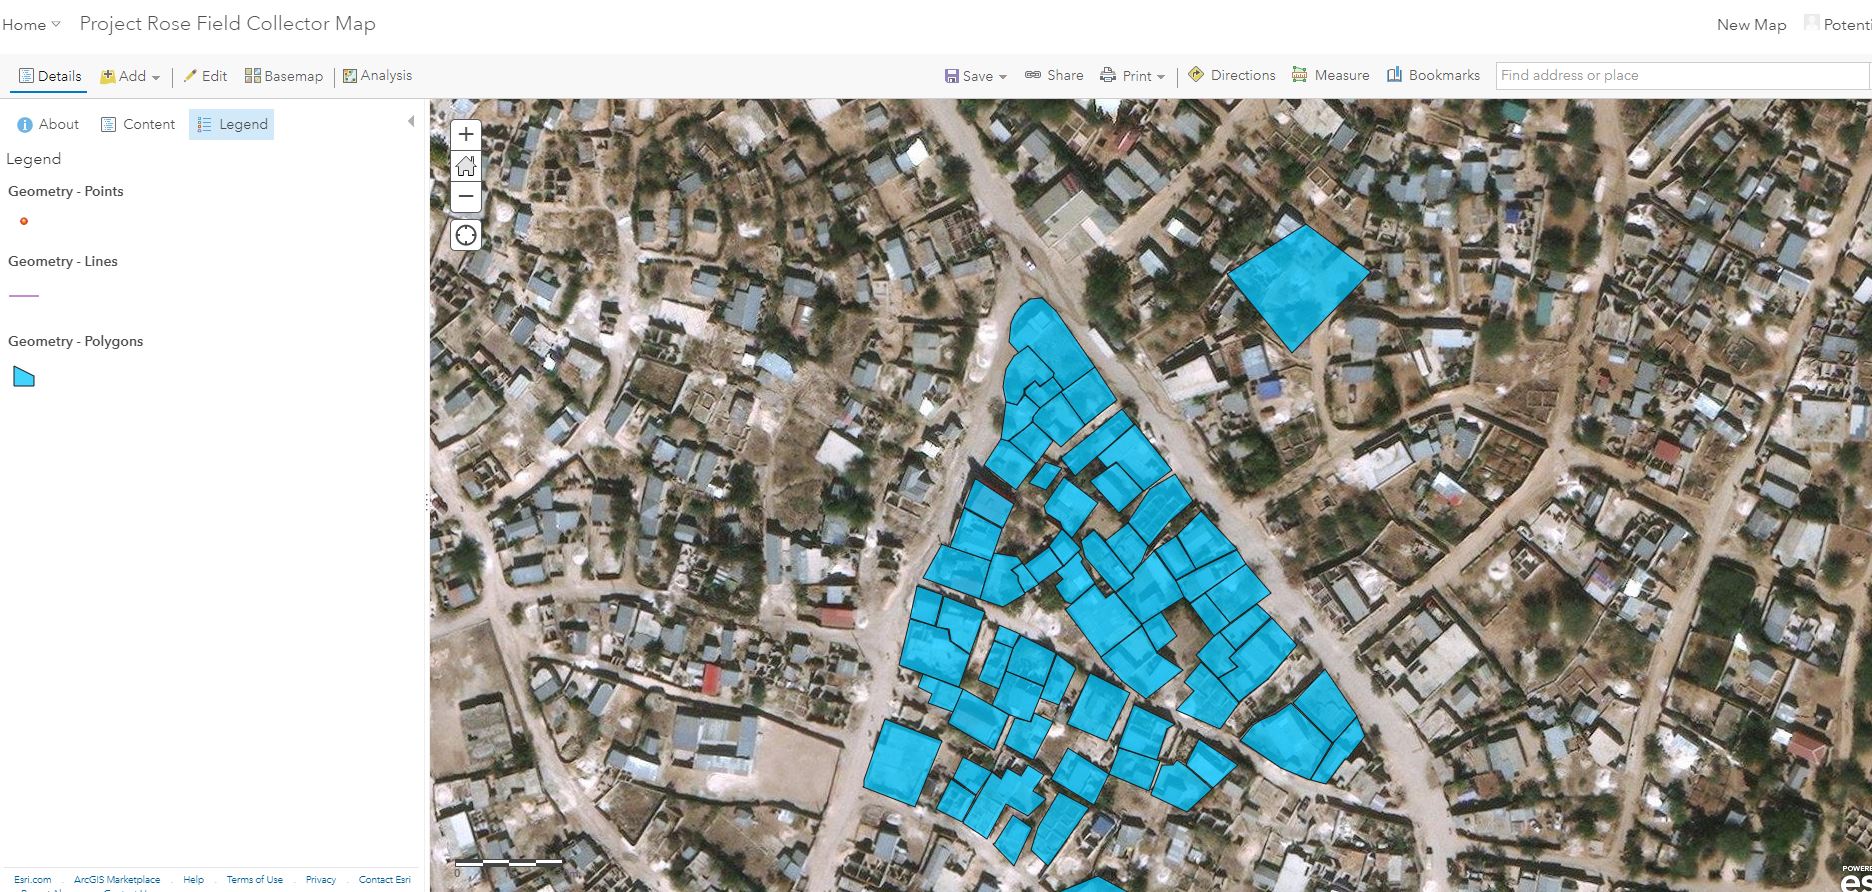
Select Web Map Project Rose Field Collector Map

Click Open in Map Viewer
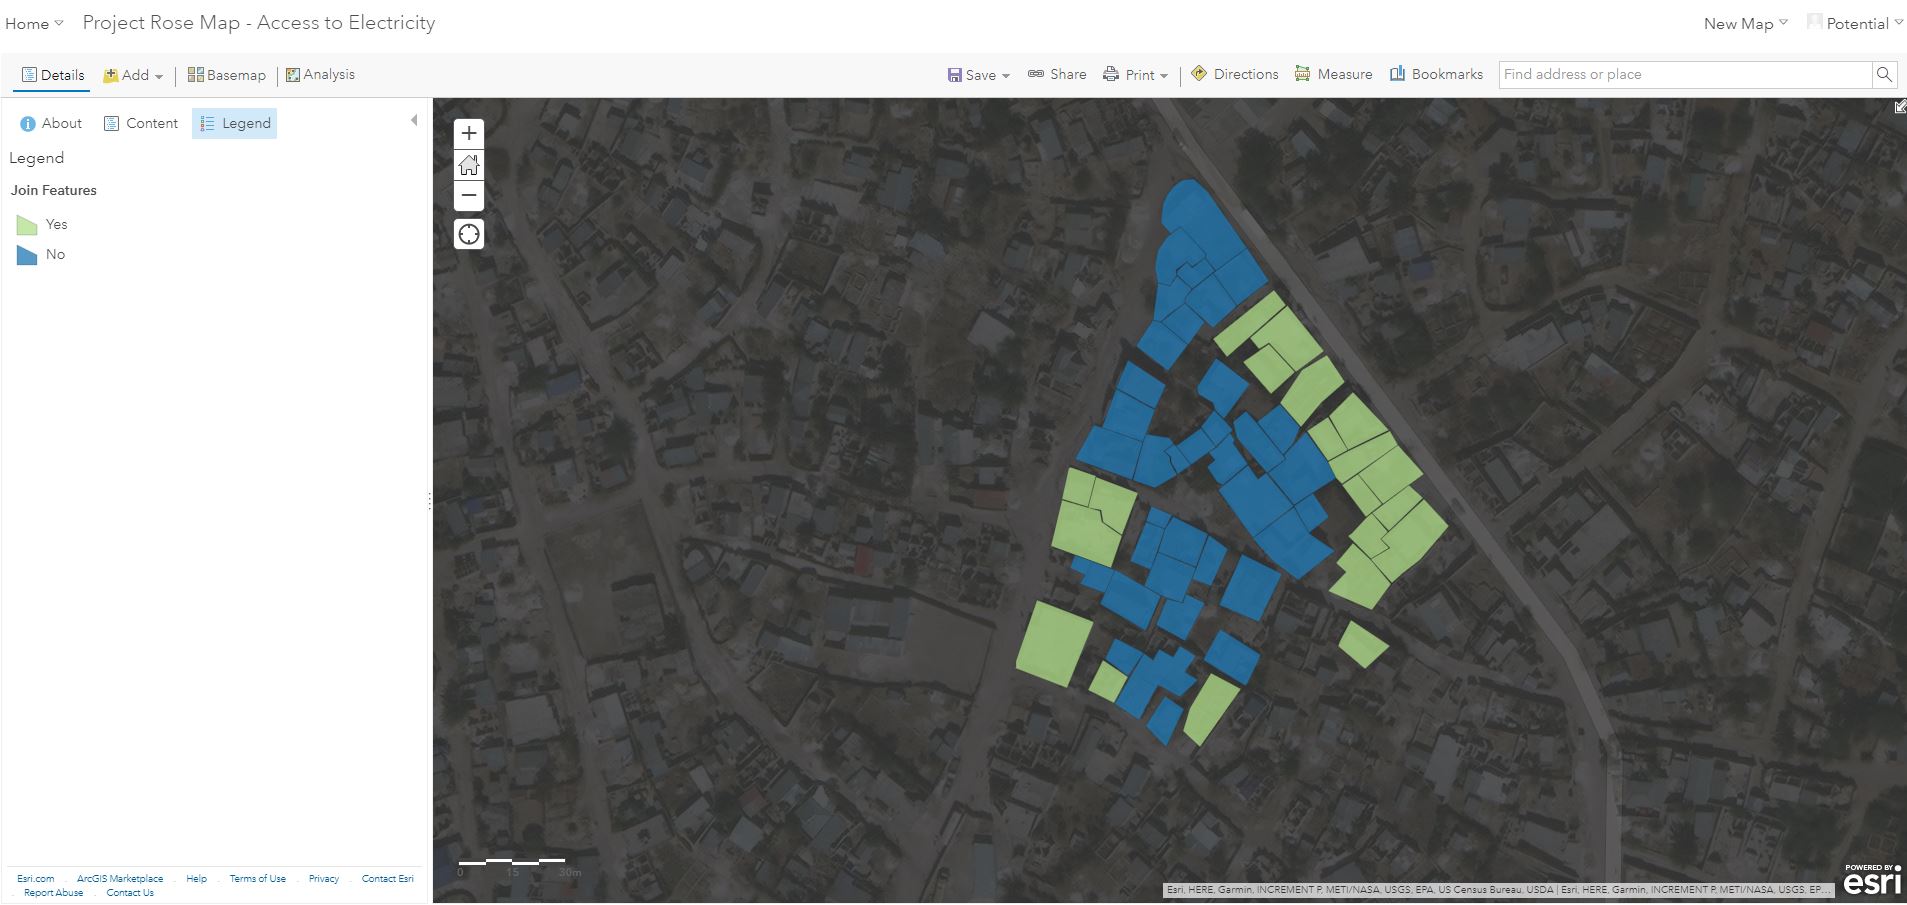
Navigate back to User Group Content and Select Web Map Project Rose Map - Access
to Electricity
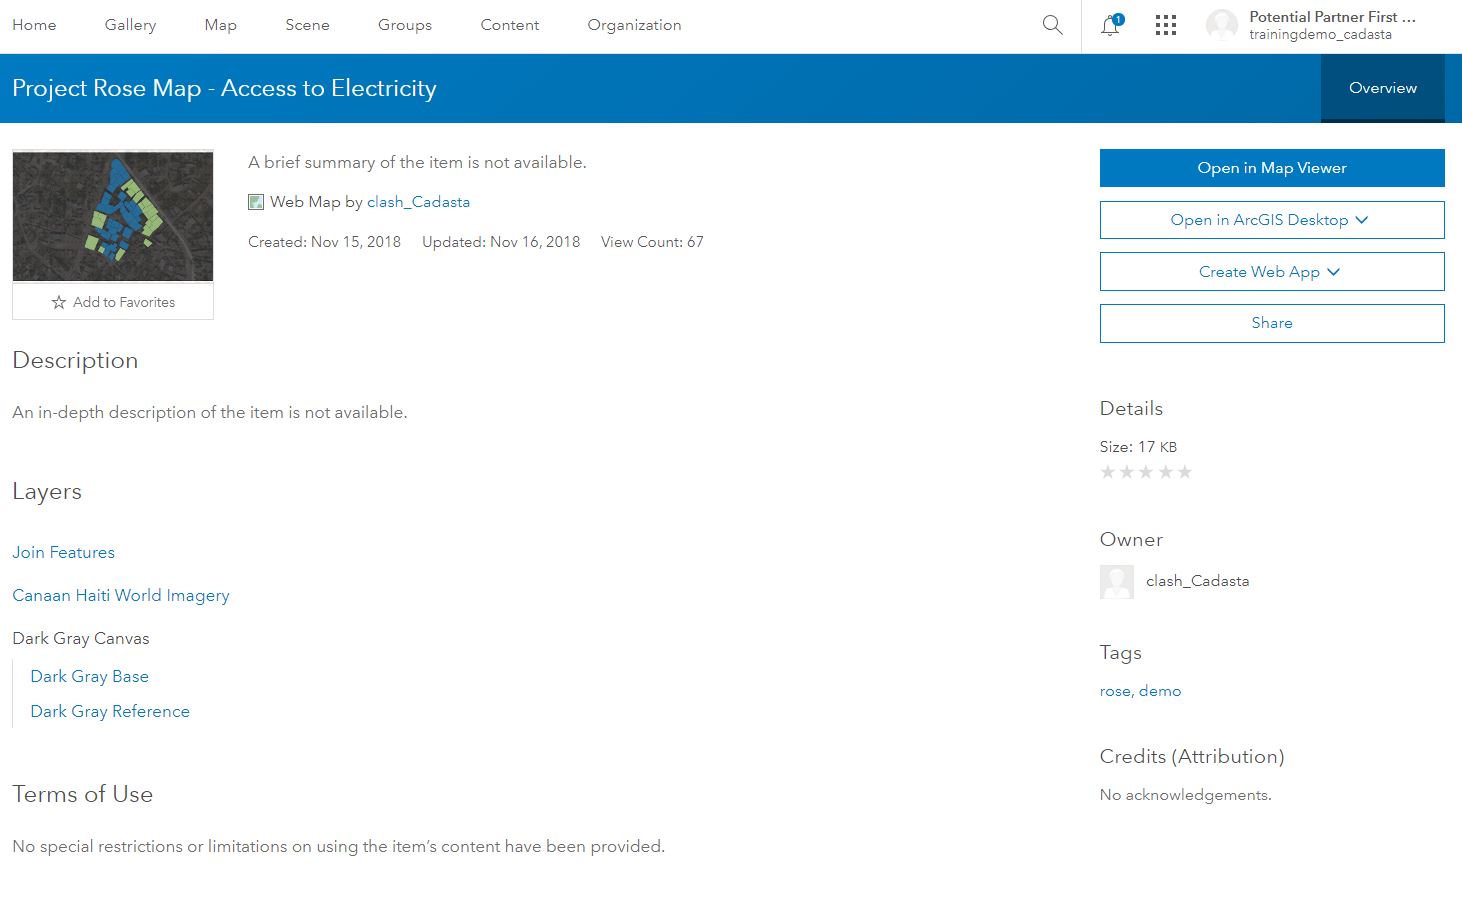
Click Open in Map Viewer
Navigate to Content
See Item Types in the Sidebar
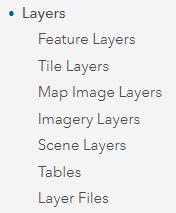
Select item type Layers
Note: There are seven sub-item types (1) Feature Layers, (2) Tile Layers, (3) Map
Imager Layers, (4) Imagery Layers, (5) Scene Layers, (6) Tables, and (7) Layer Files
Select item sub-type Feature Layers
Note: This documentation only covers Feature Layers.
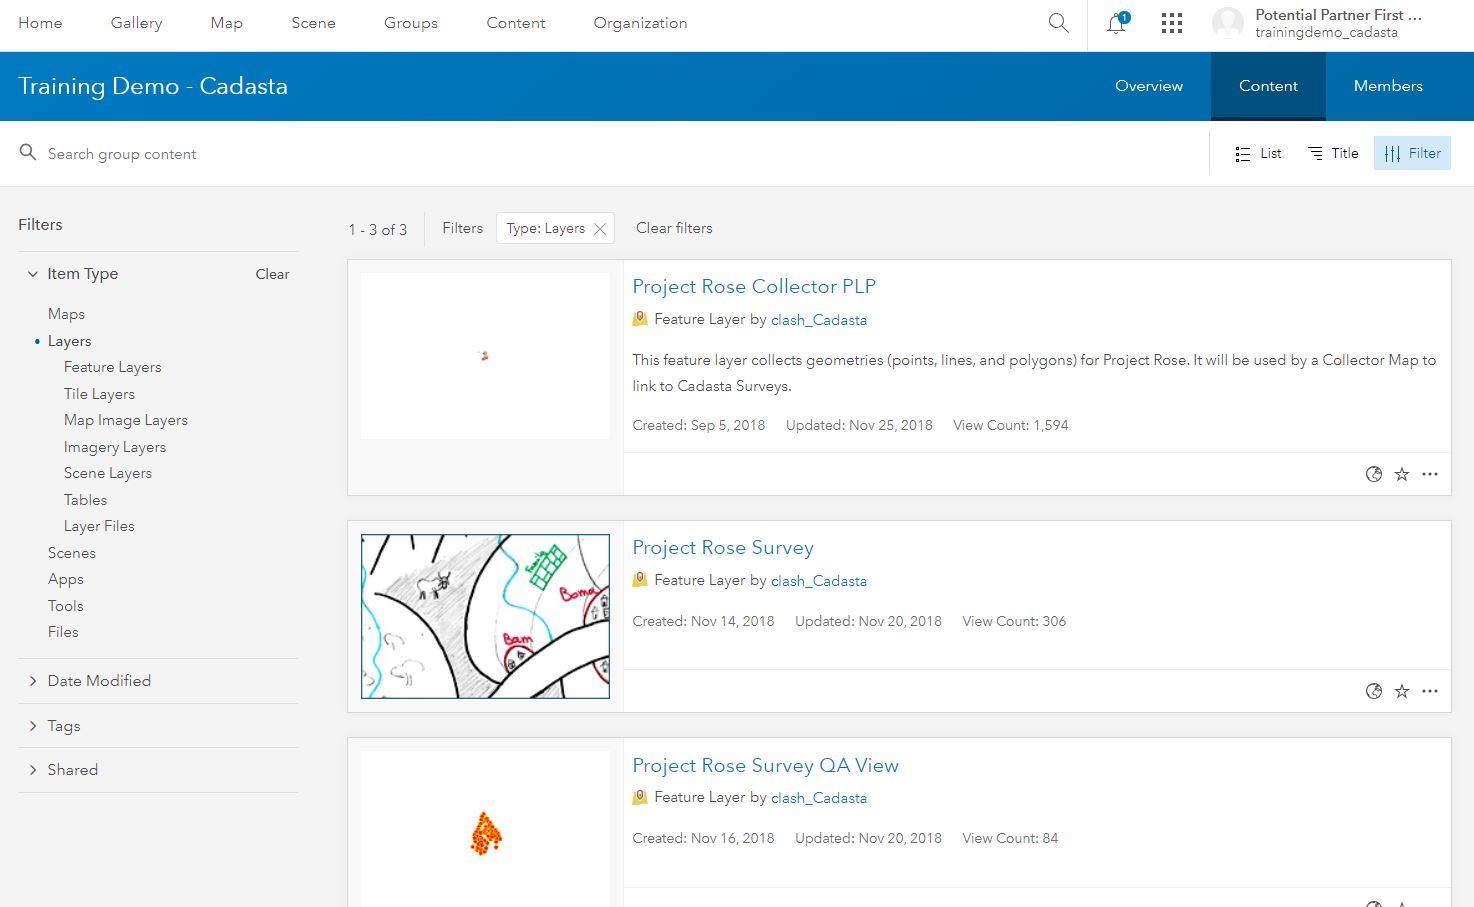
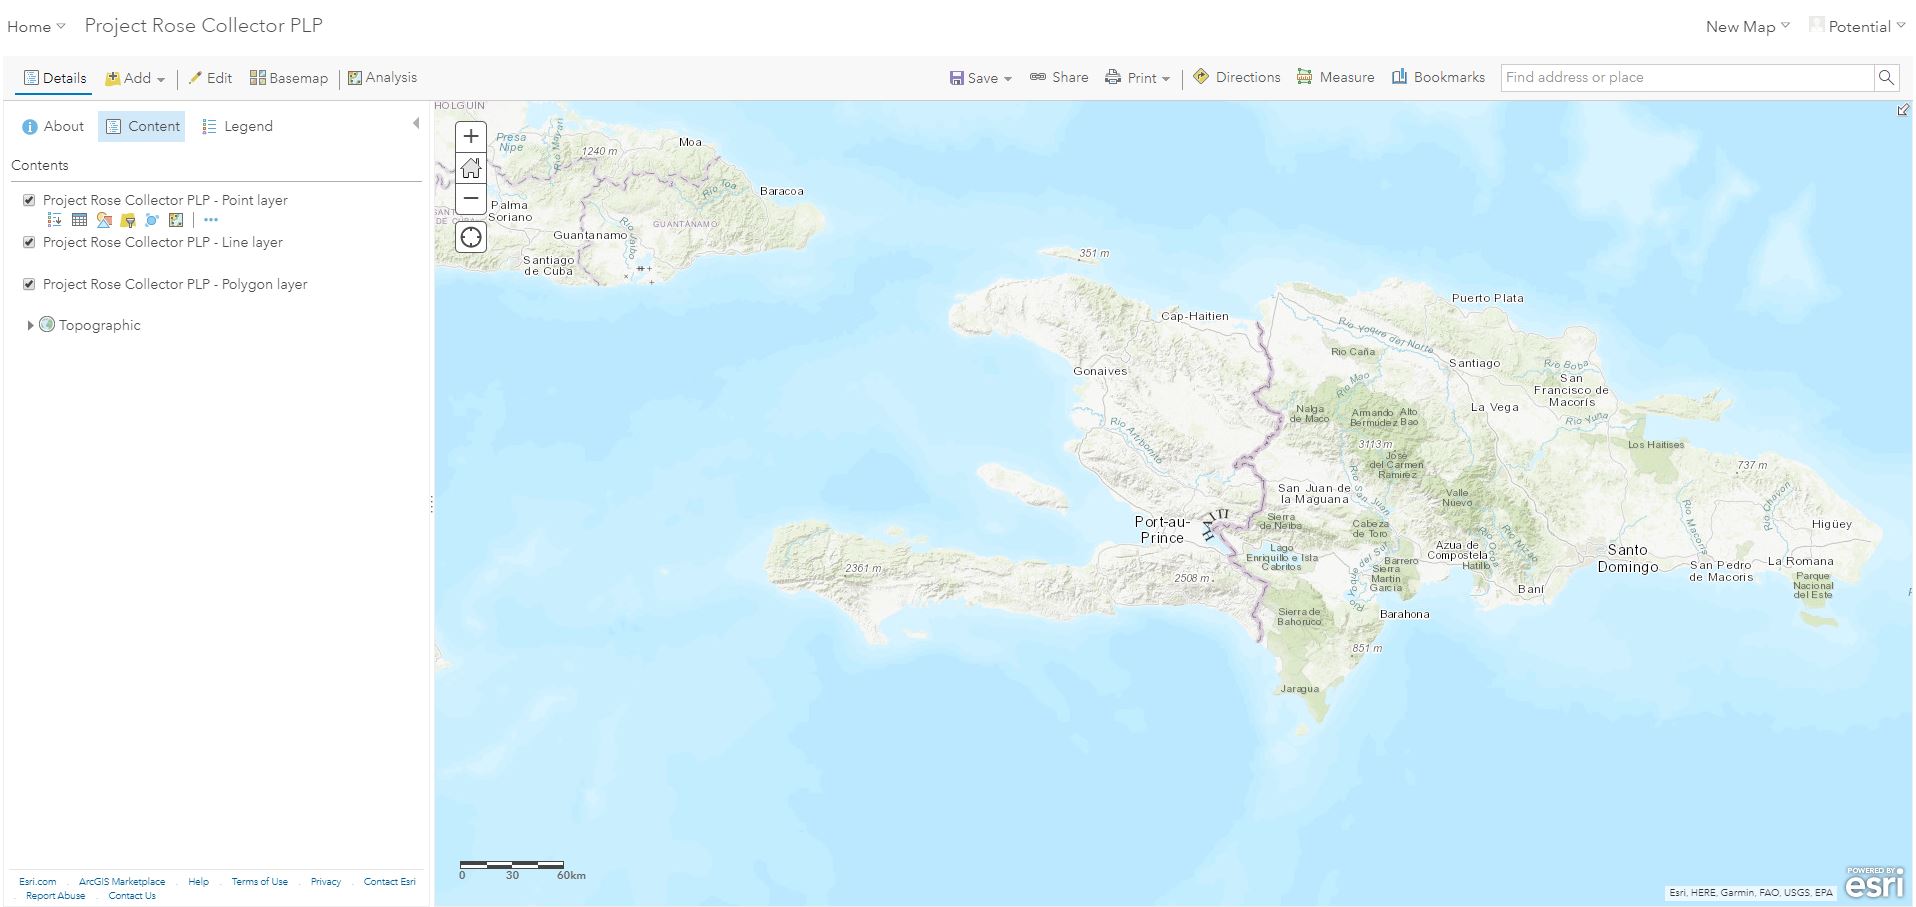
Select Feature Layer Project Rose Field Collector PLPd
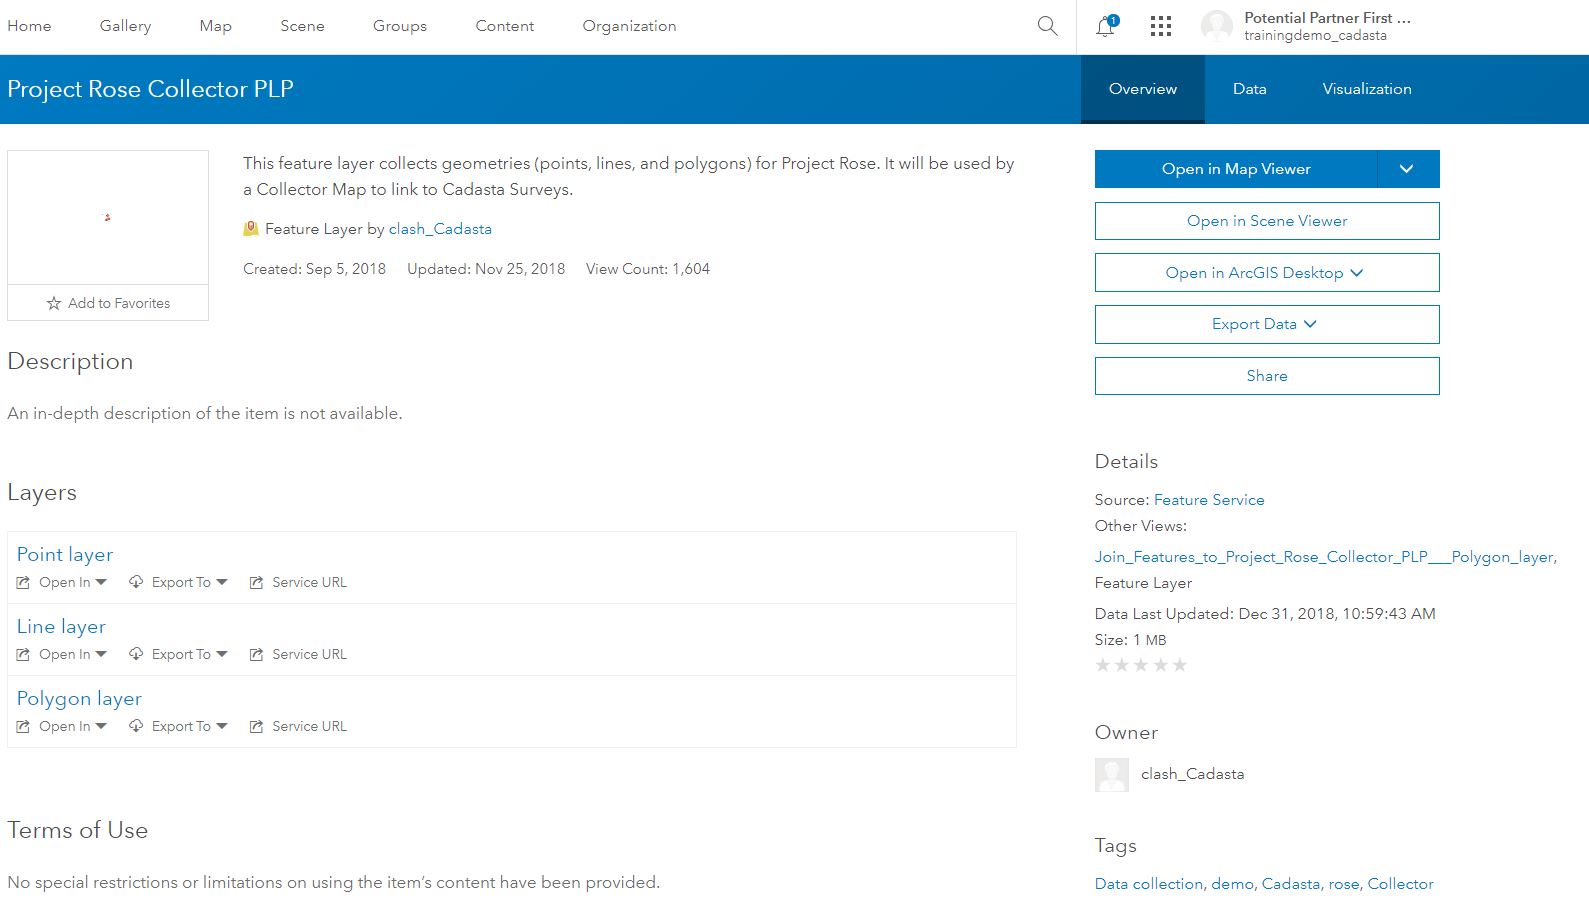
Click Open in Map Viewer
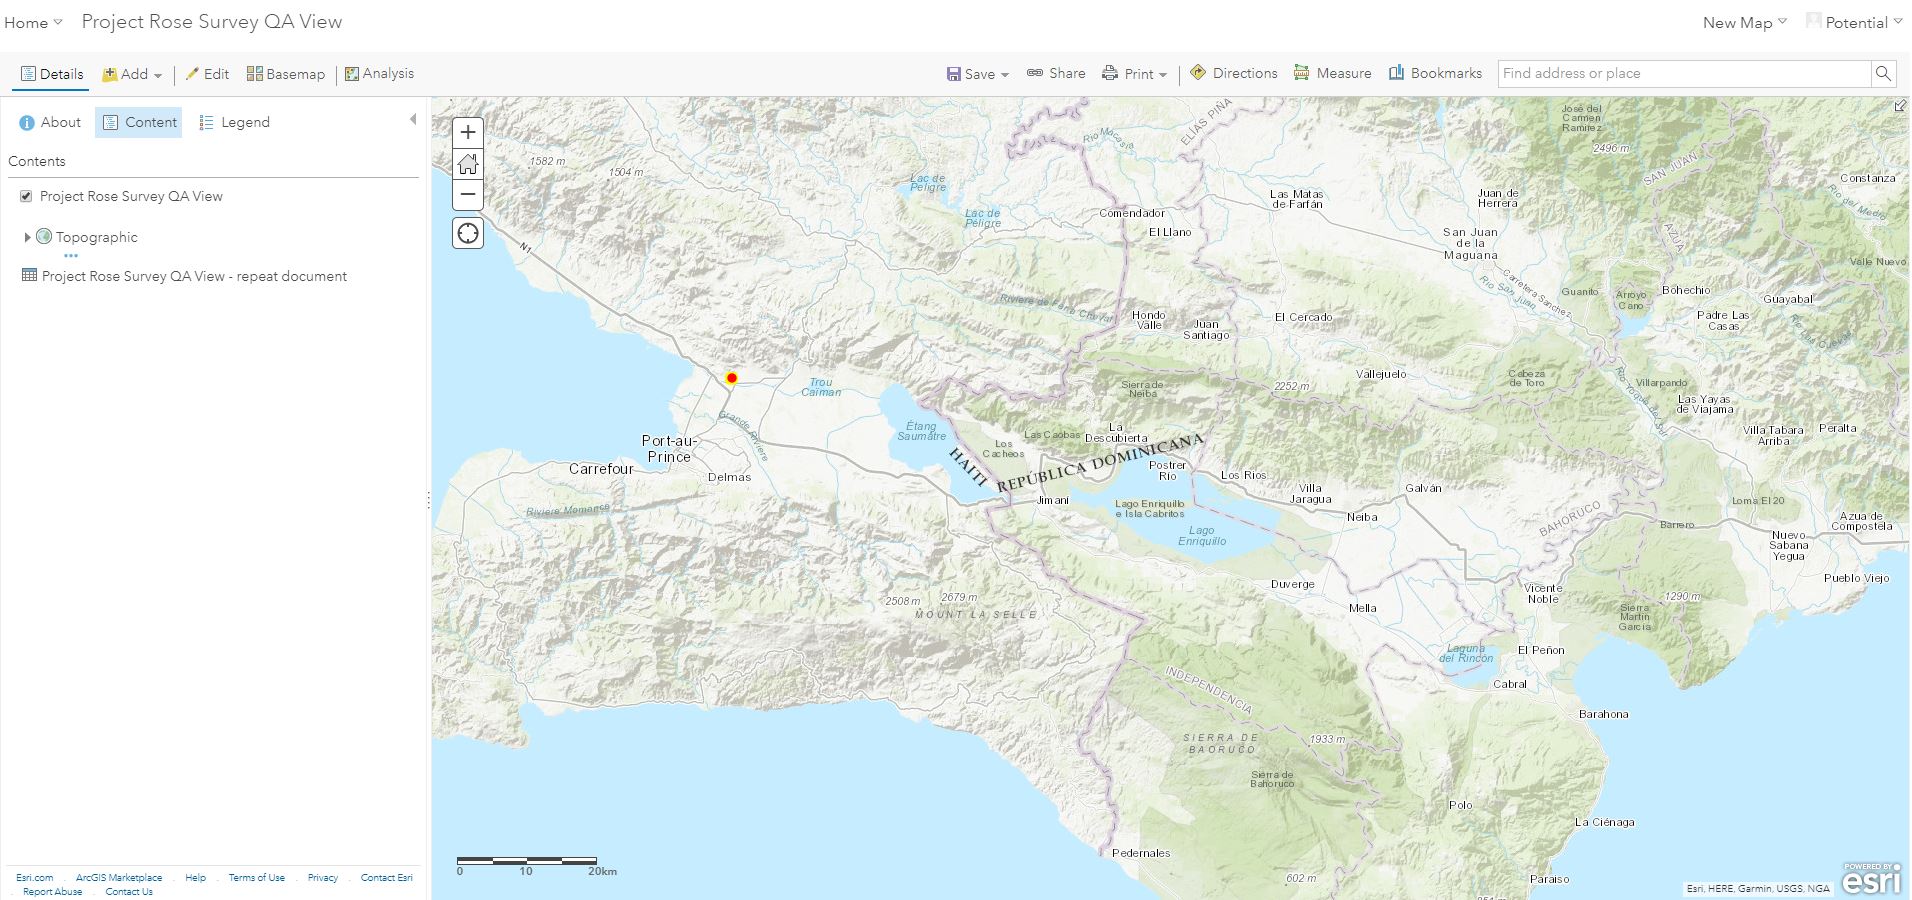
Navigate back to User Group Content and Select Feature Layer Project Rose QA View
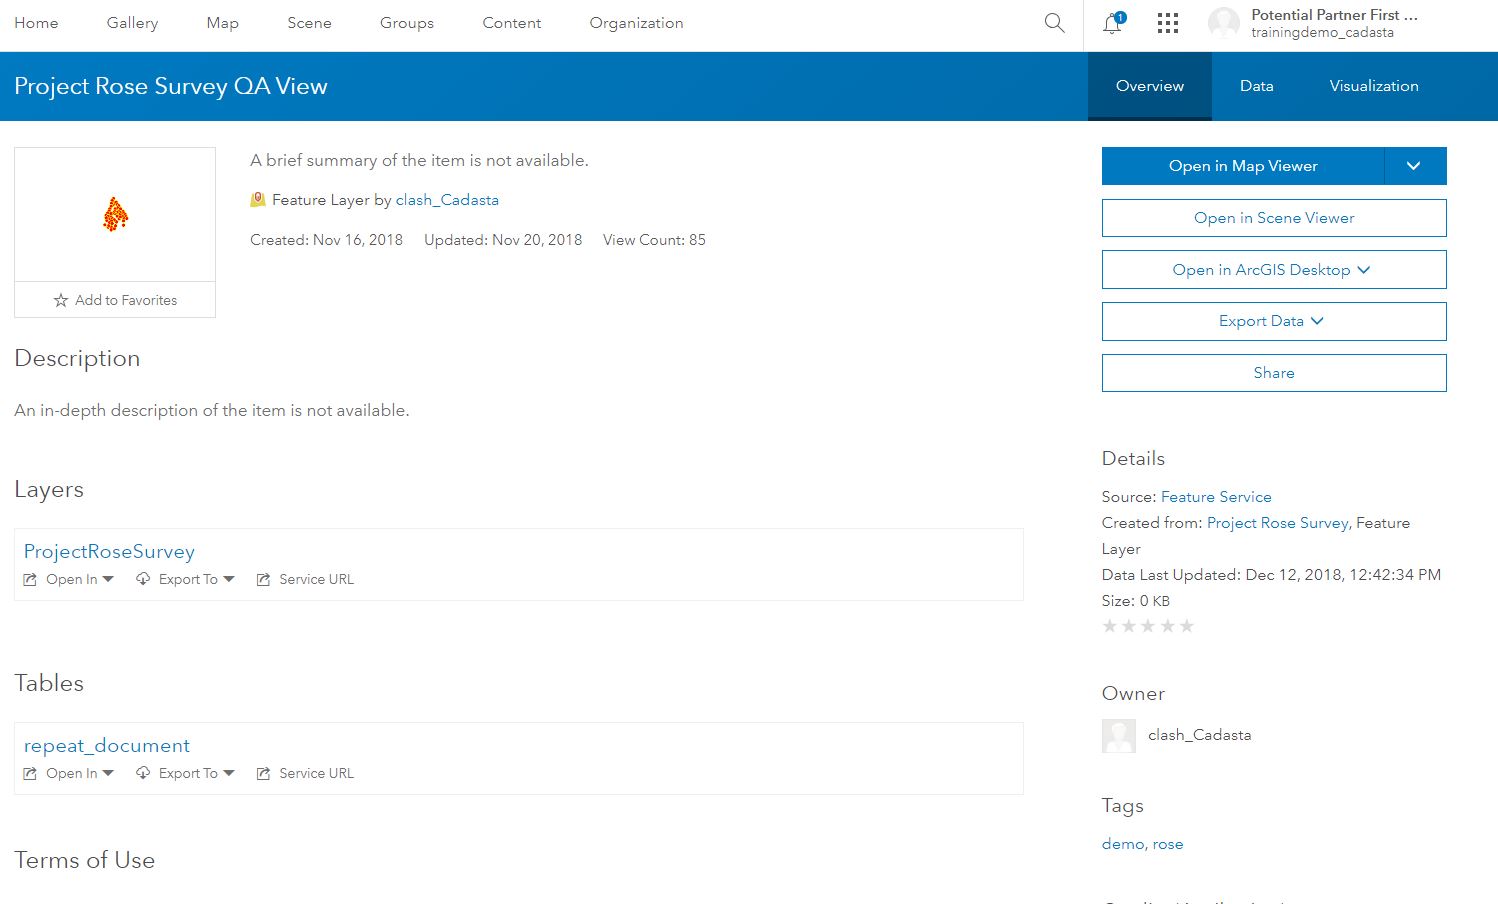
Click Open in Map Viewer
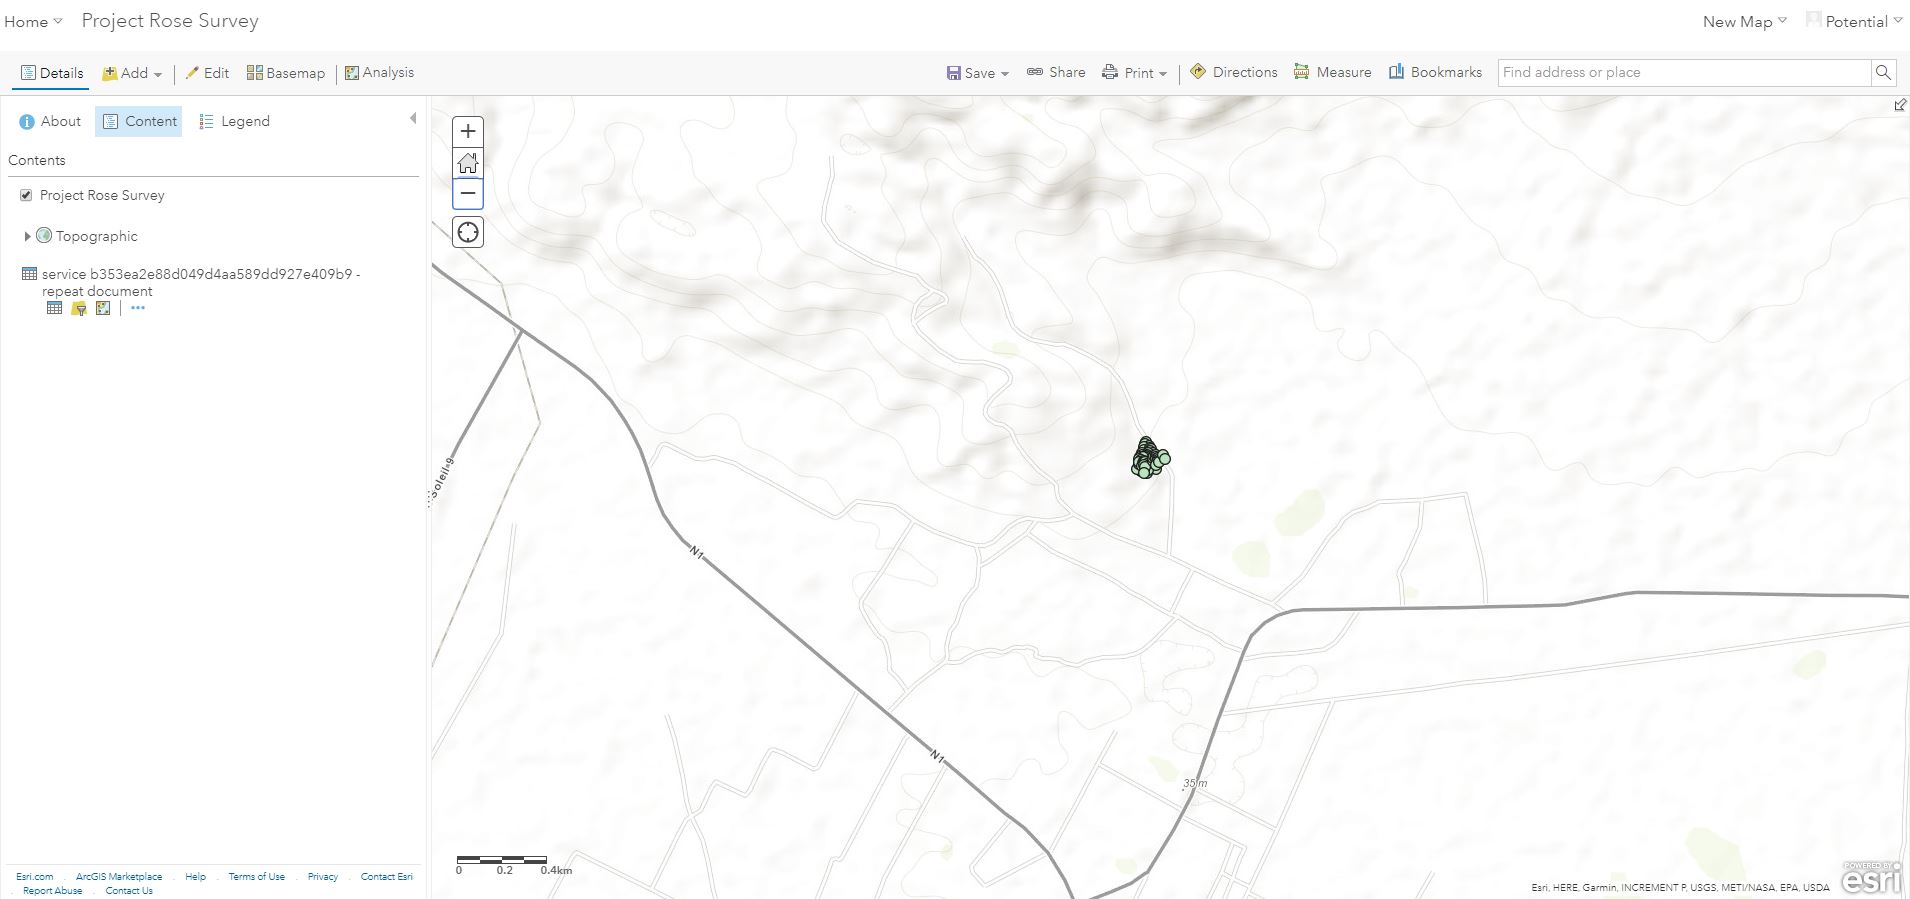
Navigate back to User Group Content and Select Feature Layer Project Rose Survey
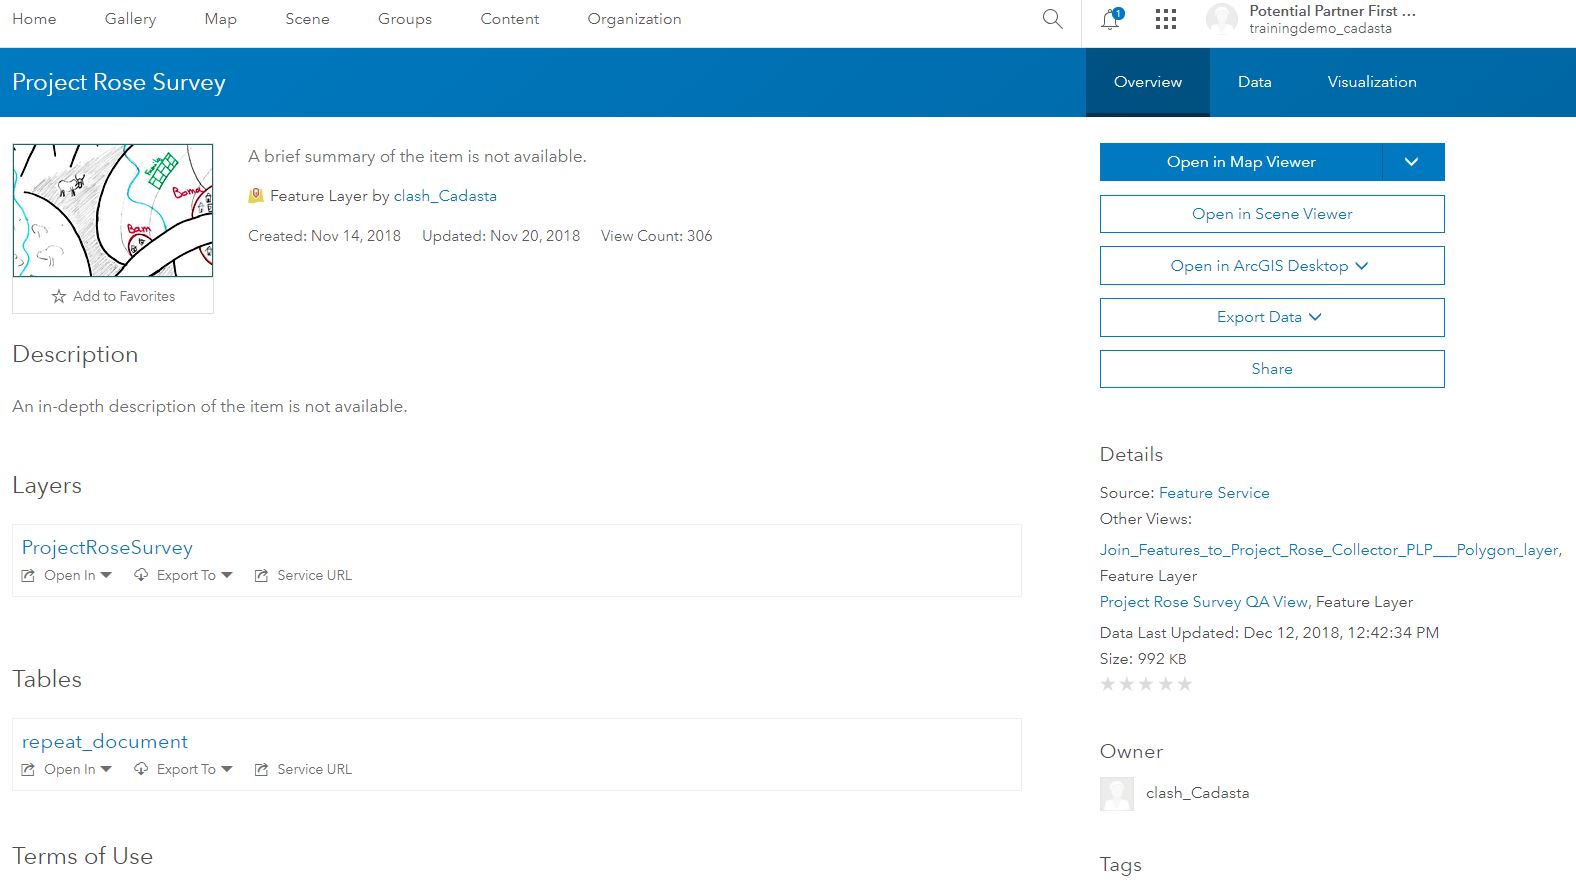
Click Open in Map Viewer
Navigate to Content
See Item Types in the Sidebar
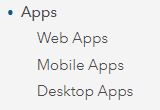
Select item type Apps
Note: There are three sub-item types (1) Web Apps, (2) Mobile Apps, and (3) Desktop Apps
Select item sub-type Web Apps
Note: There are no Mobile App or Desktop App sub-types in the demo group and are not covered in this documentation.
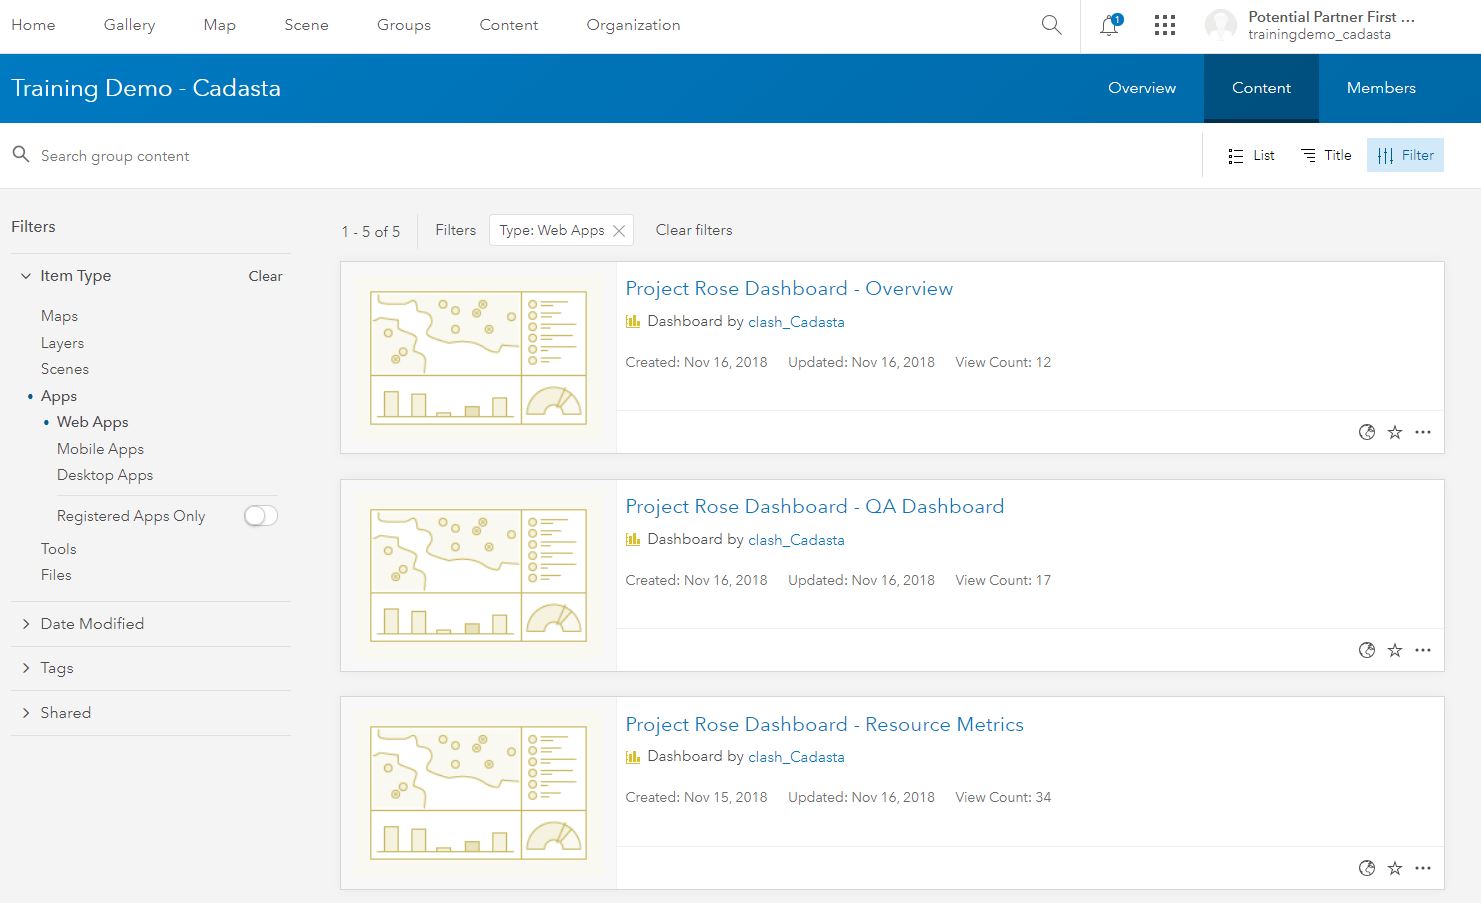
Select Web App Project Rose Dashboard - Overview
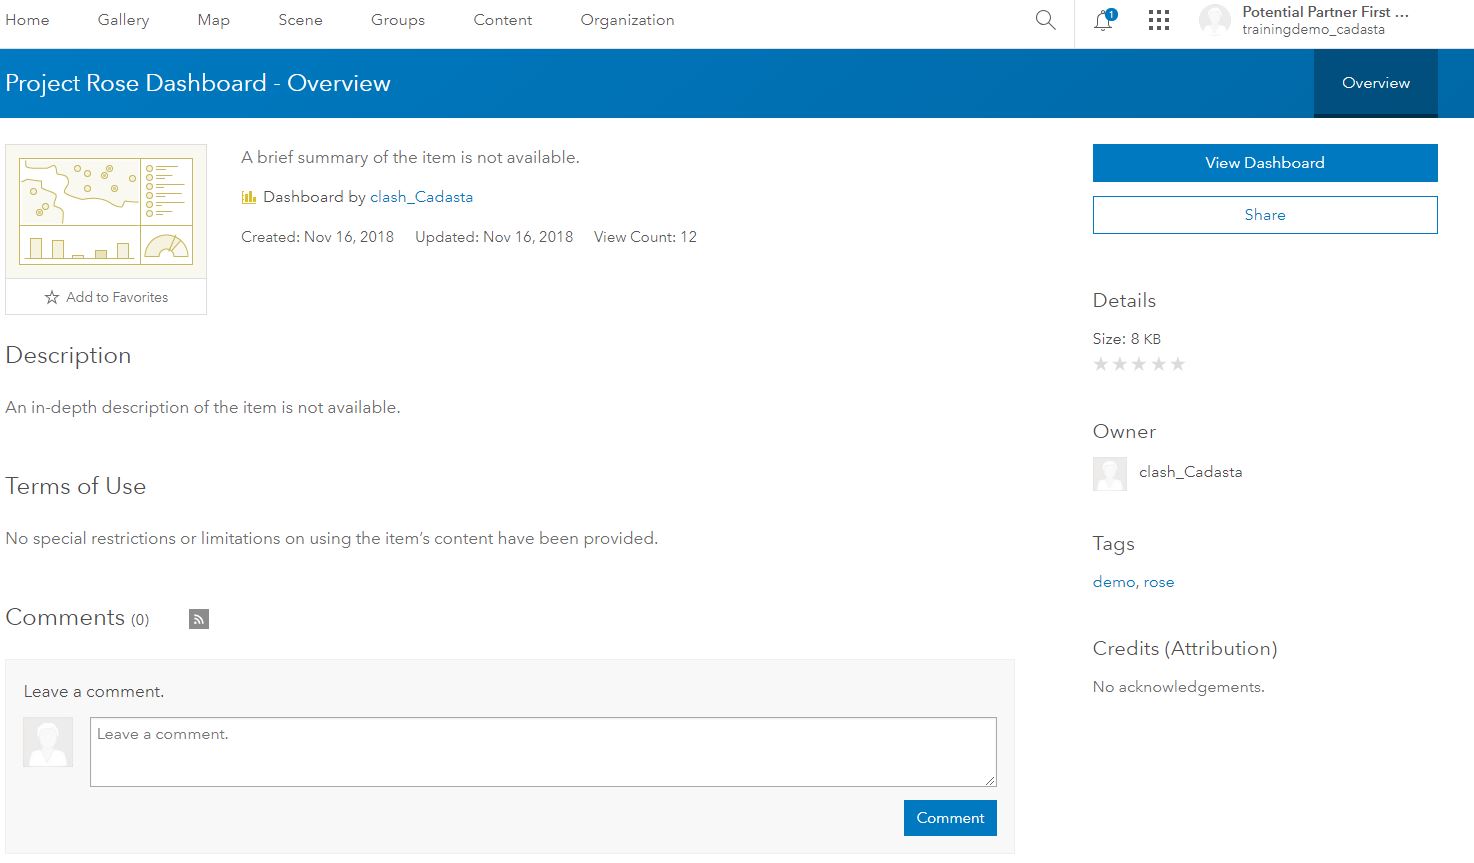
Click View Dashboard
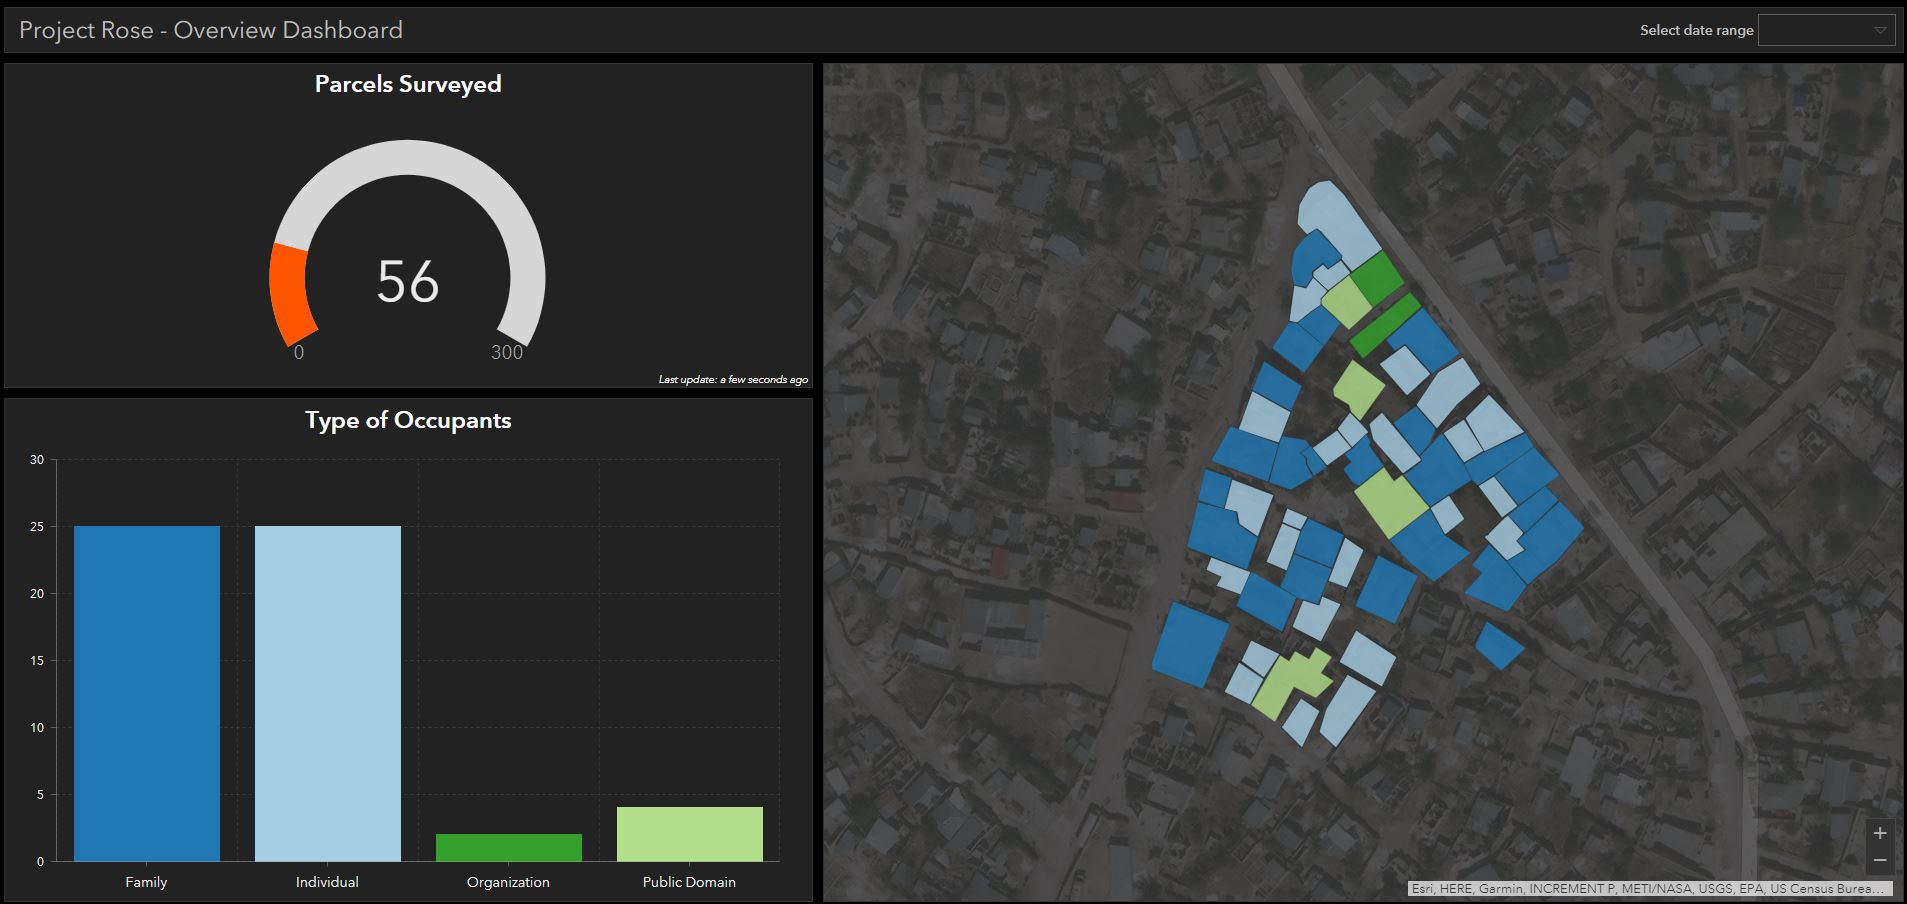
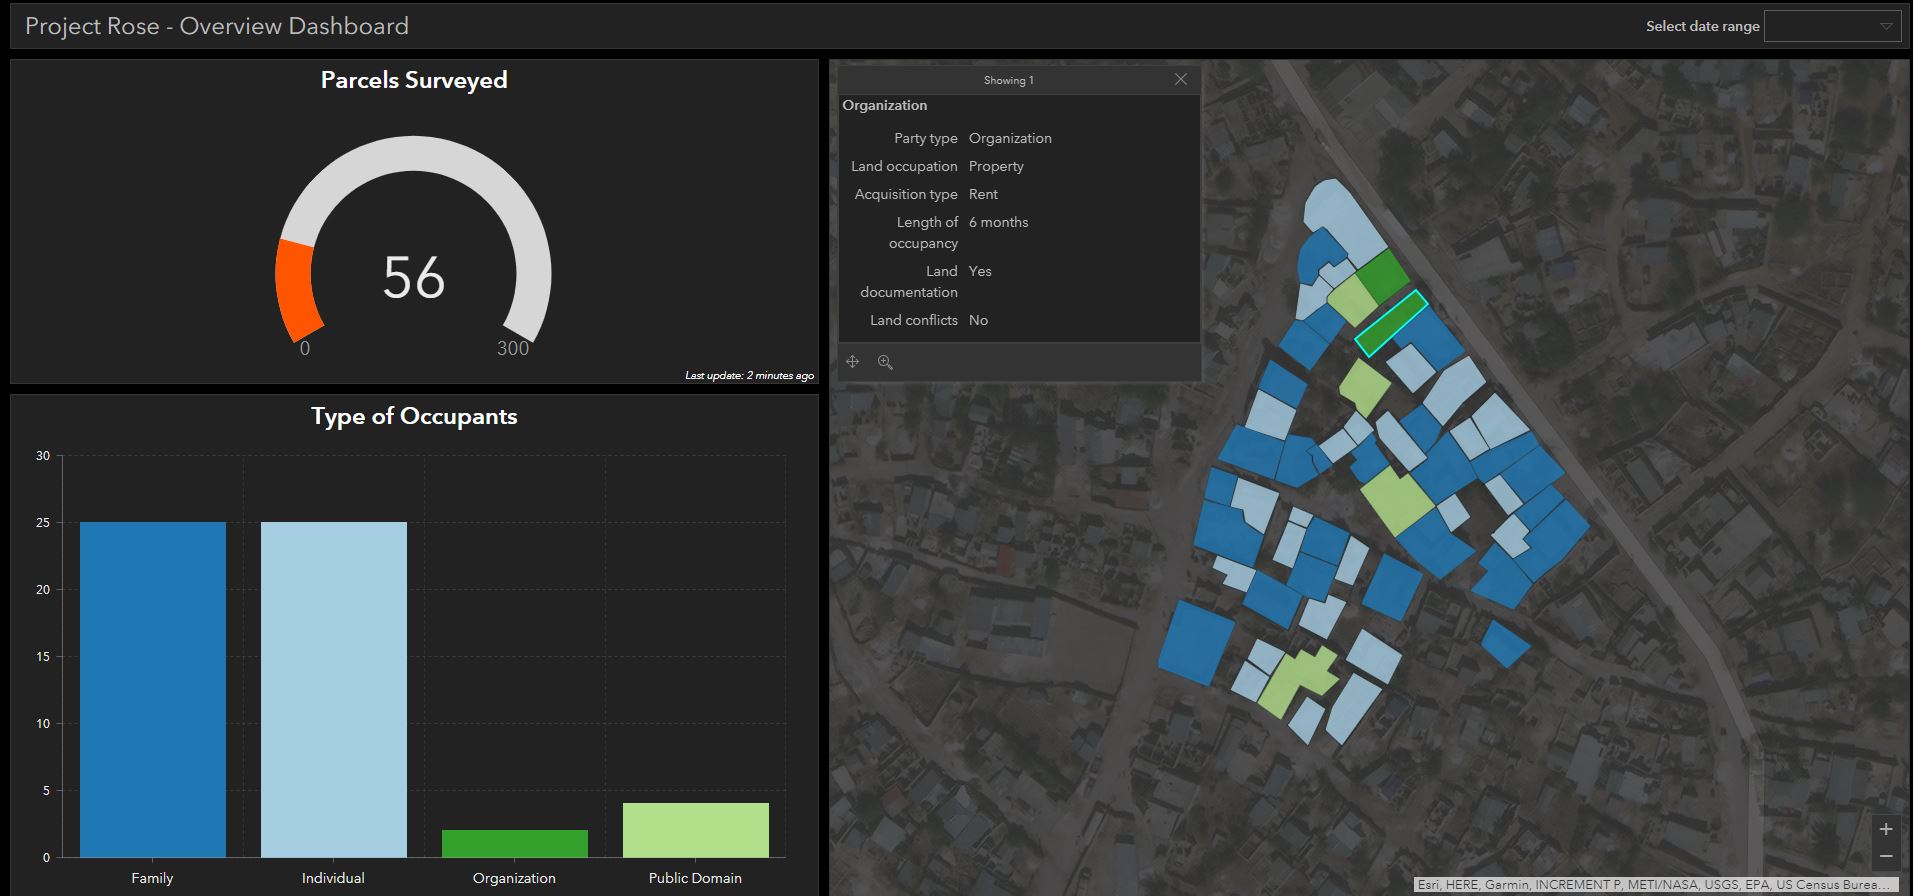
See Dashboard Details by selecting a collected record’s polygon
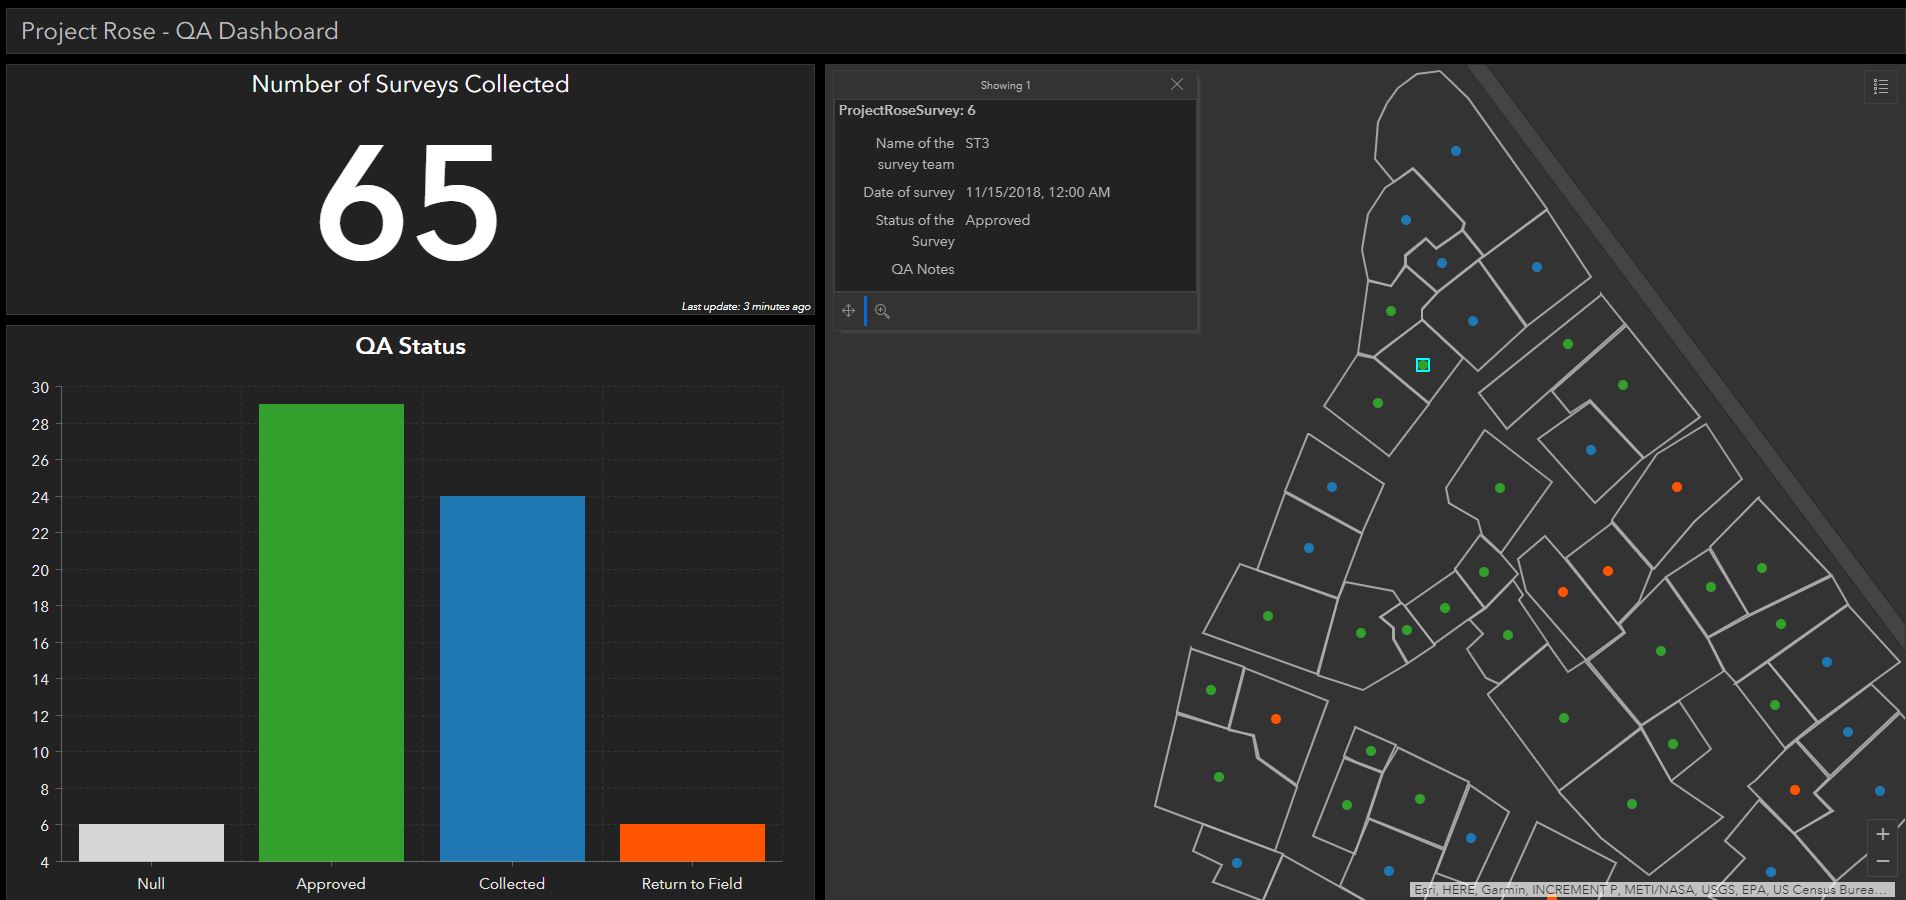
Navigate back to Content and Select Web App Project Rose Dashboard - QA Dashboard
Click View Dashboard
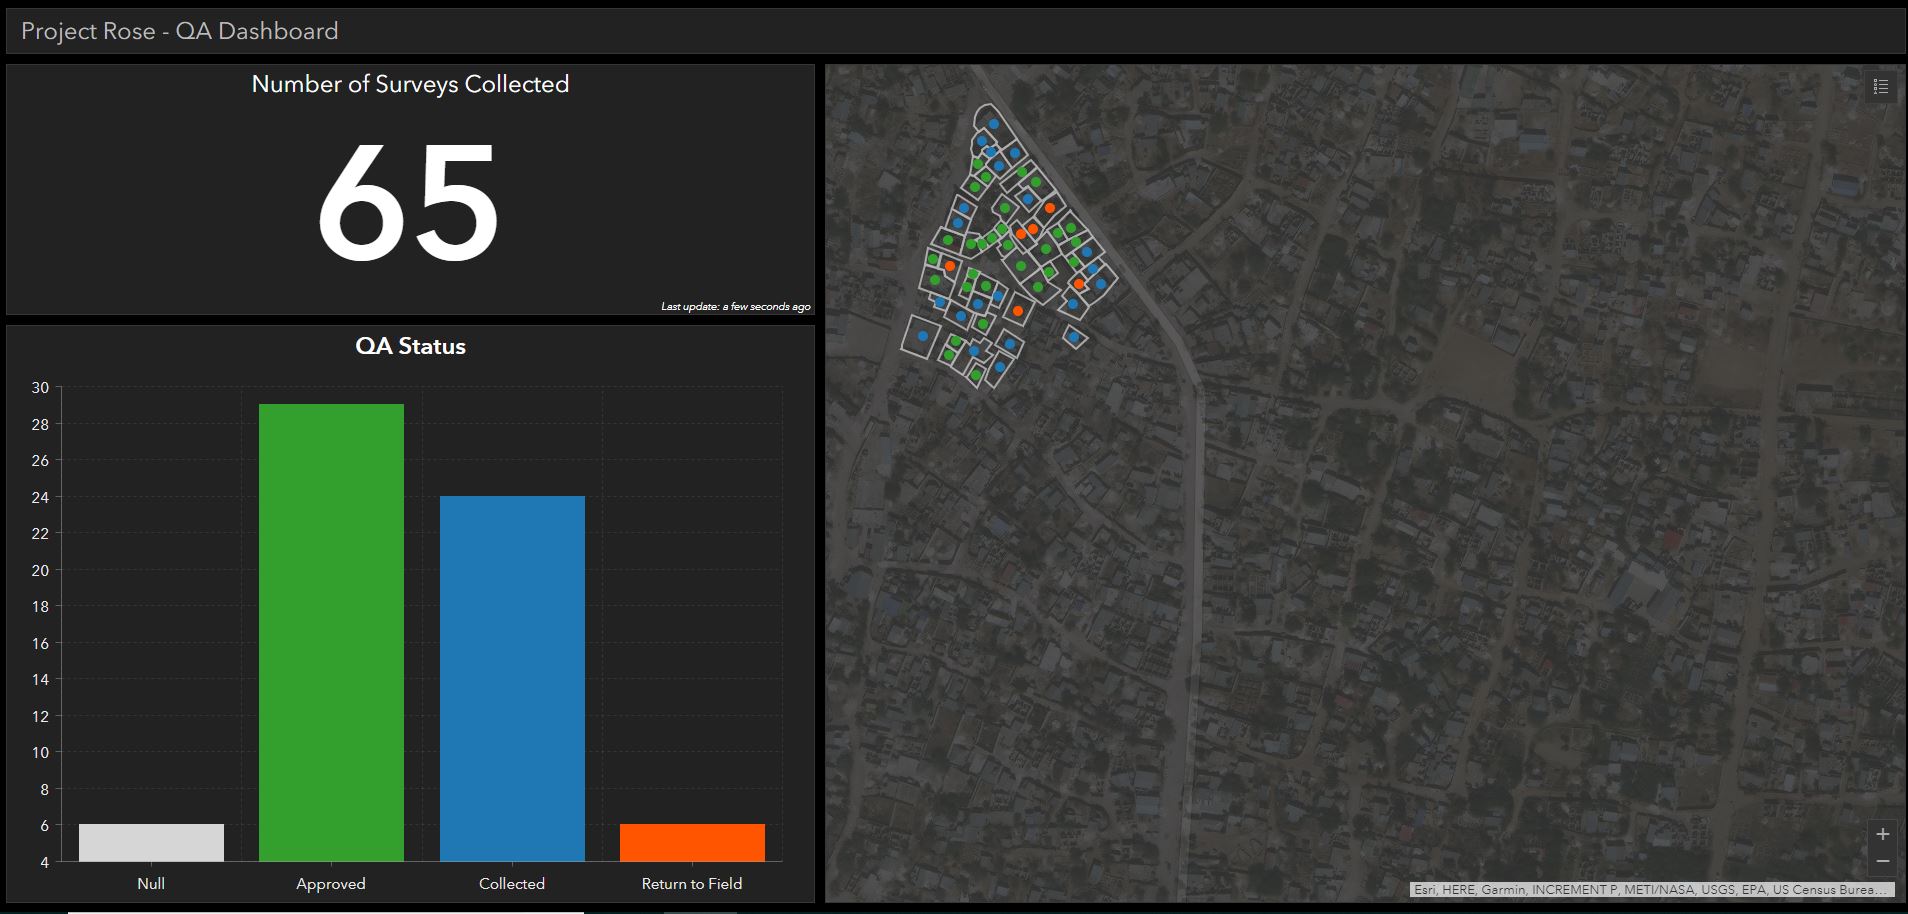
See Dashboard Details by selecting a collected record’s point
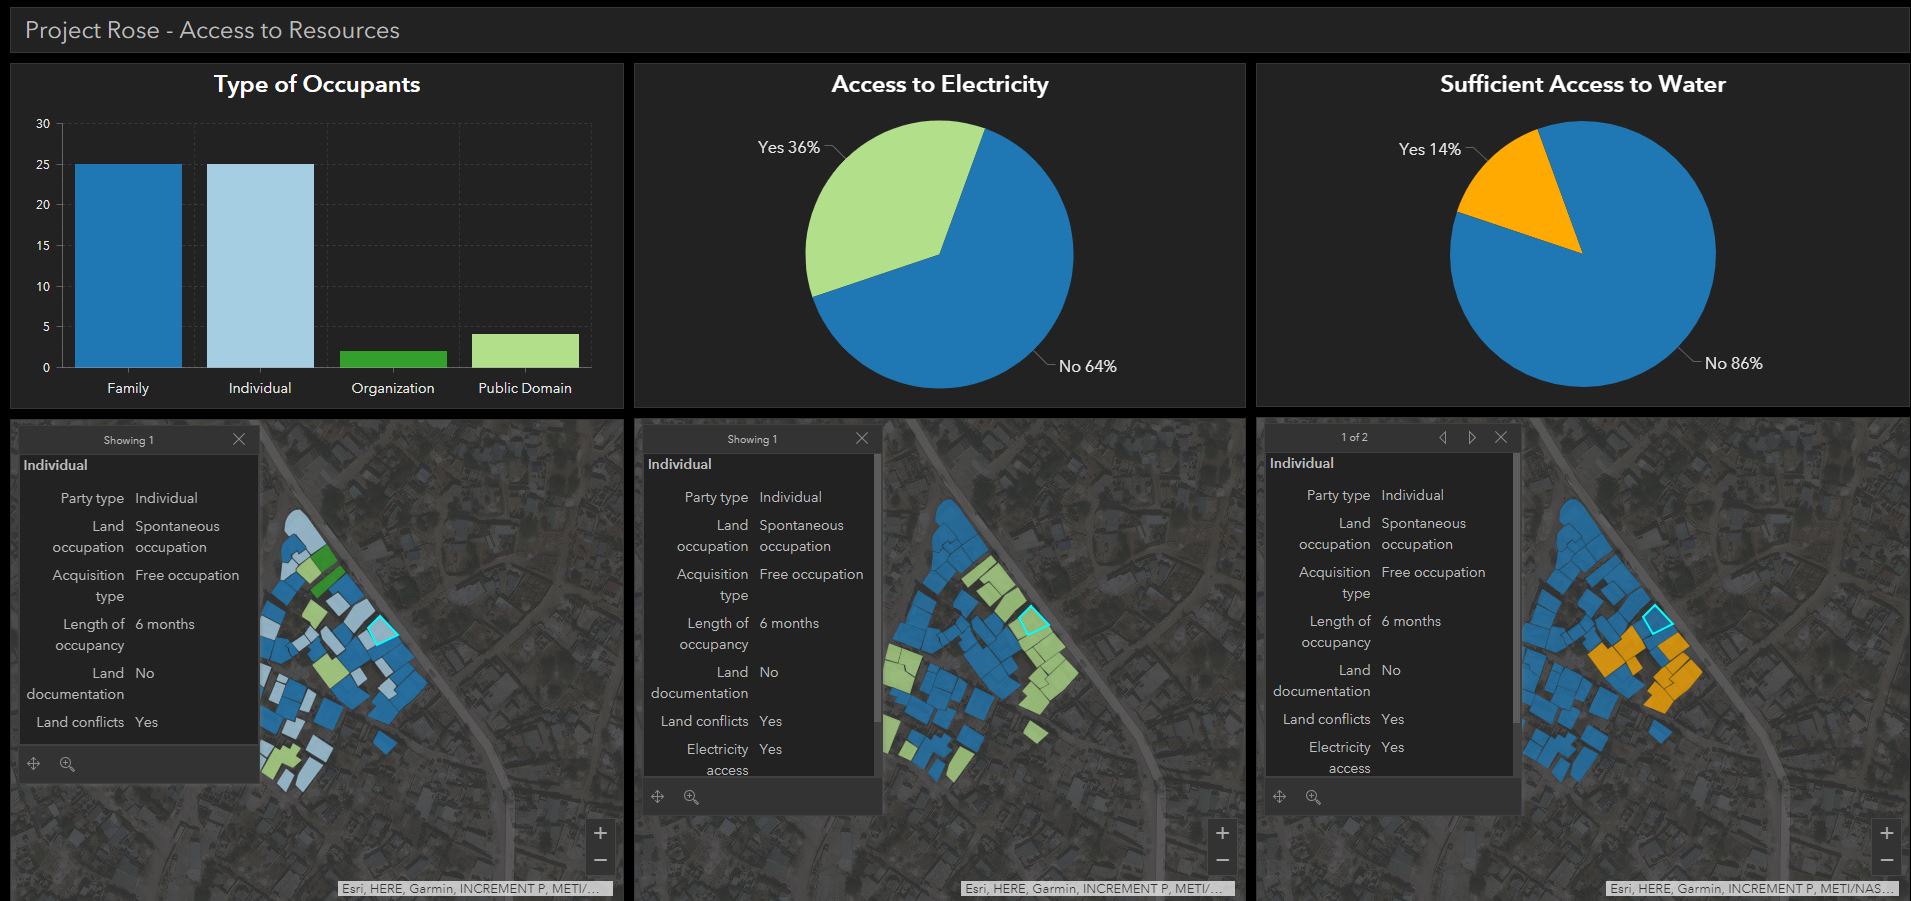
Navigate back to Content and Select Web App Project Rose Dashboard - Resource Metrics
Click View Dashboard
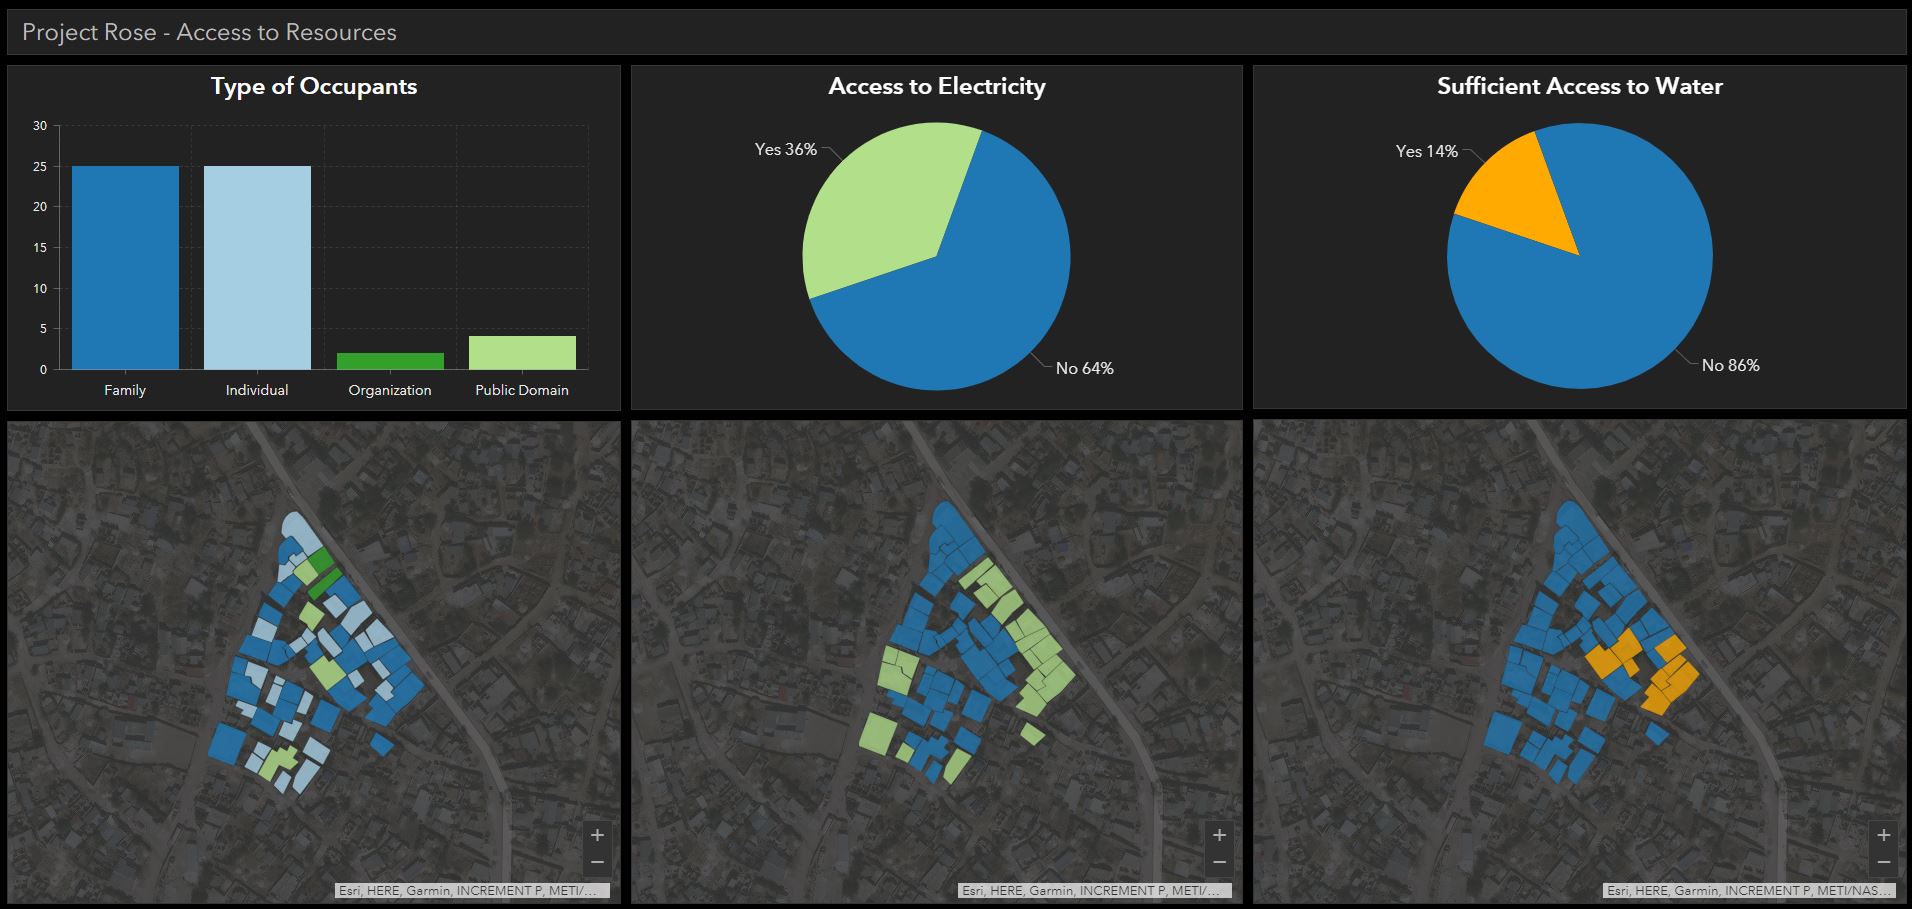
See Dashboard Details by selecting a collected record’s polygon(s)
Note: This dashboard has the possibility of one or more manual selections at one time.
Other Item Types not covered in this documentation are:
Scenes
Tools
Files