Purpose
This page will explain how to create a Story Map in ArcGIS Online
Requirements
- You will need to have a username and password set up for you by a Cadasta team member. If you do not have a user please contact support@cadasta.org
- You will need to sign to your account - see Introduction to your account for a reminder
Steps
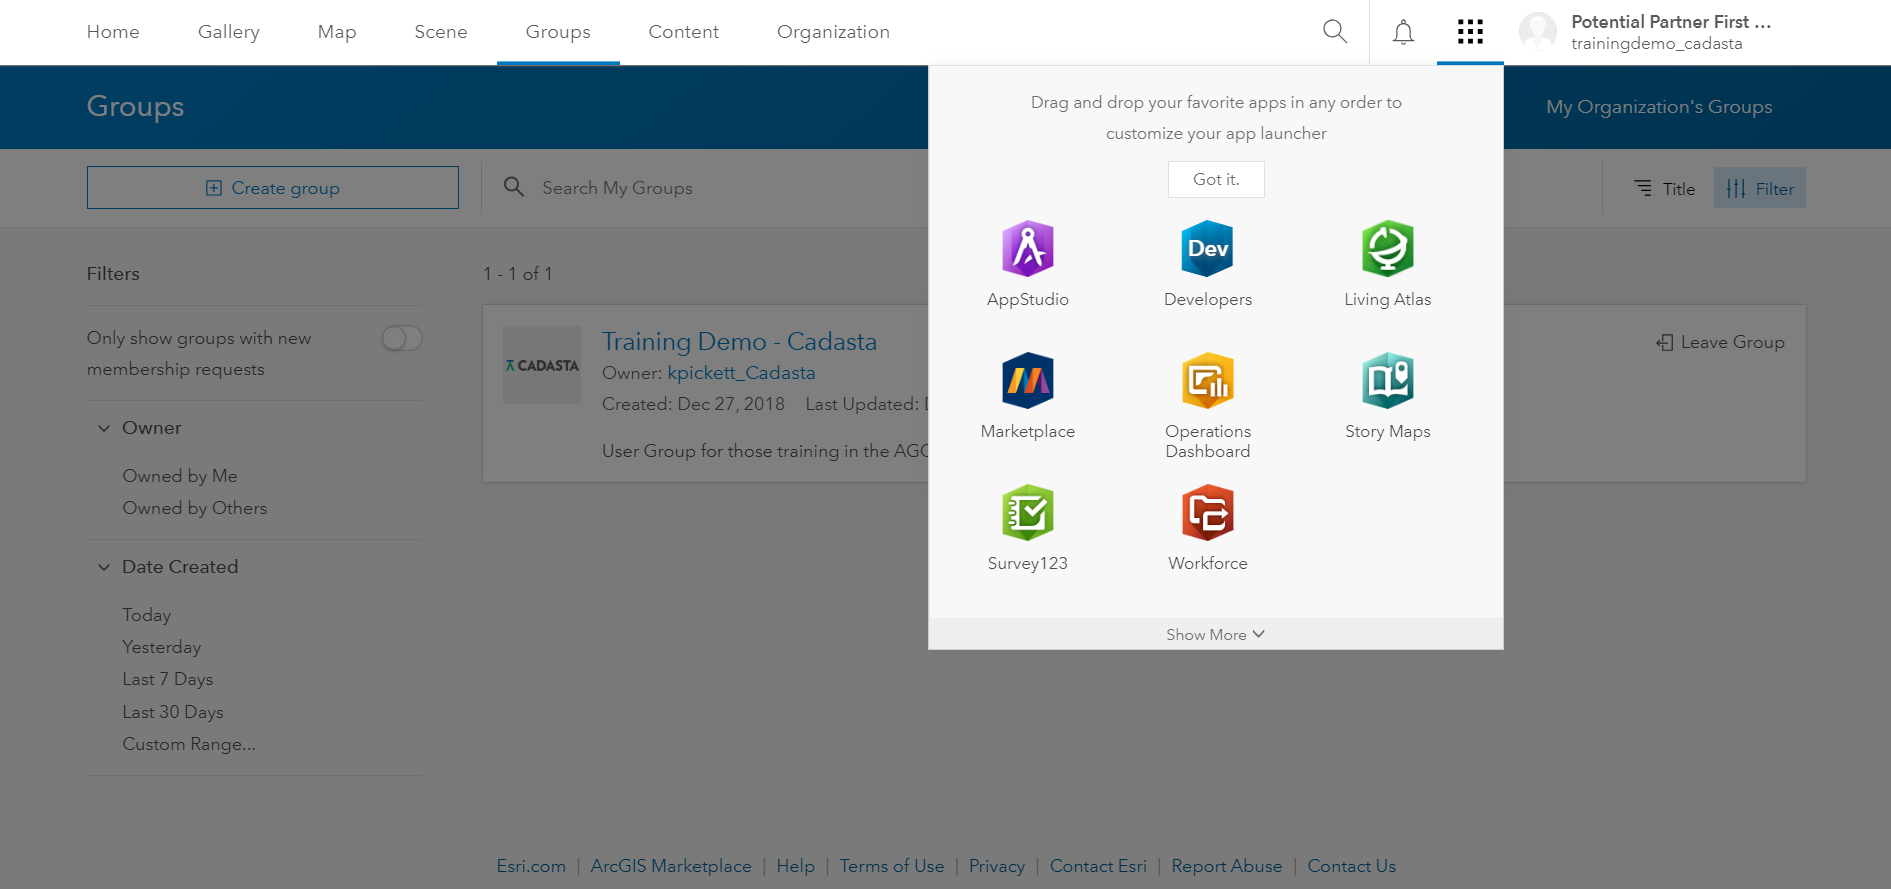
From the ArcGIS Online (AGOL) homepage, navigate to the Apps Launcher

Select the Story Maps app
A new internet window will open
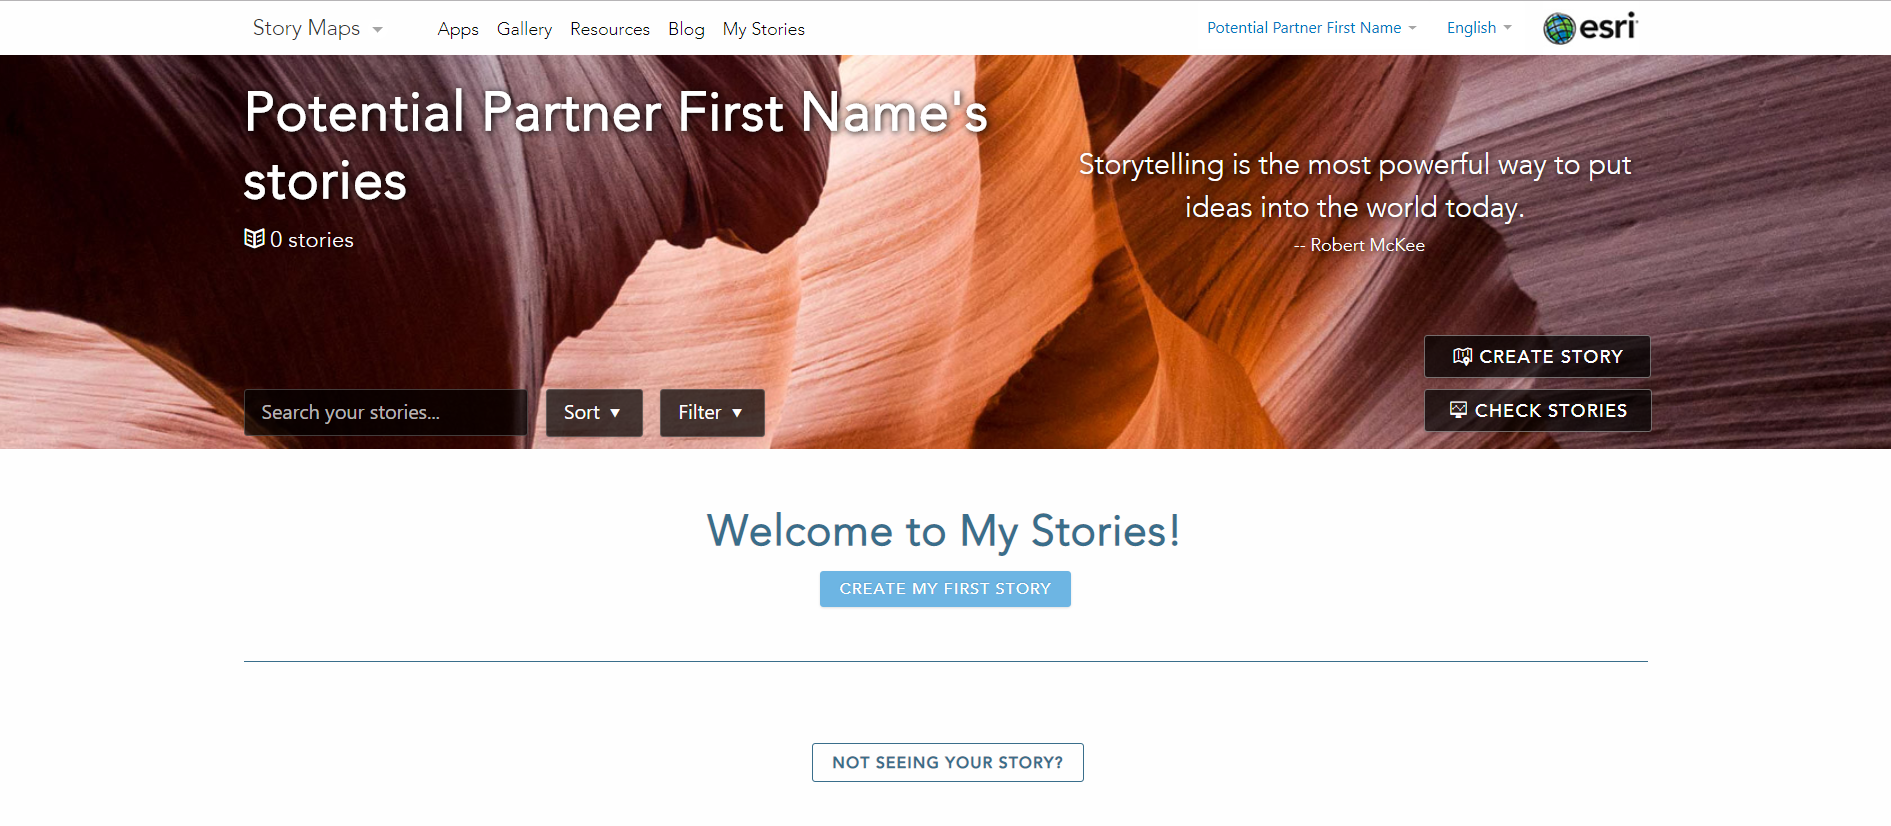
Select Create My First Story
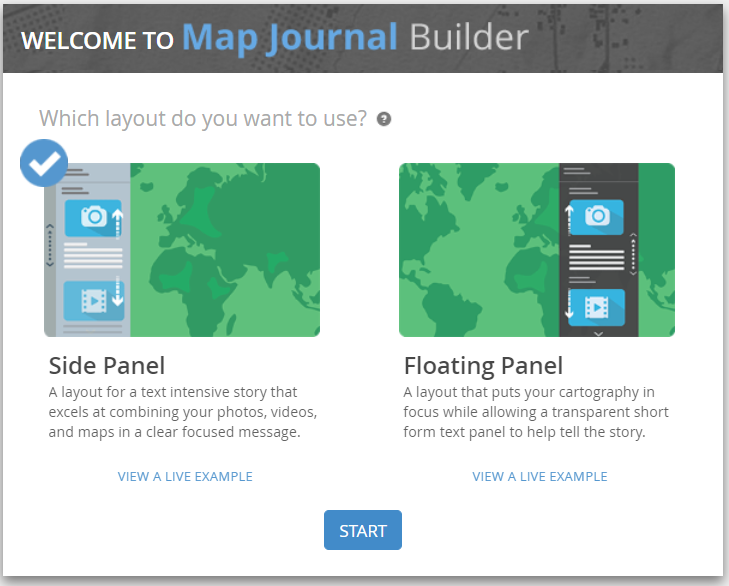
Select Map Journal
Note: Map Journal is one of many types of Story Map template types. You can choose whichever one you would like. In this example, a Map Journal template is used.
The Map Journal Builder splash screen appears
Select Side Panel and then Start
The Map Journal Builder screen appears
Note: This is where you will build your Story Map. If you had chosen a Map Tour Story Map template, then it would be called Map Tour Builder.
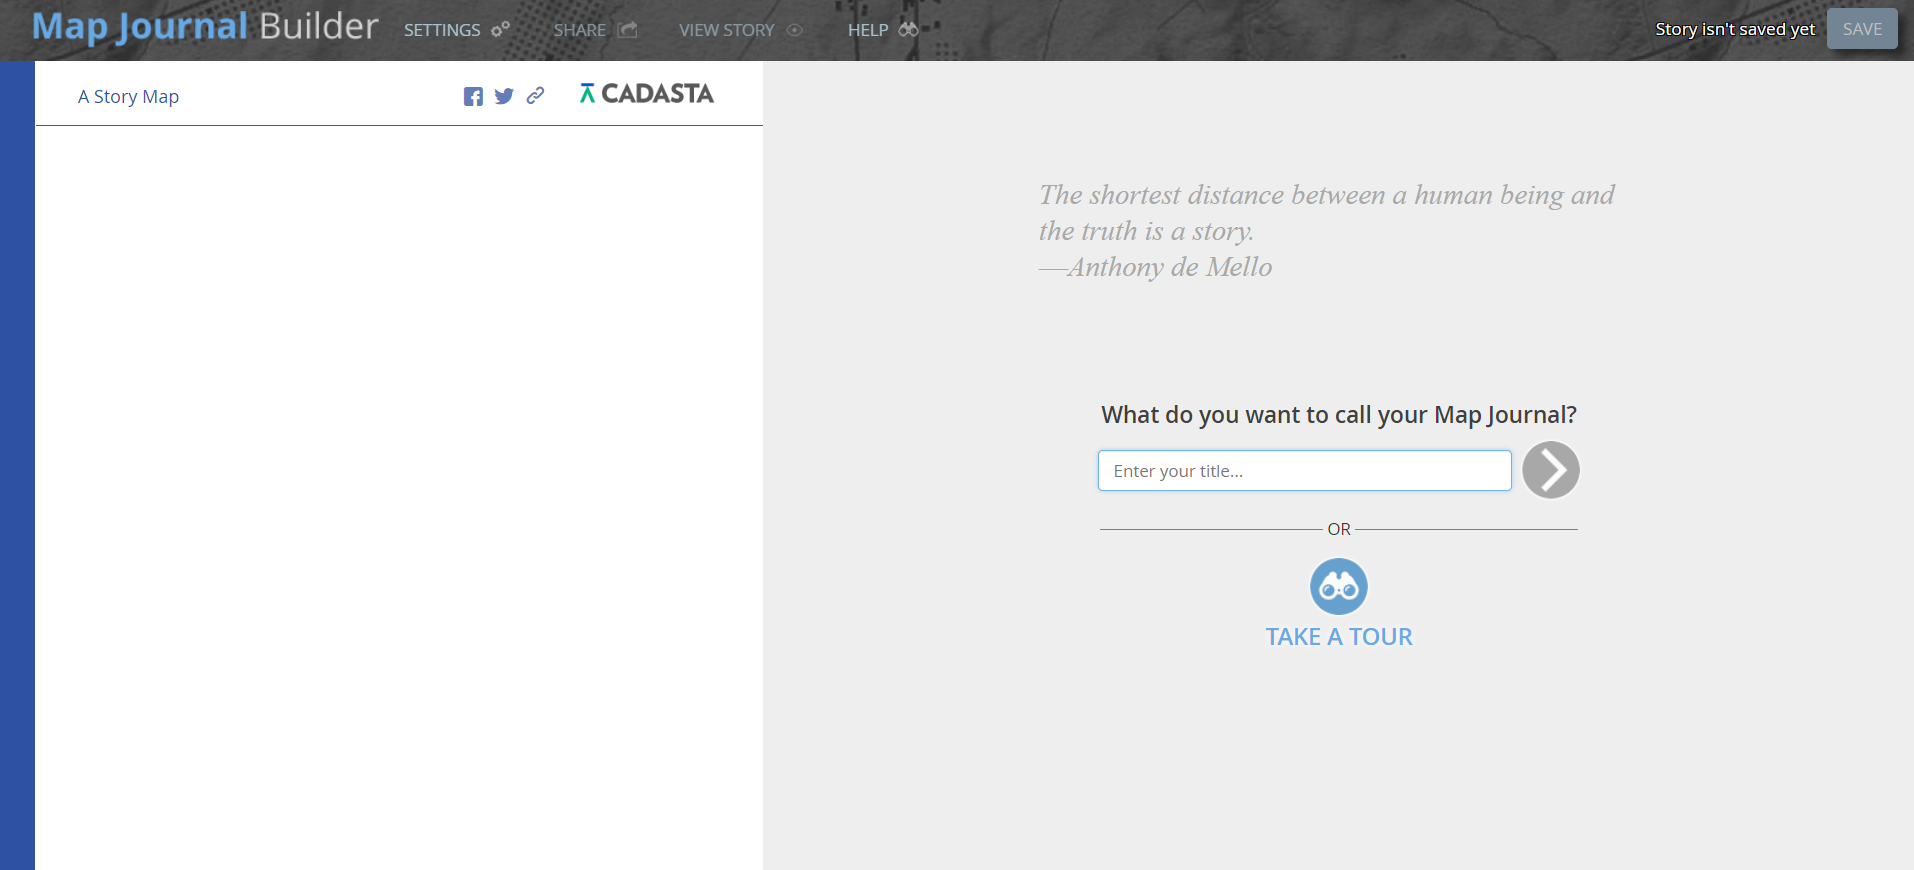
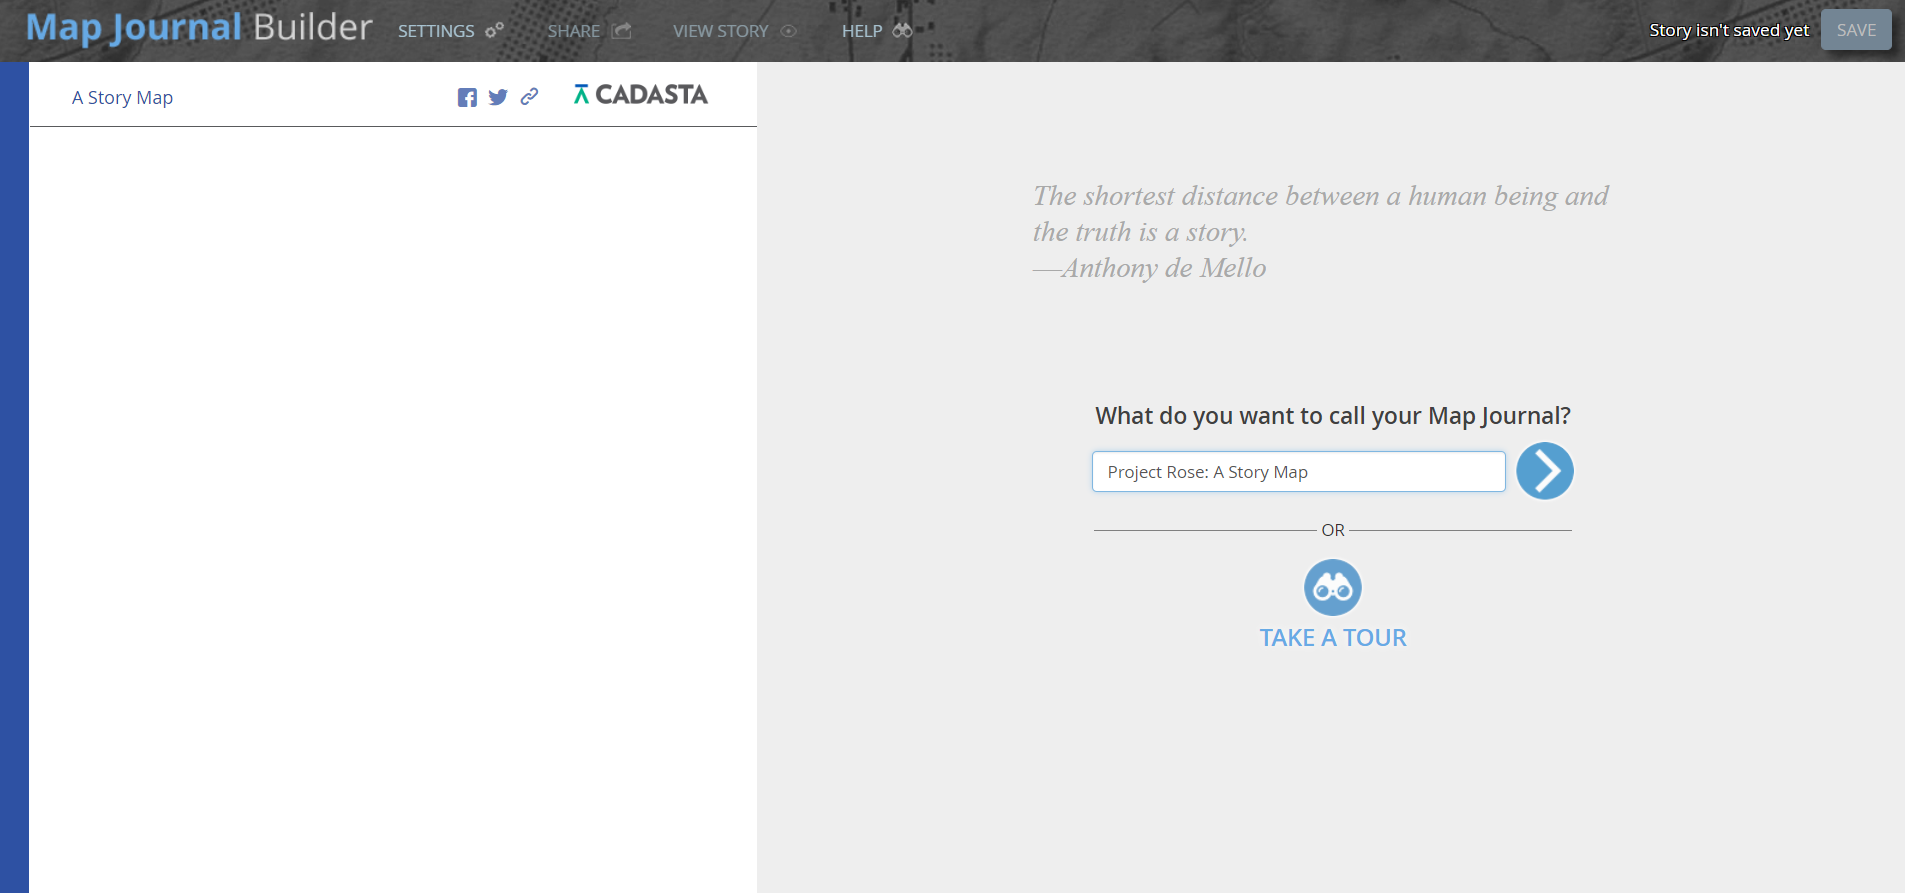
Type in a title for your Story Map and click the forward button (
 )
)
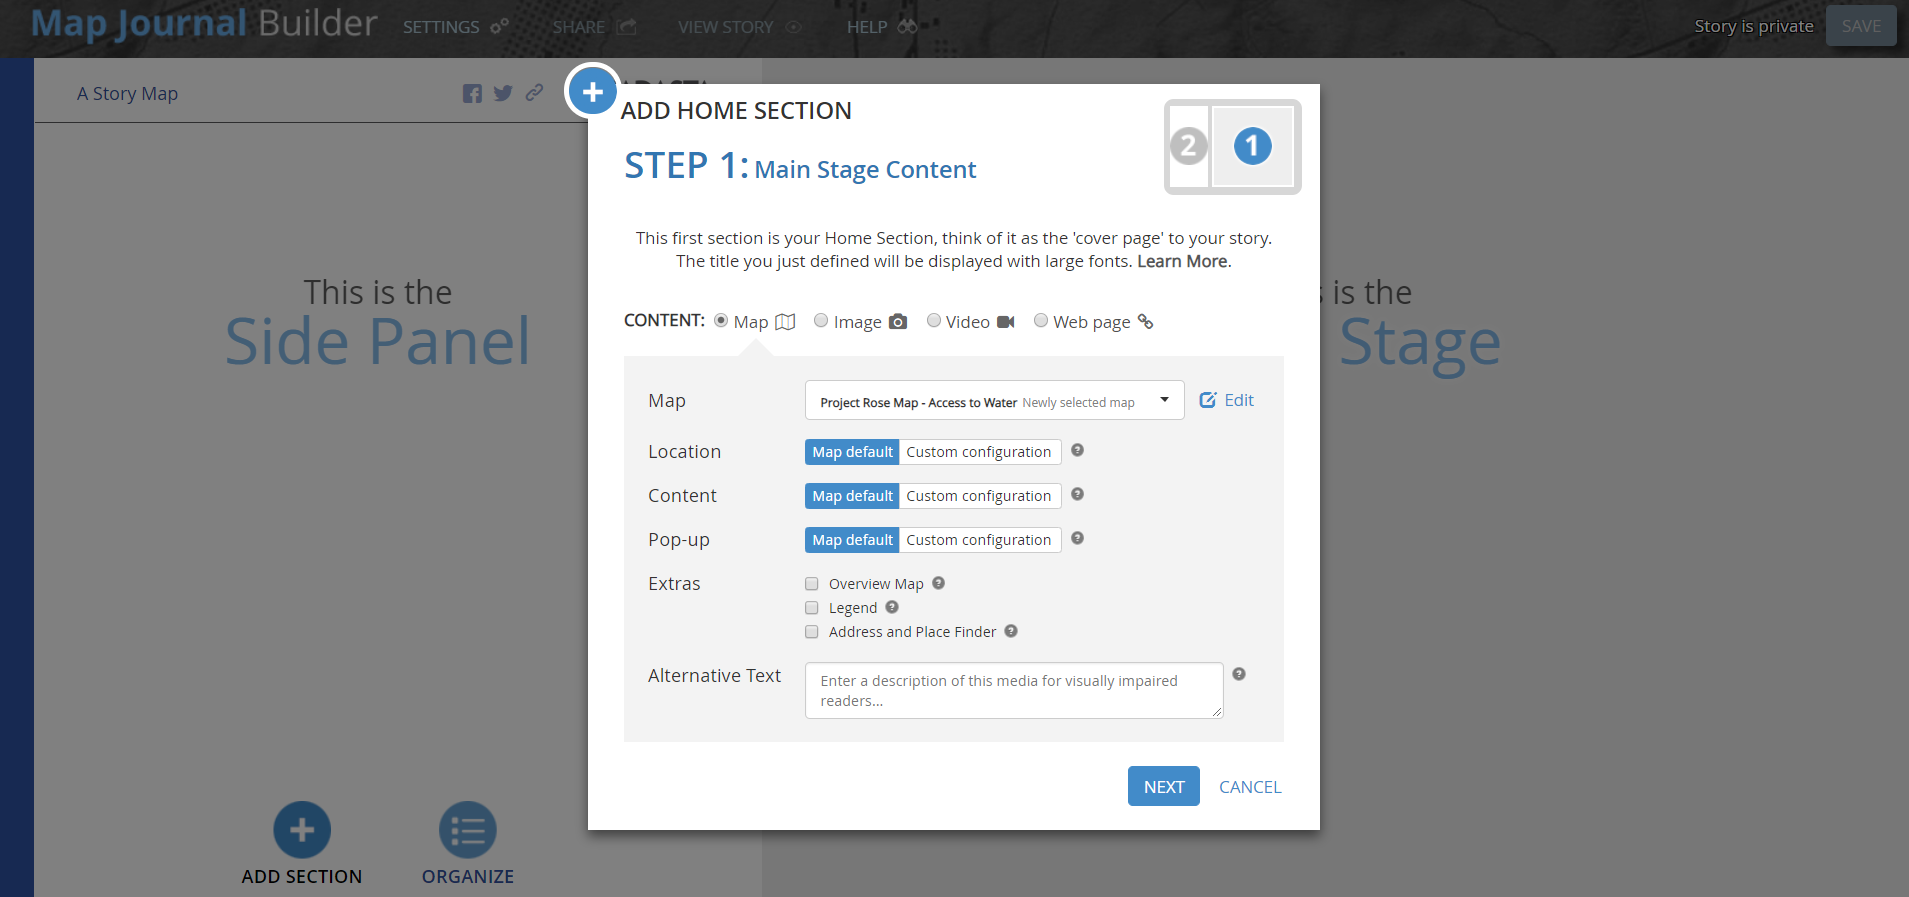
The Add Home Section splash screen appears
Note: This is where you will add content to your story map. You will have the option to add one or more sections. This Main Stage content page is the first thing your audience will see. Subsequent content sections must be navigated to
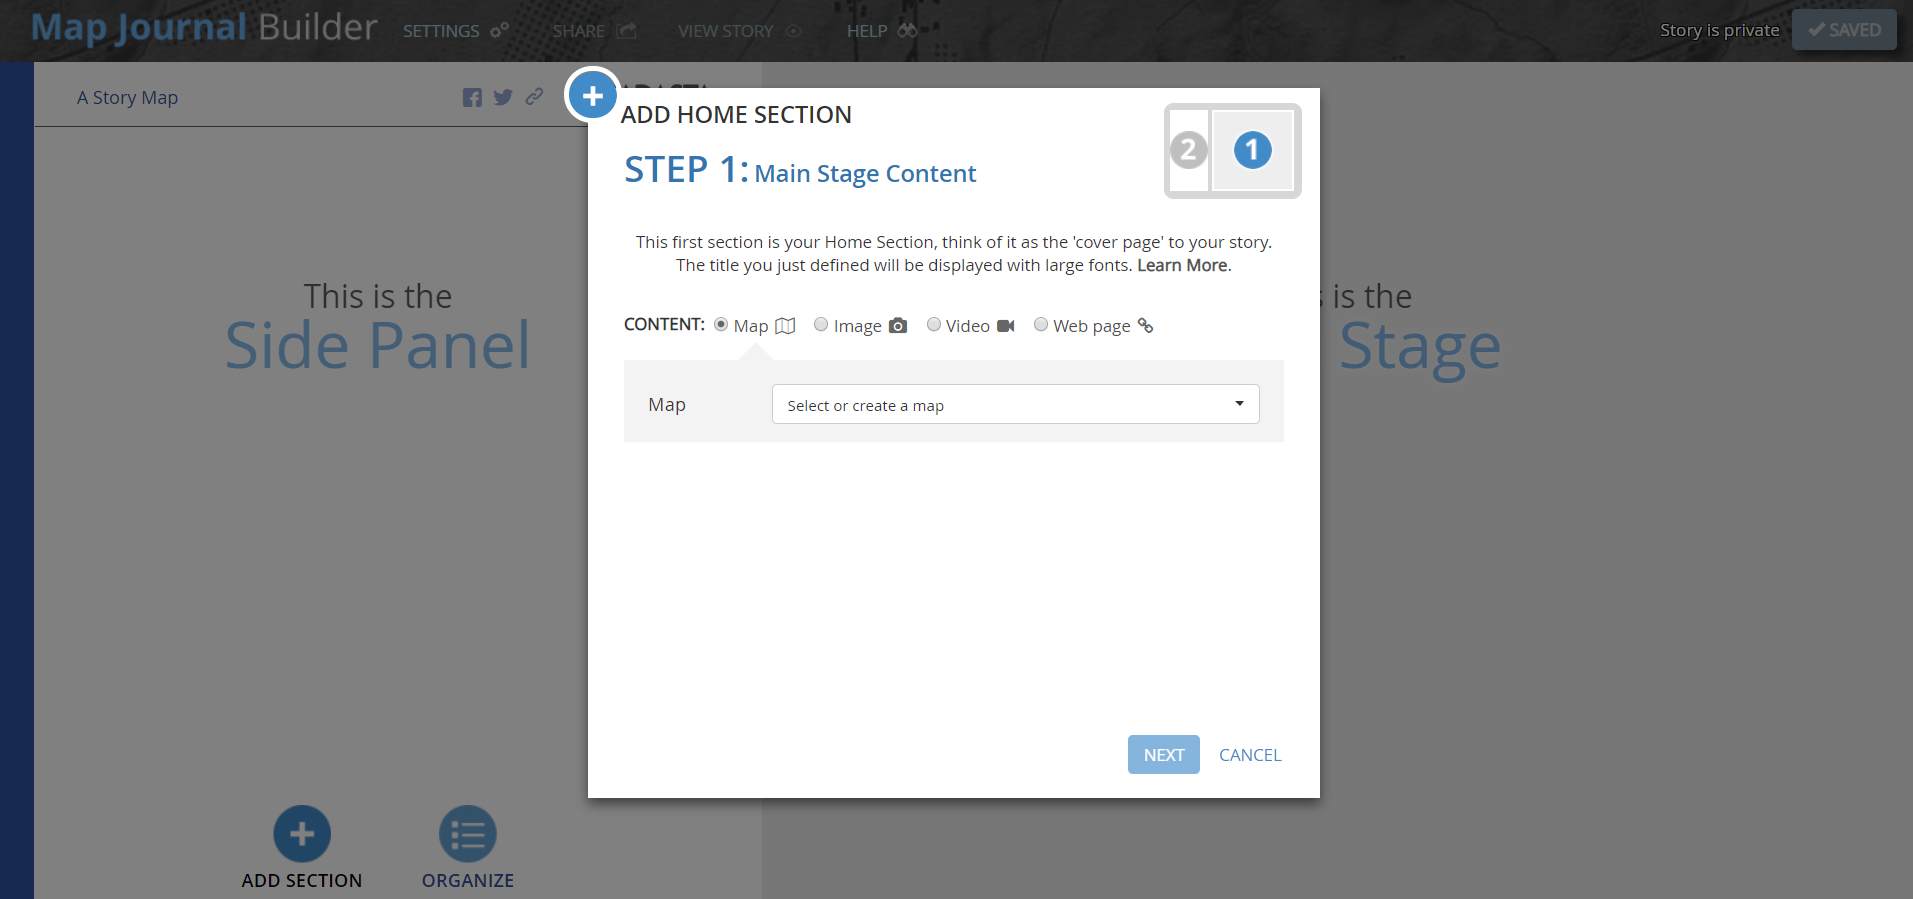
Under Map map drop-down choose Select a map
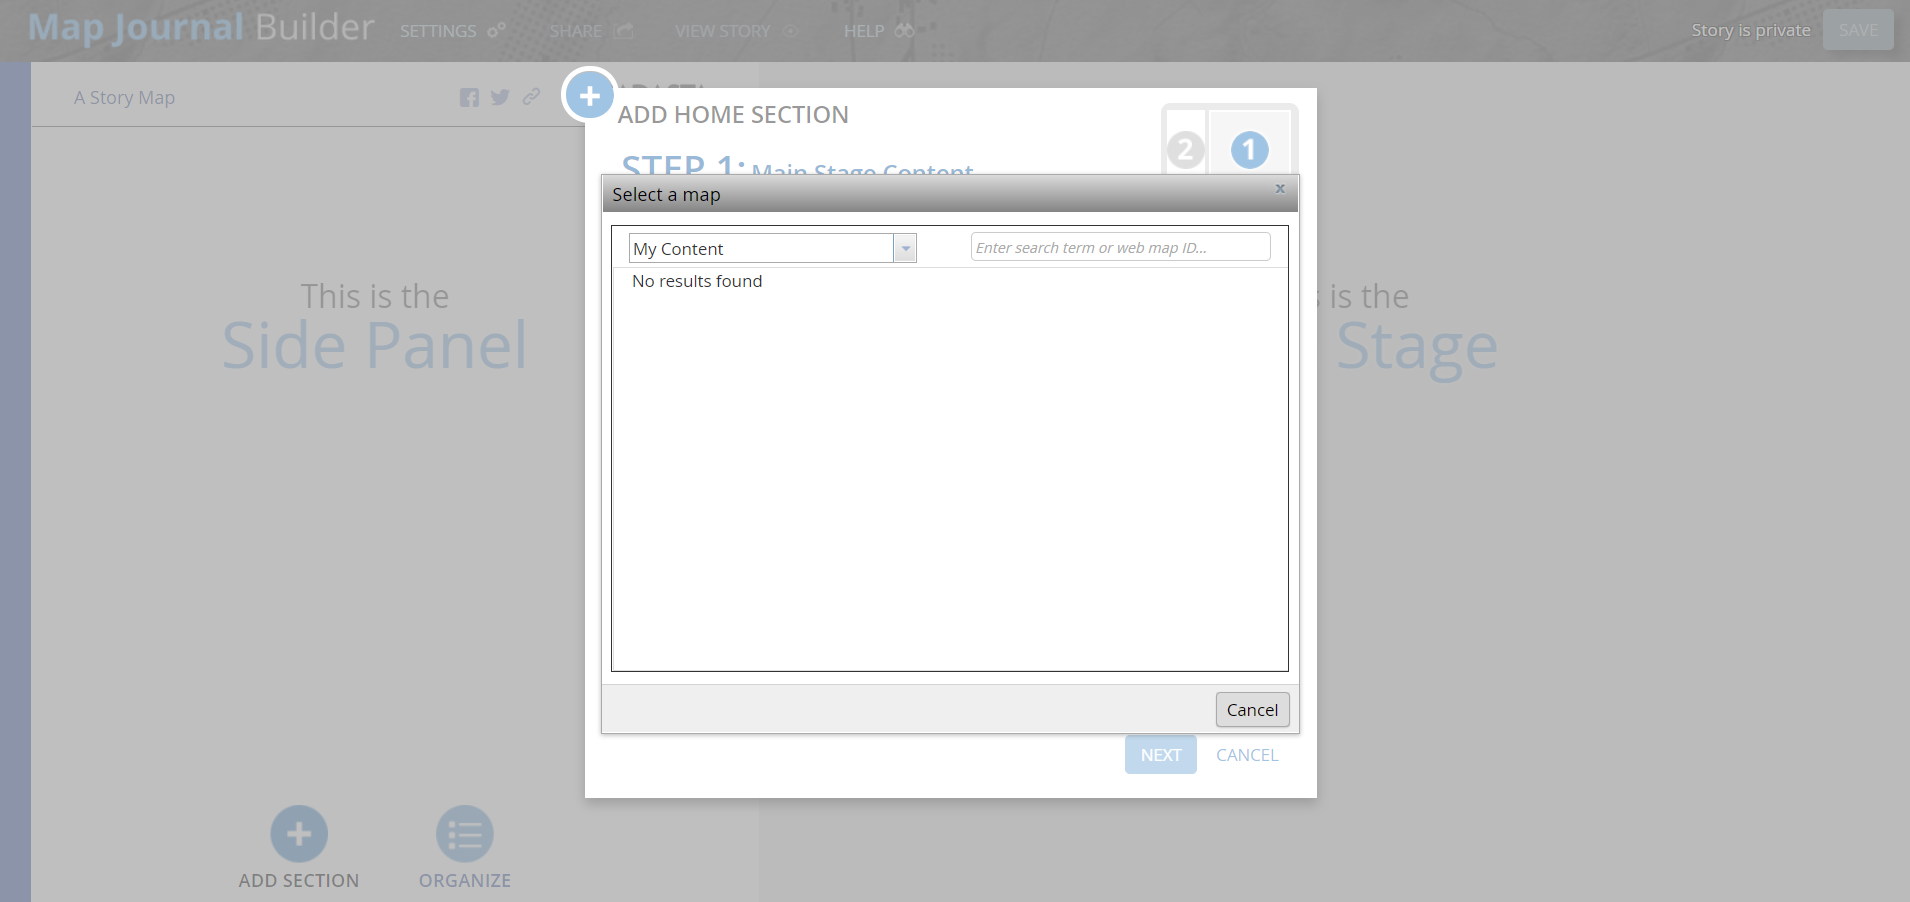
In the next drop down, select My Organization
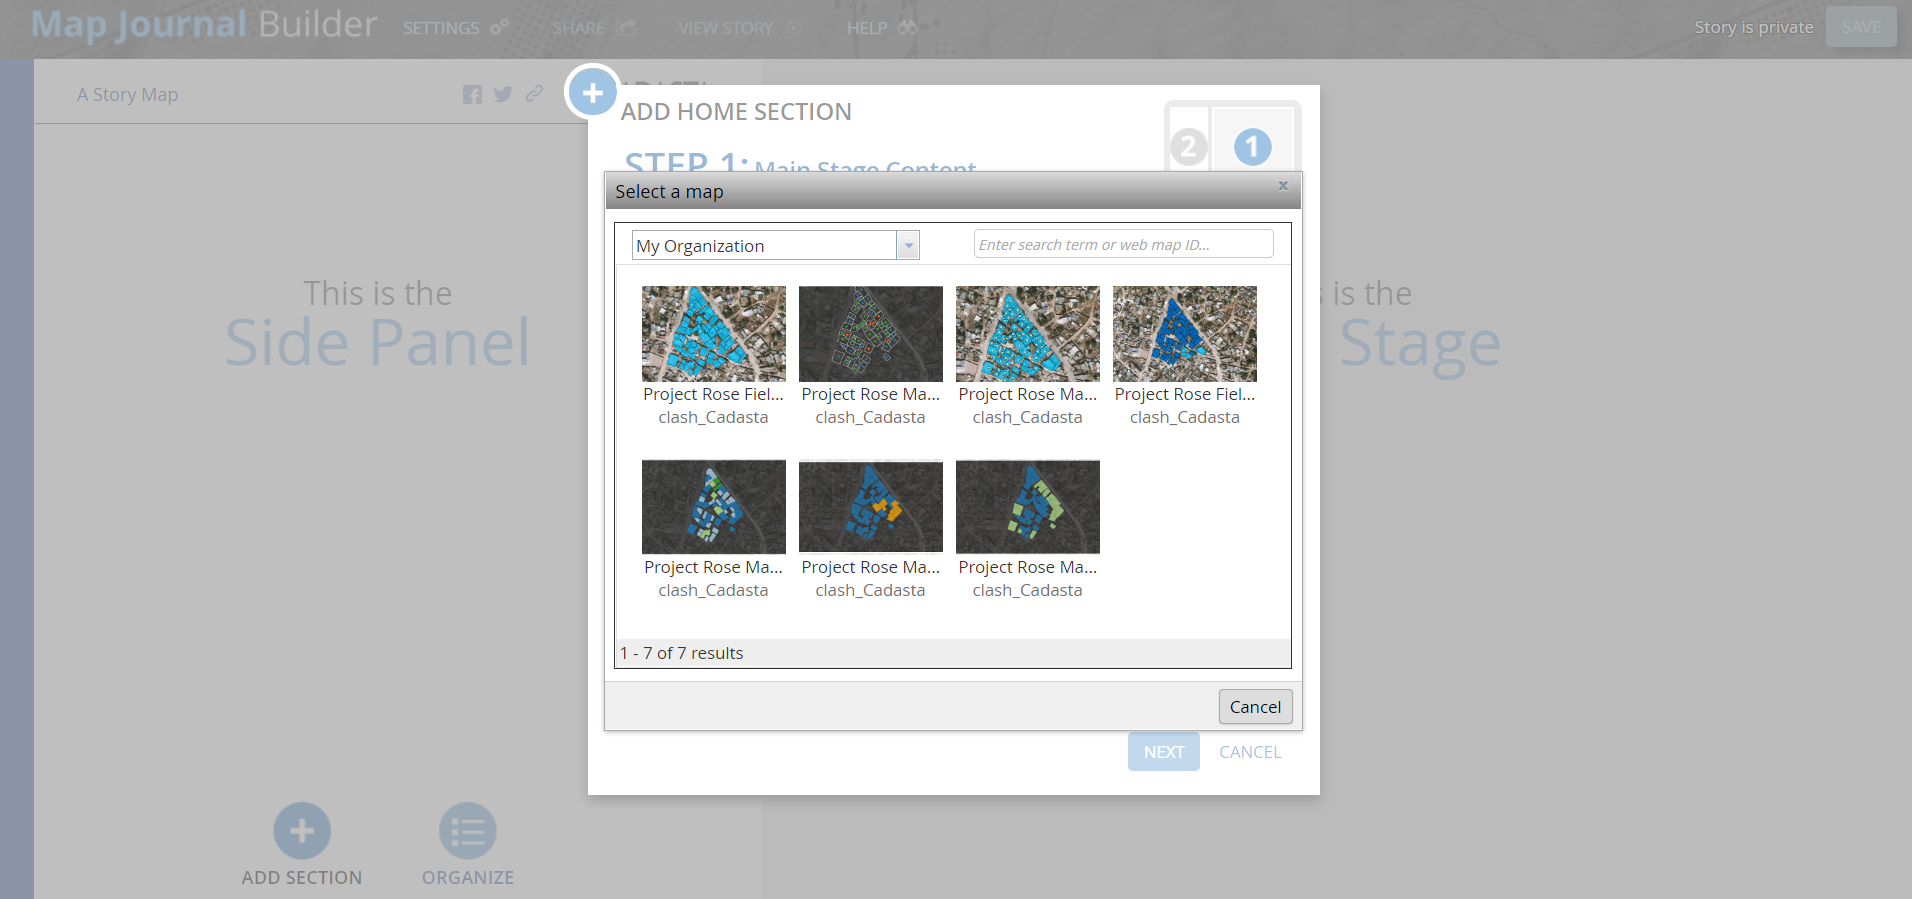
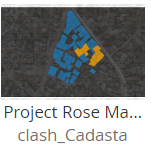
Select the Access to Water map
Click Next
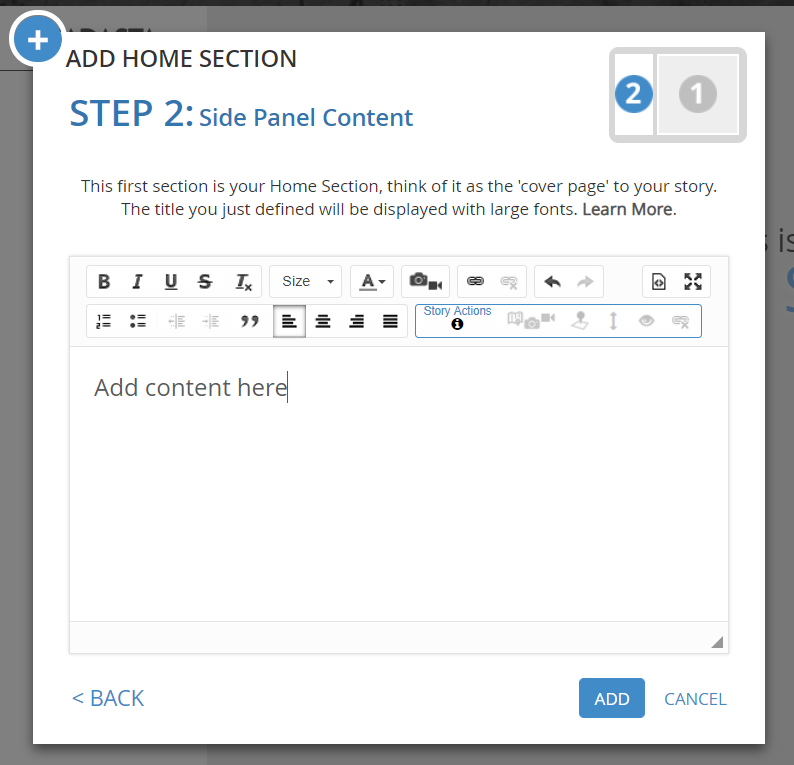
The Side Panel Content splash screen appears
Note: This is where you can add multimedia content that will show up on the left of your Map
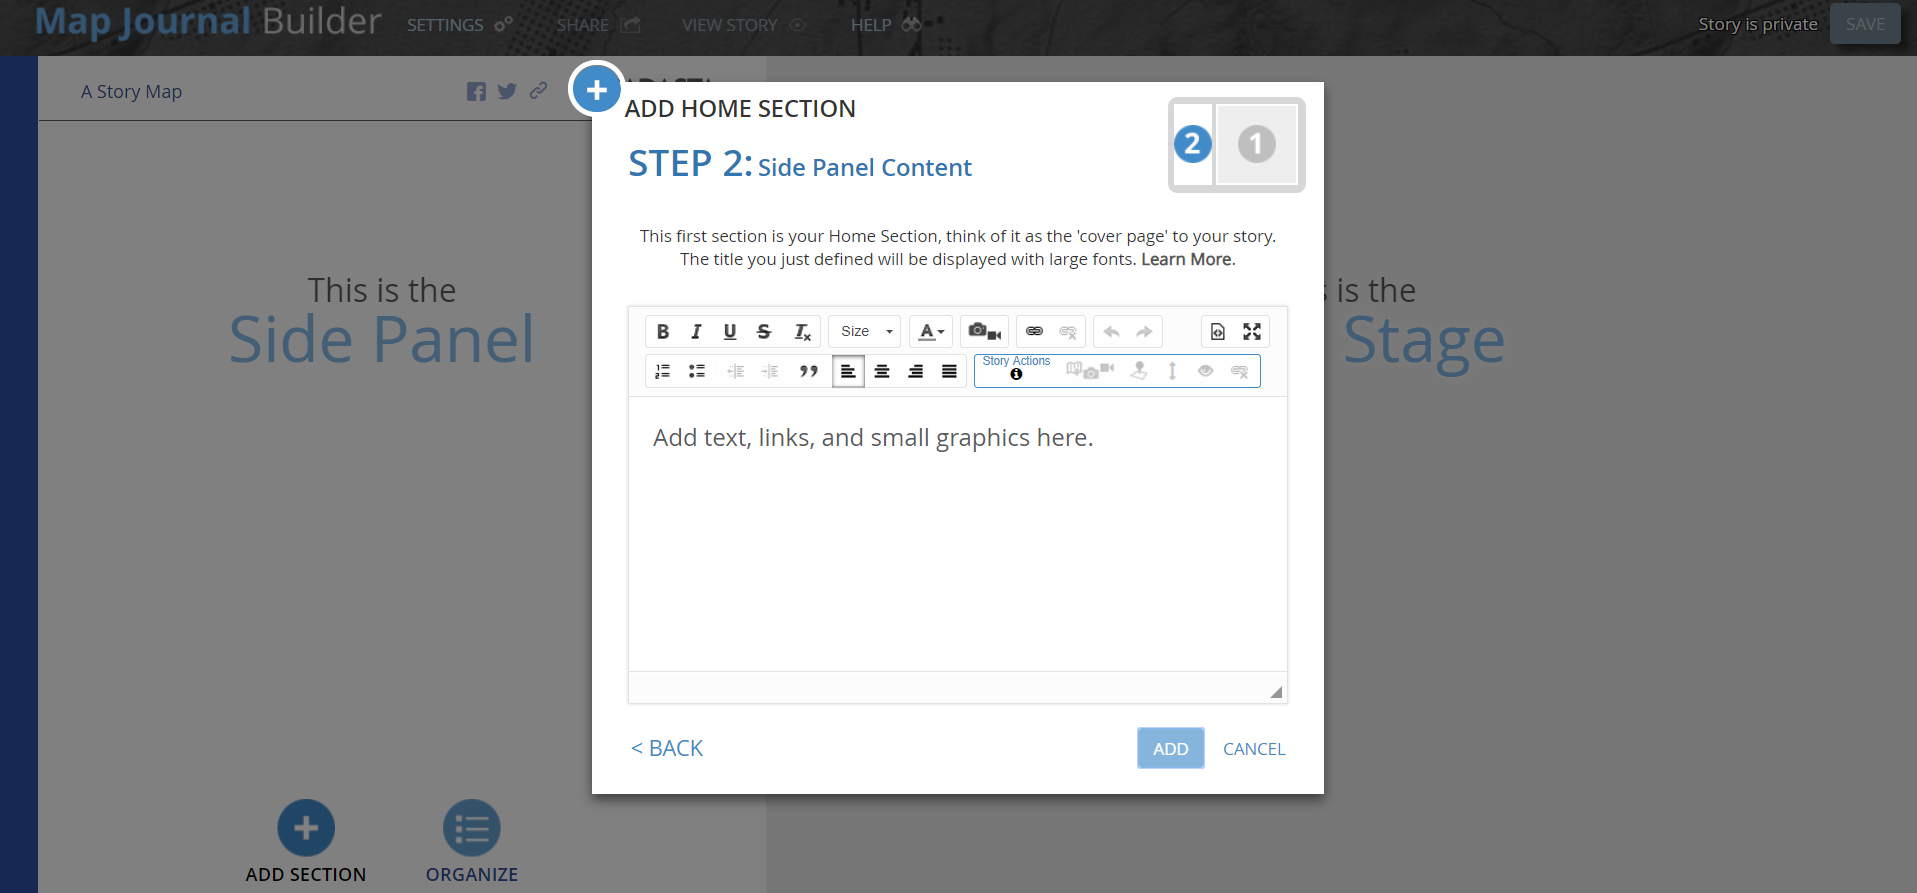
Click Add
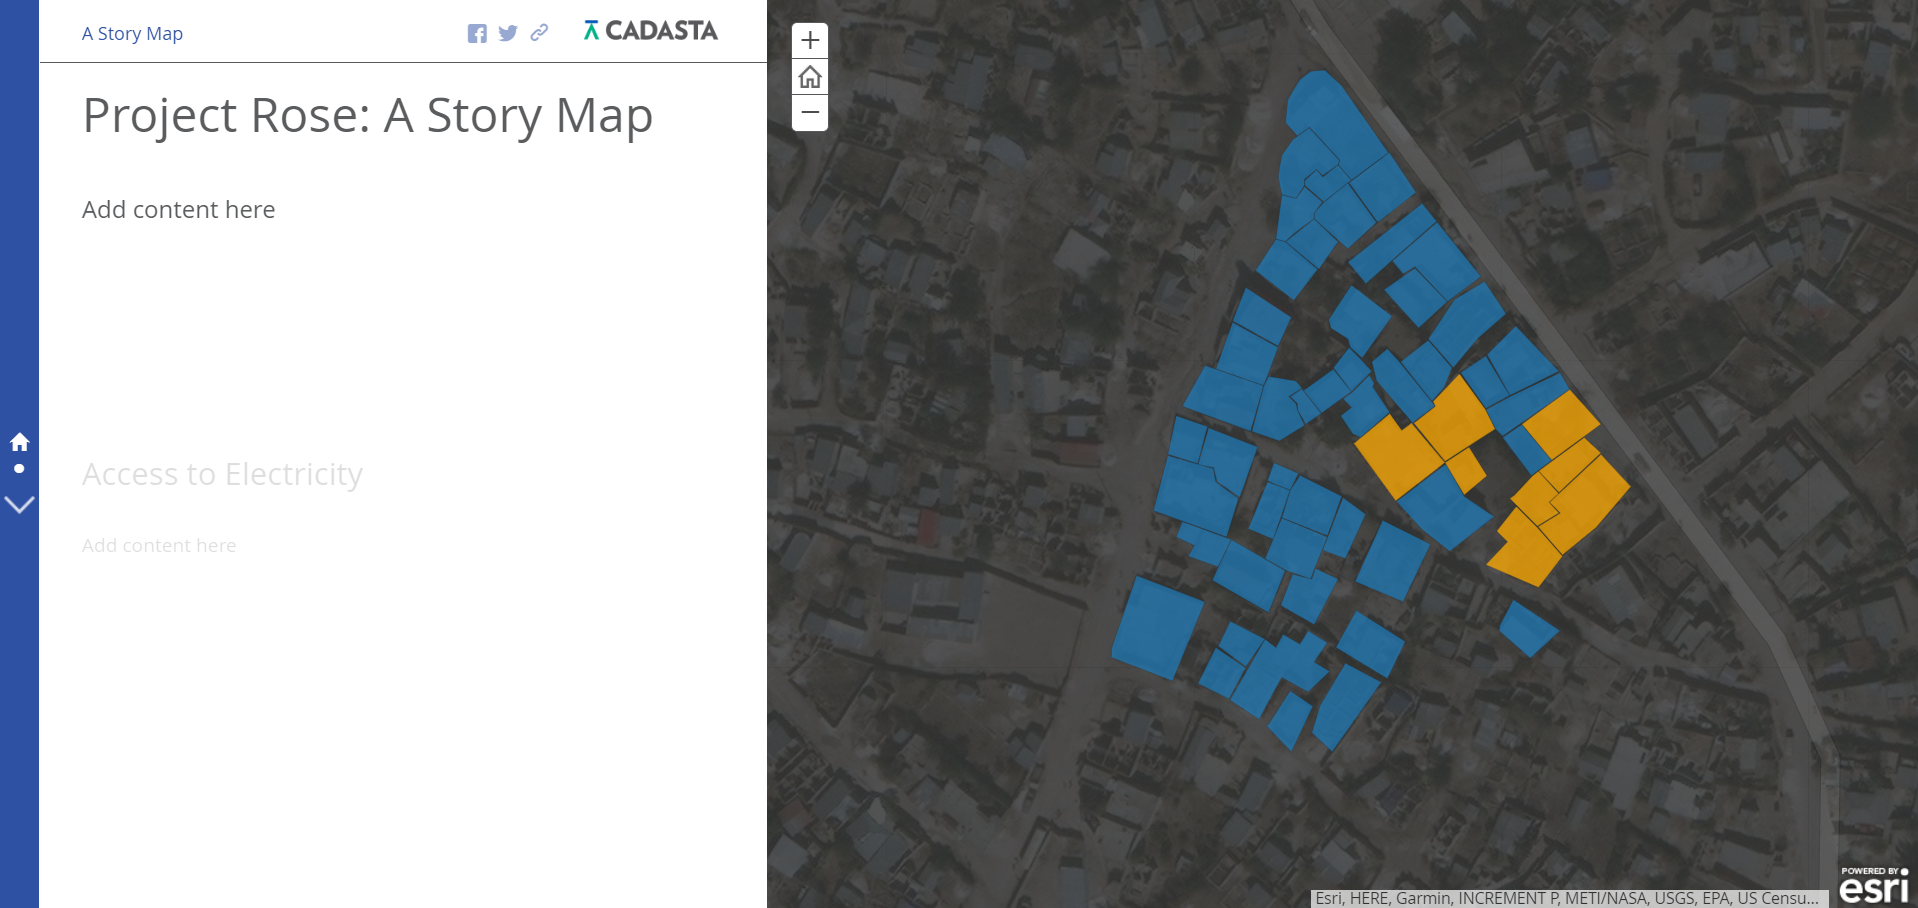
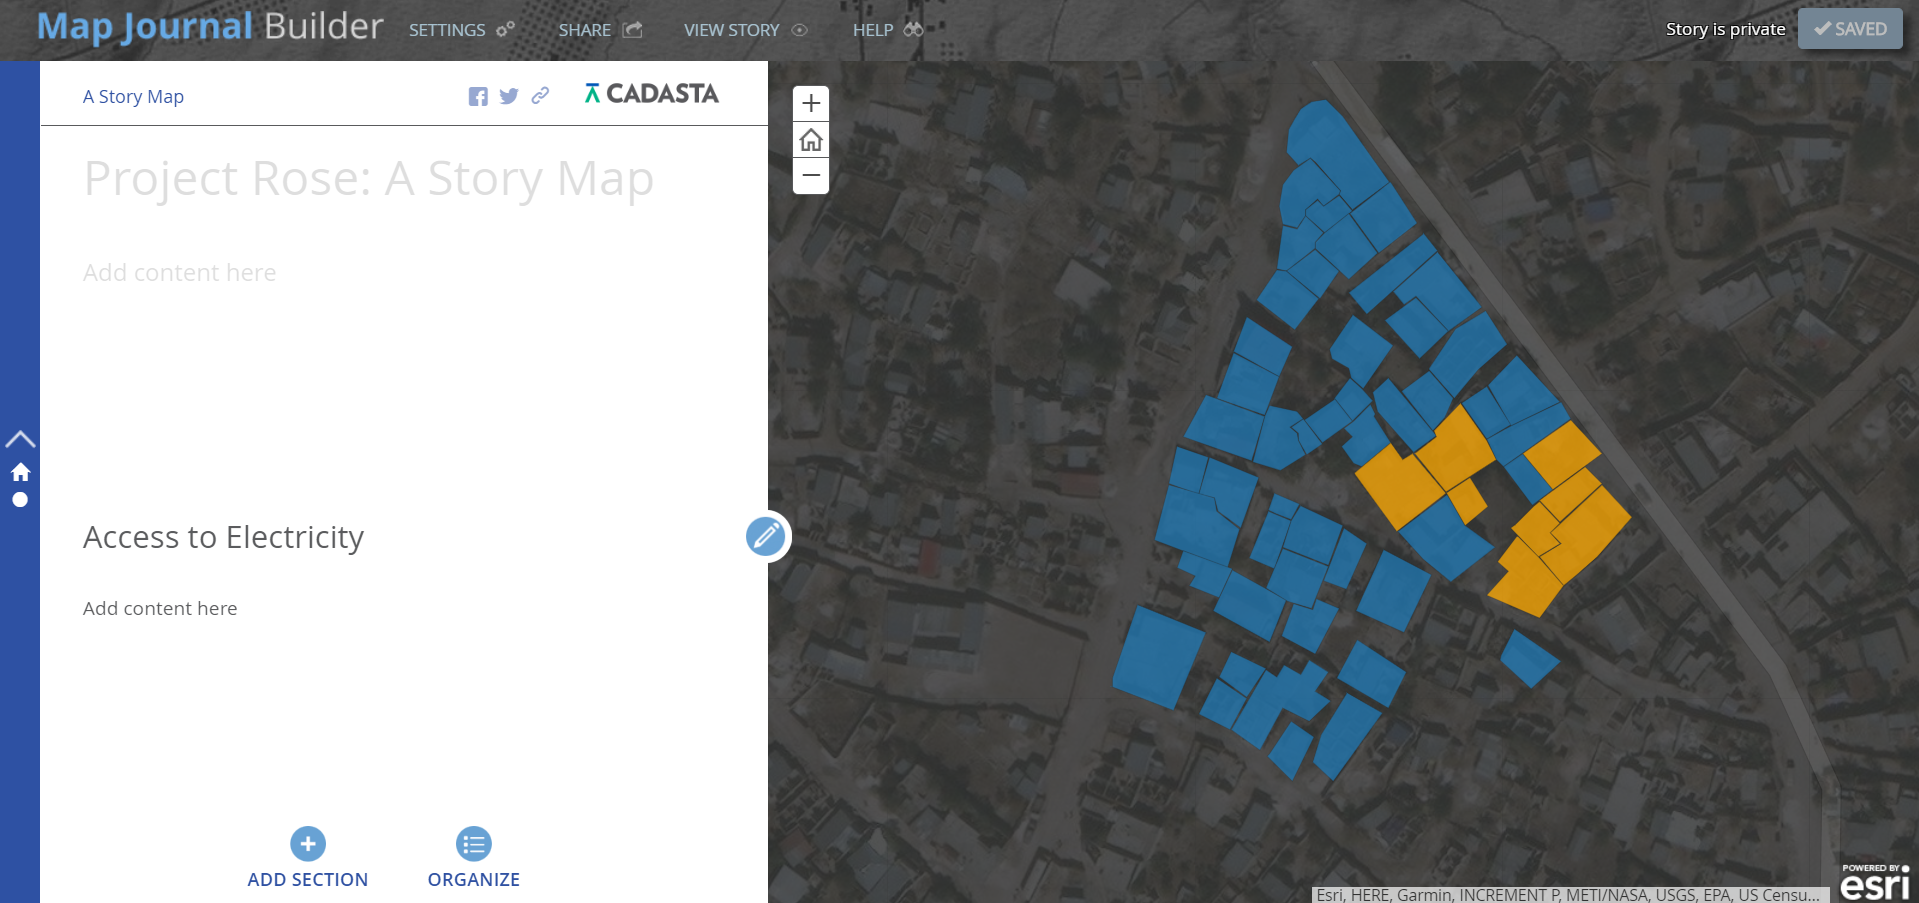
Here is the first section you just created
Click Add Section

A new section’s content splash screen appears
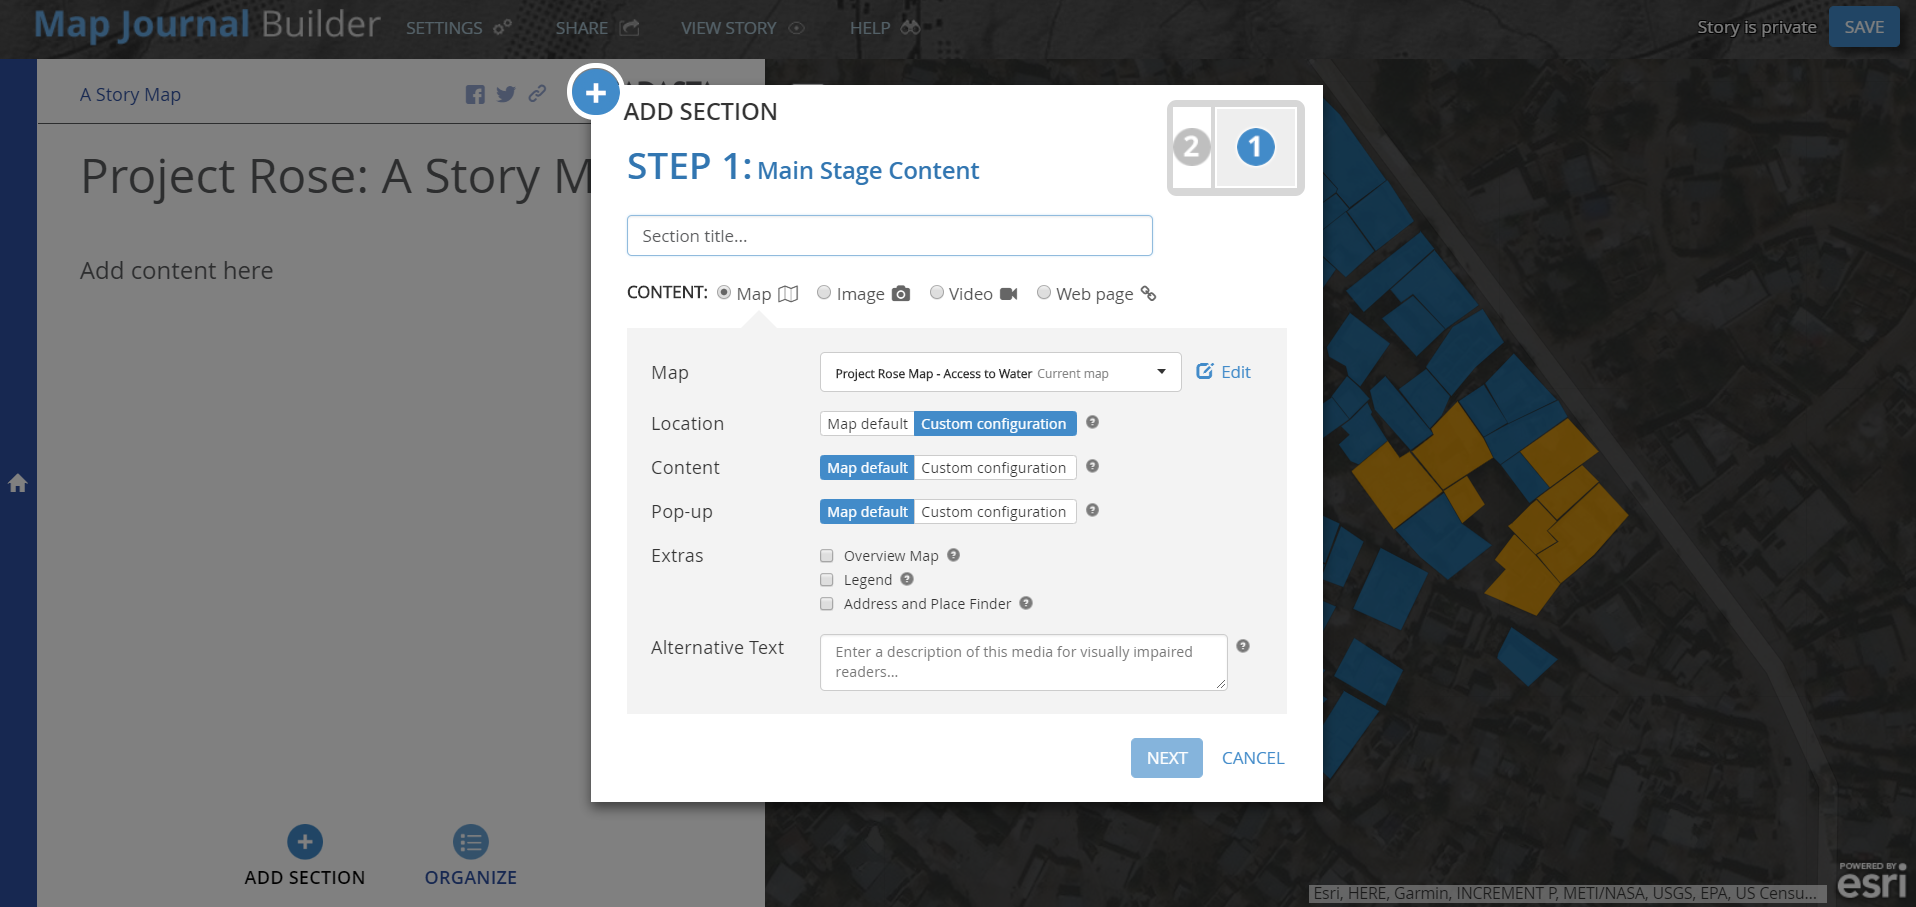
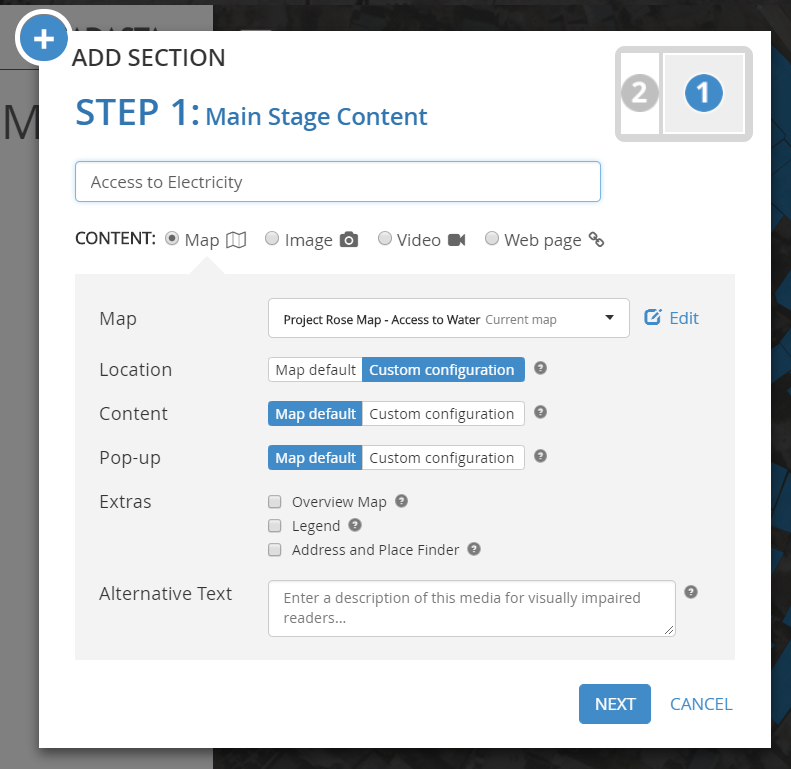
Repeat the same process again as done in content section one
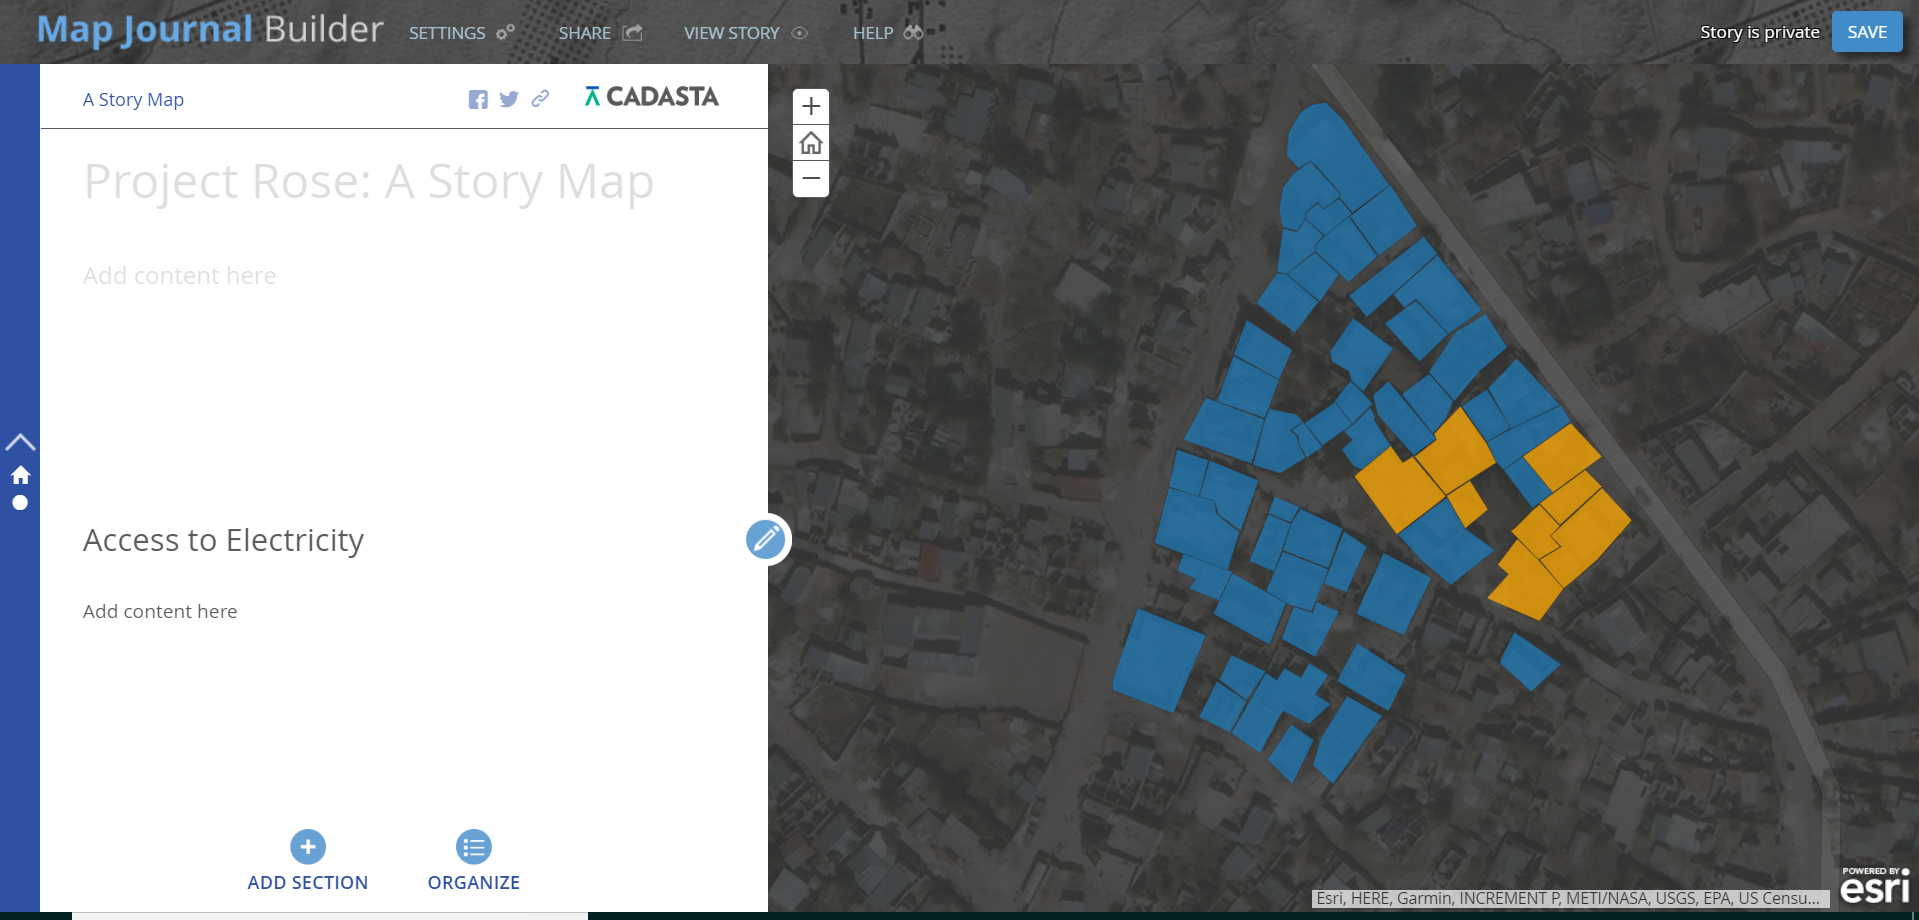
Here is result of section two, “Access to Electricity”
Click Save

You can tell your Story Map has been saved by the difference in the top-right corner
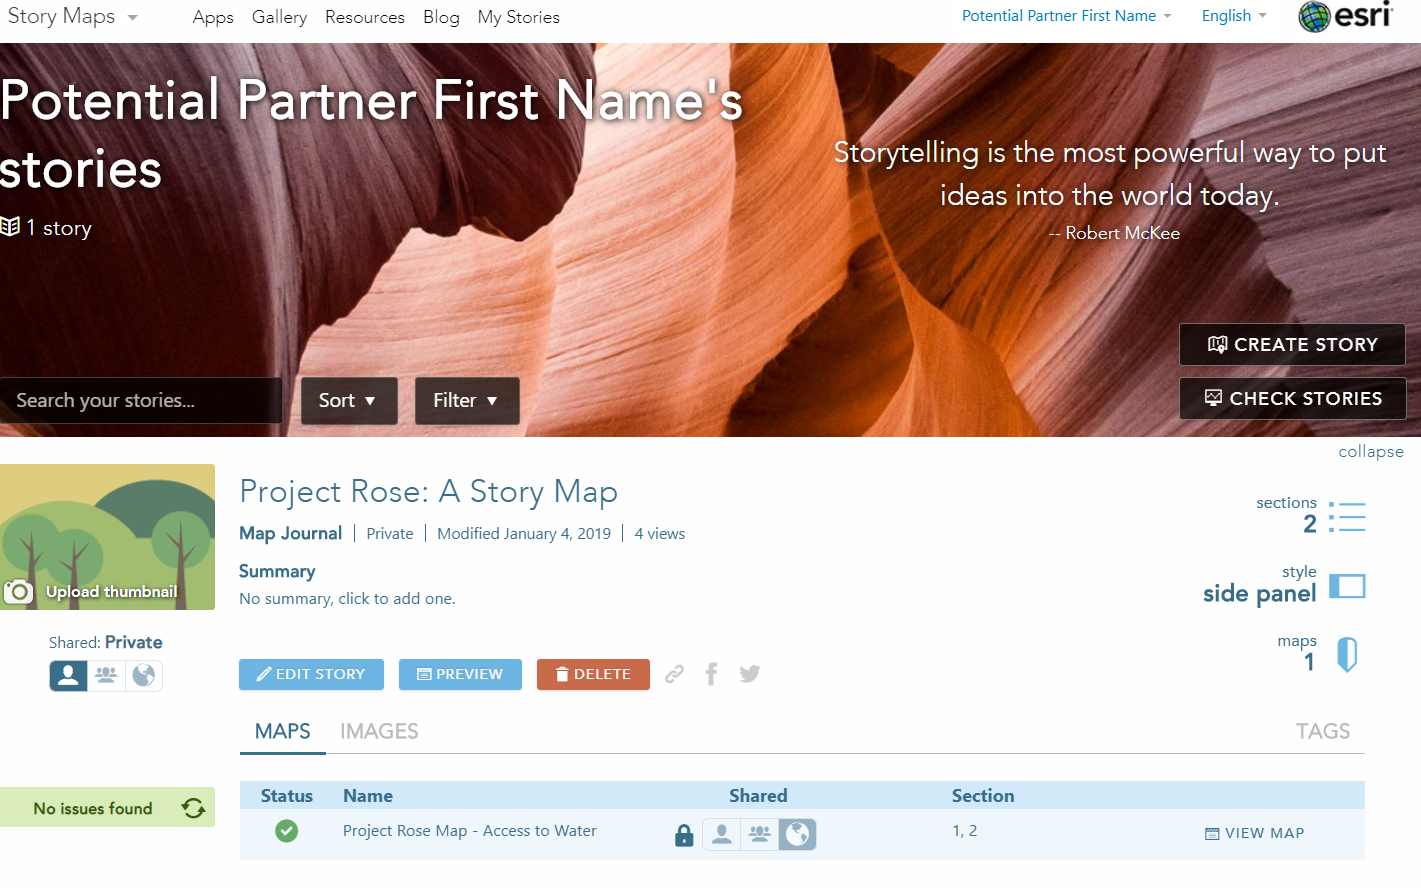
24) Here is your saved Story Map
Note: It has not been shared

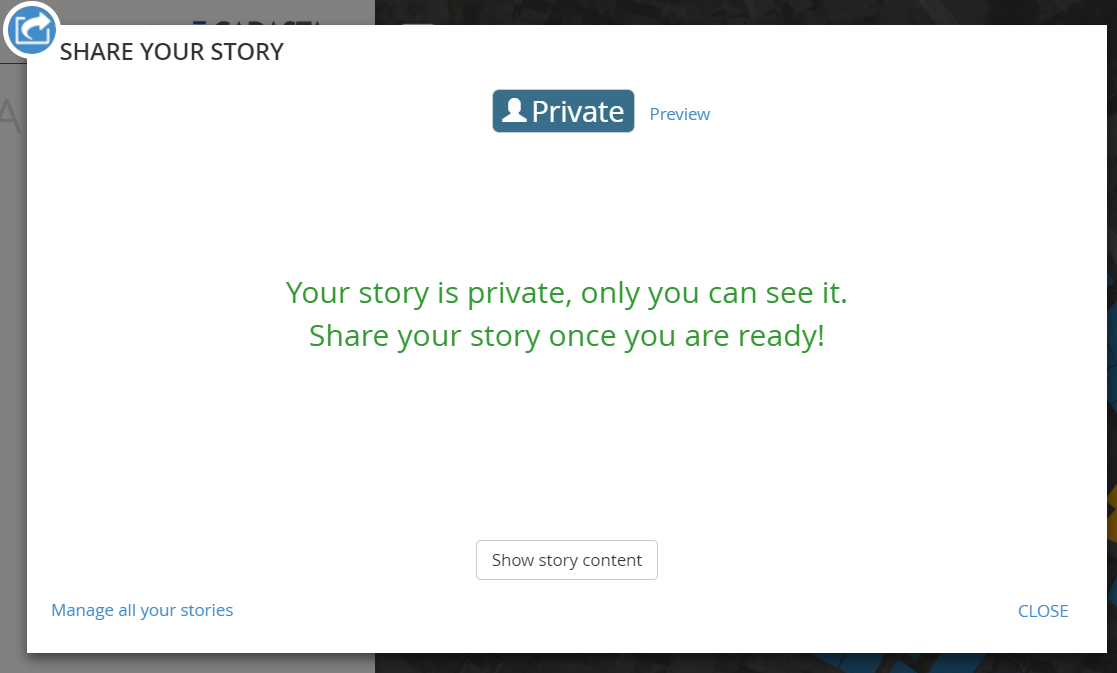
25) Click Share

The Share splash screen will appear
Note: It is set to Private
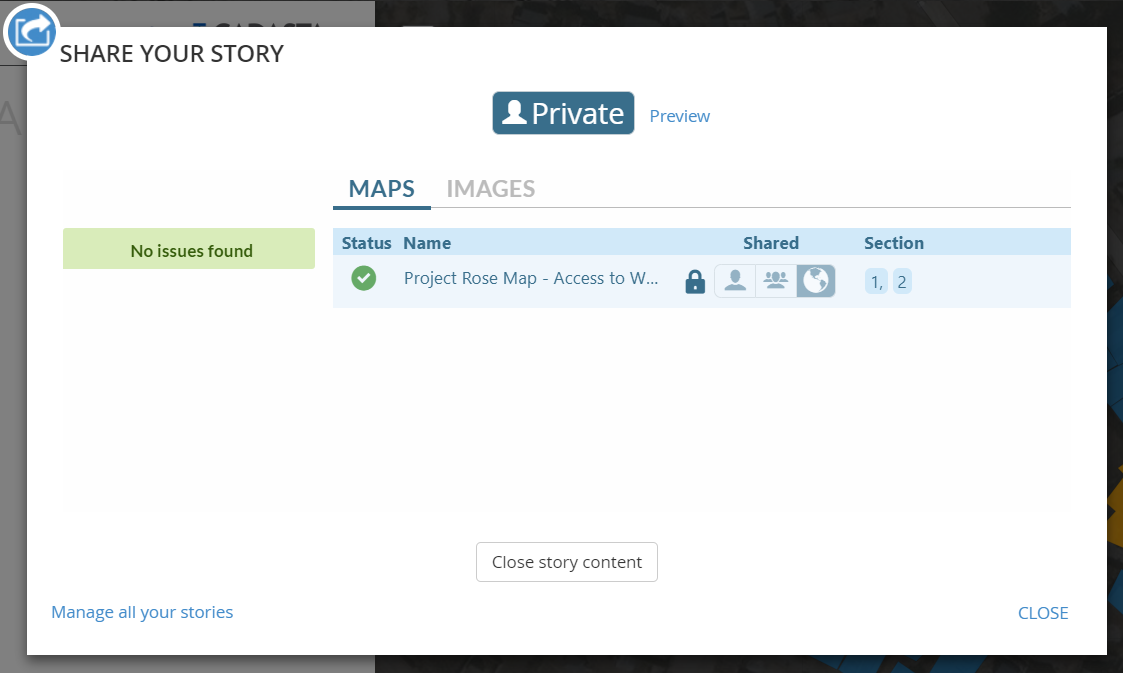
Click Show story content to see the following
Note: There are No issues found and it is Publically shared
Navigate back to the Story Maps window
You will see your new Story Map in the stories section
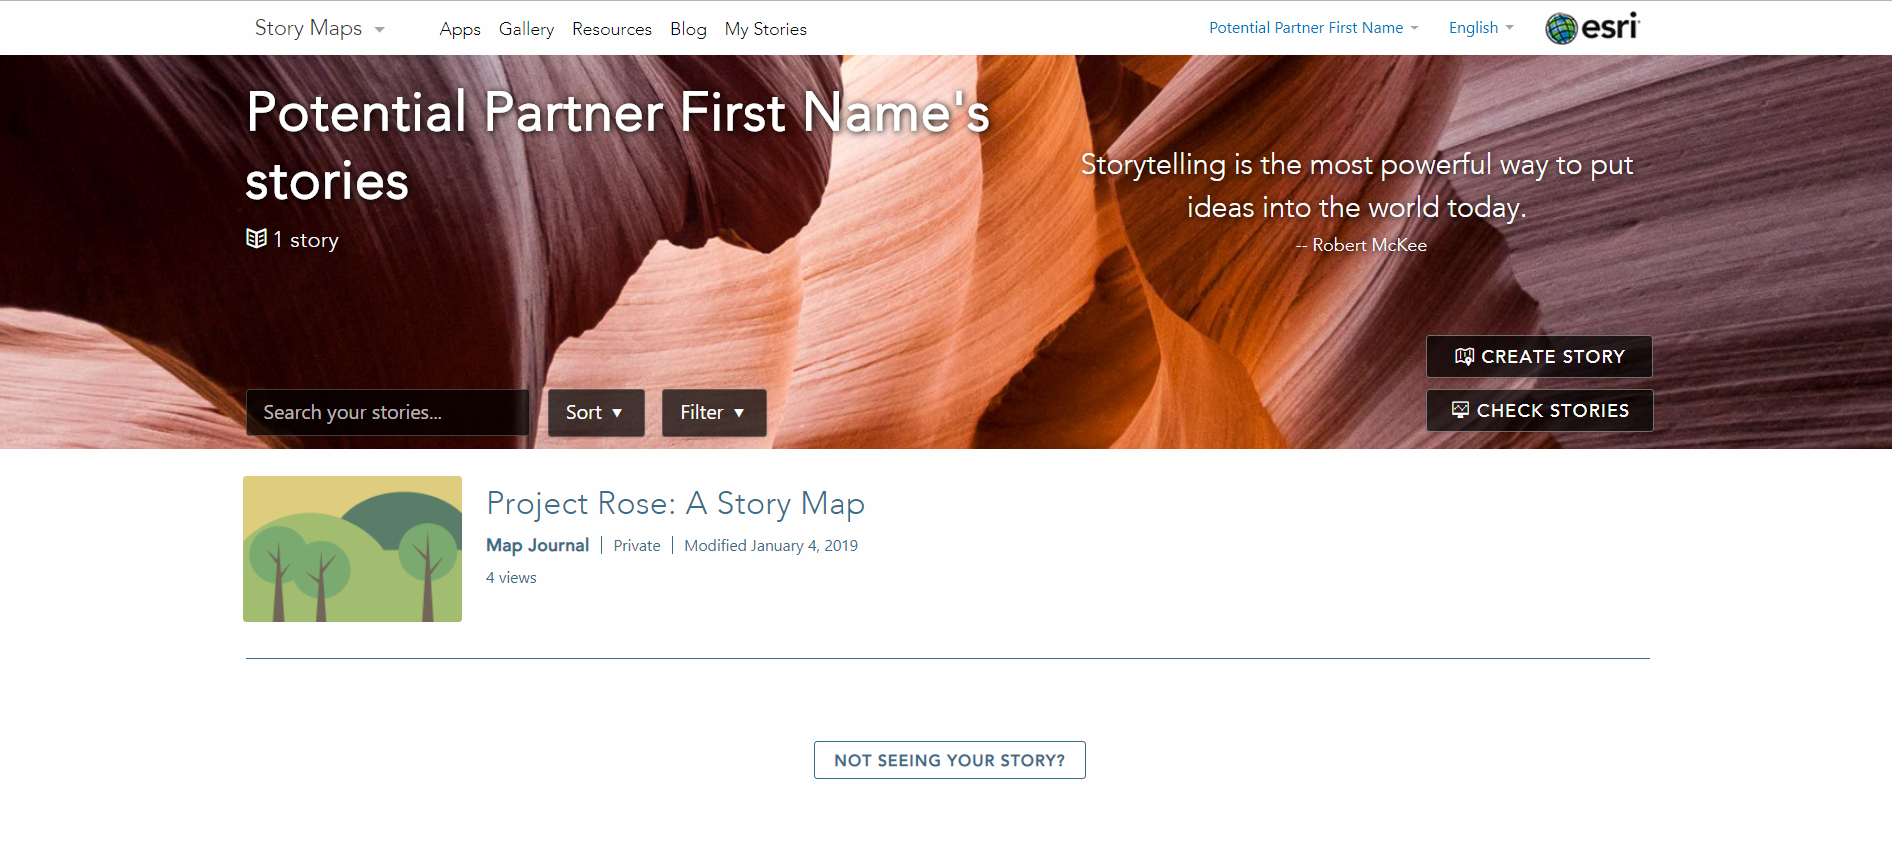
Click on your new Story Map’s title to see additional options
Note: The Story Map title in this example is Project Rose: A Story Map
Navigate back to ArcGIS Online (AGOL)
Click Content and My Content
Note: You will see your new Story Map in My Content
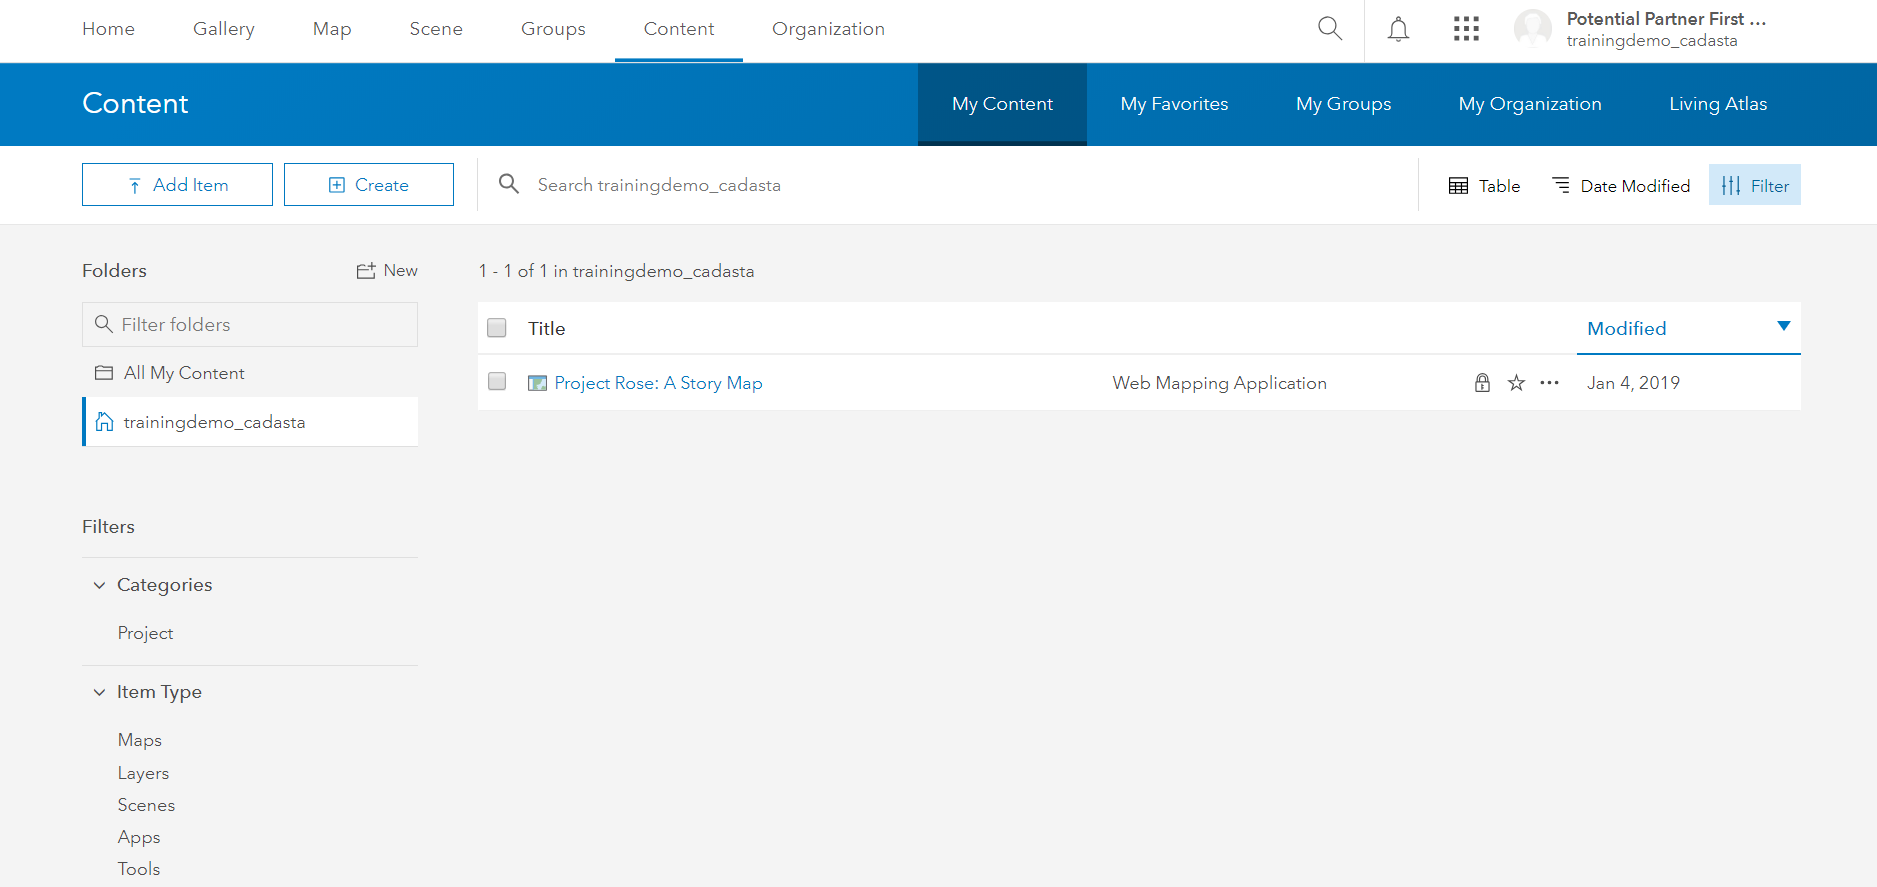
Click your new Story Map to see the Item Details Page

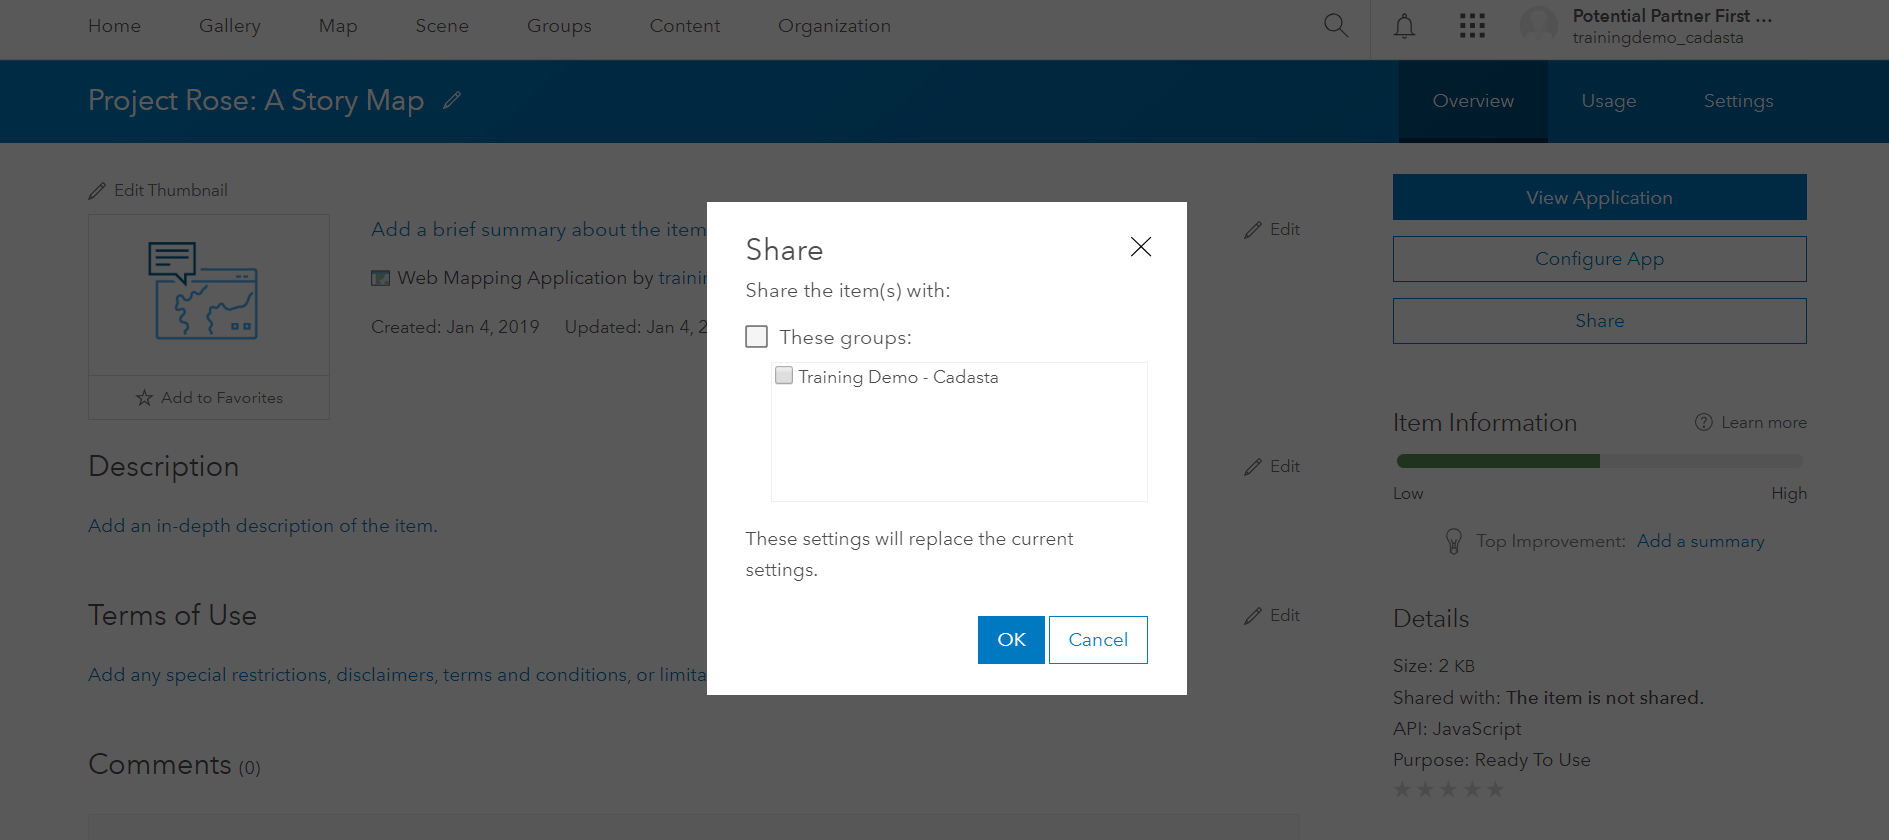
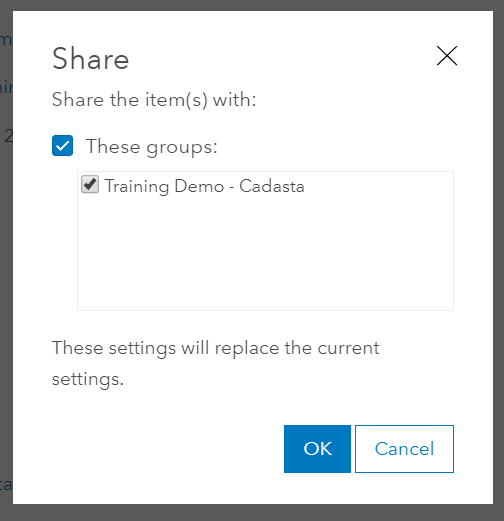
Click Share
Select your User Group and click OK
Note: This example uses the Training Demo - Cadasta group
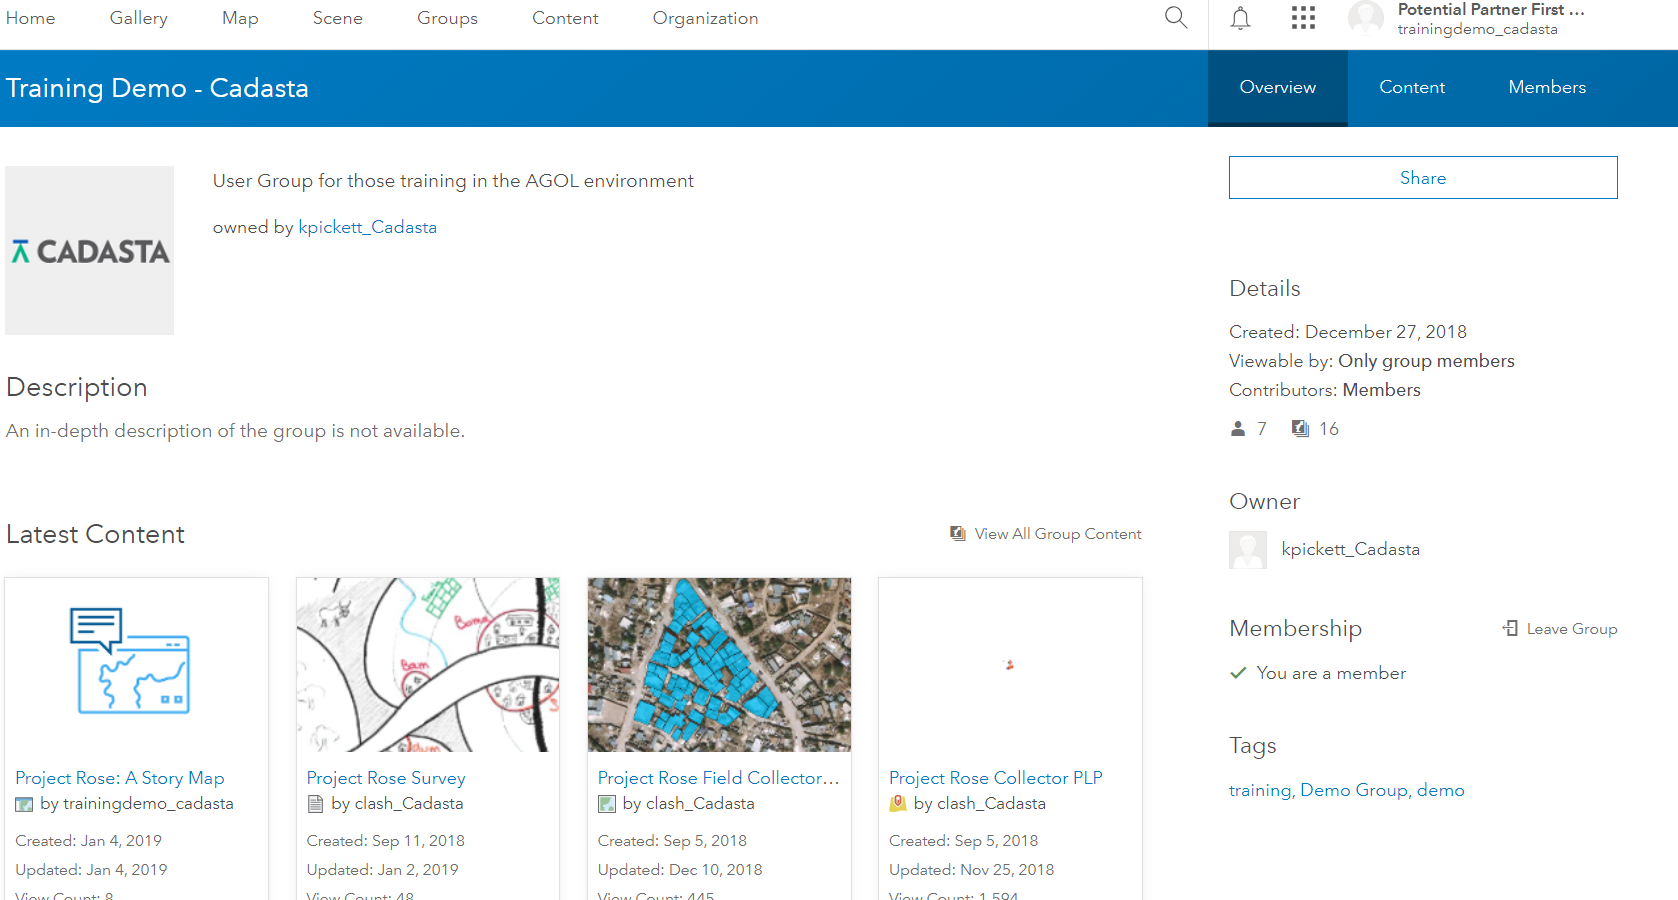
Navigate to your Groups page and you will see your new Story Map in the Contents
Select your new Story Map and it will open a new browser window
Log out of your account in ArcGIS Online (AGOL) and close all browser windows or tabs when complete