Purpose
This page will explain how to join a feature layer from Survey123 with another feature layer for Collector in ArcGIS Online
Requirements
- You will need to have a username and password set up for you by a Cadasta team member. If you do not have a user please contact support@cadasta.org
- You will need to sign to your account - see Introduction to your account for a reminder
- You will need to the owner of both feature layers and you will need to know which AGOL folder you have access to.
Steps
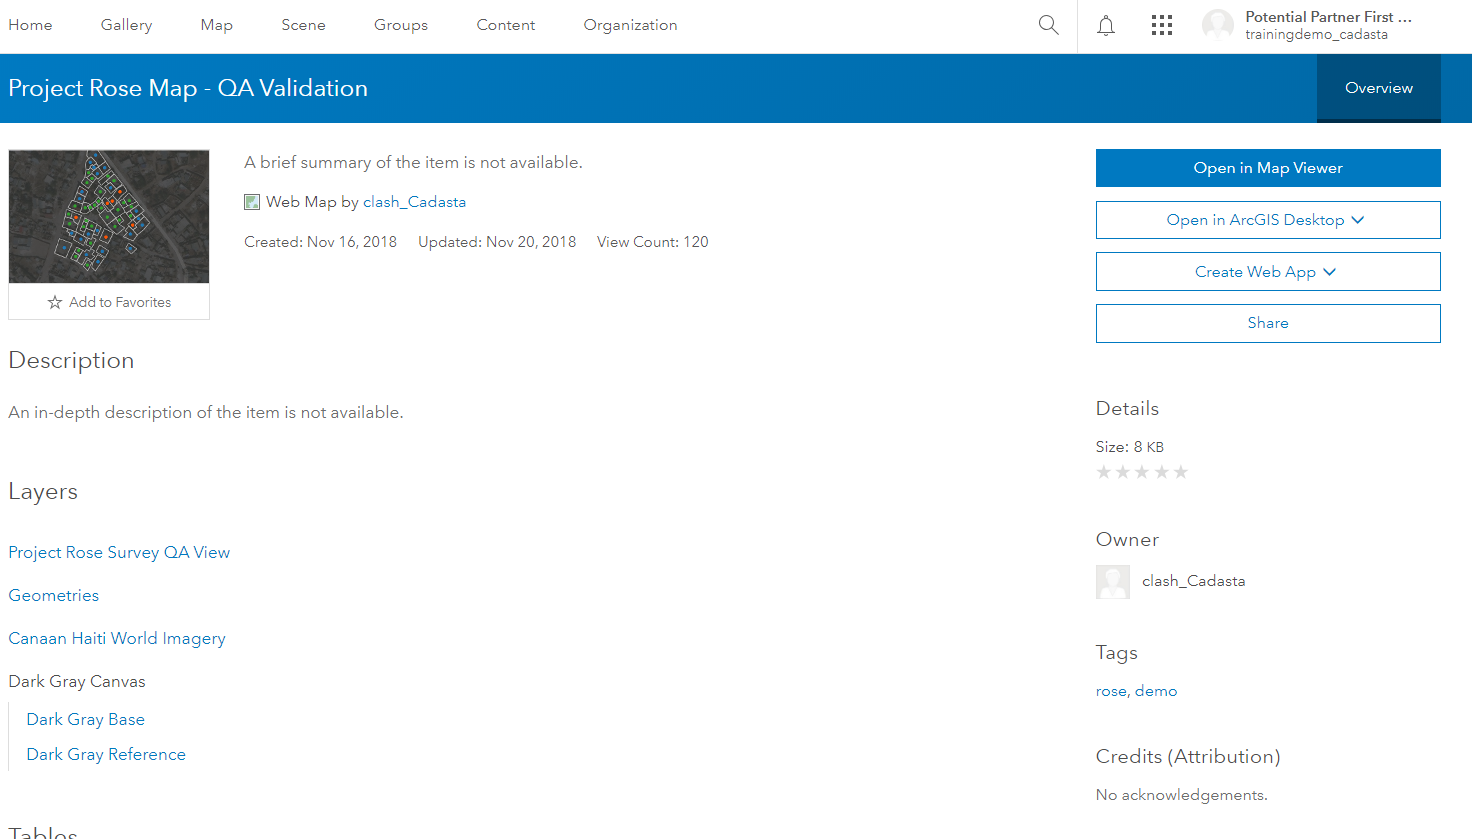
Navigate to the desired Web Map and press the "Item Details" button
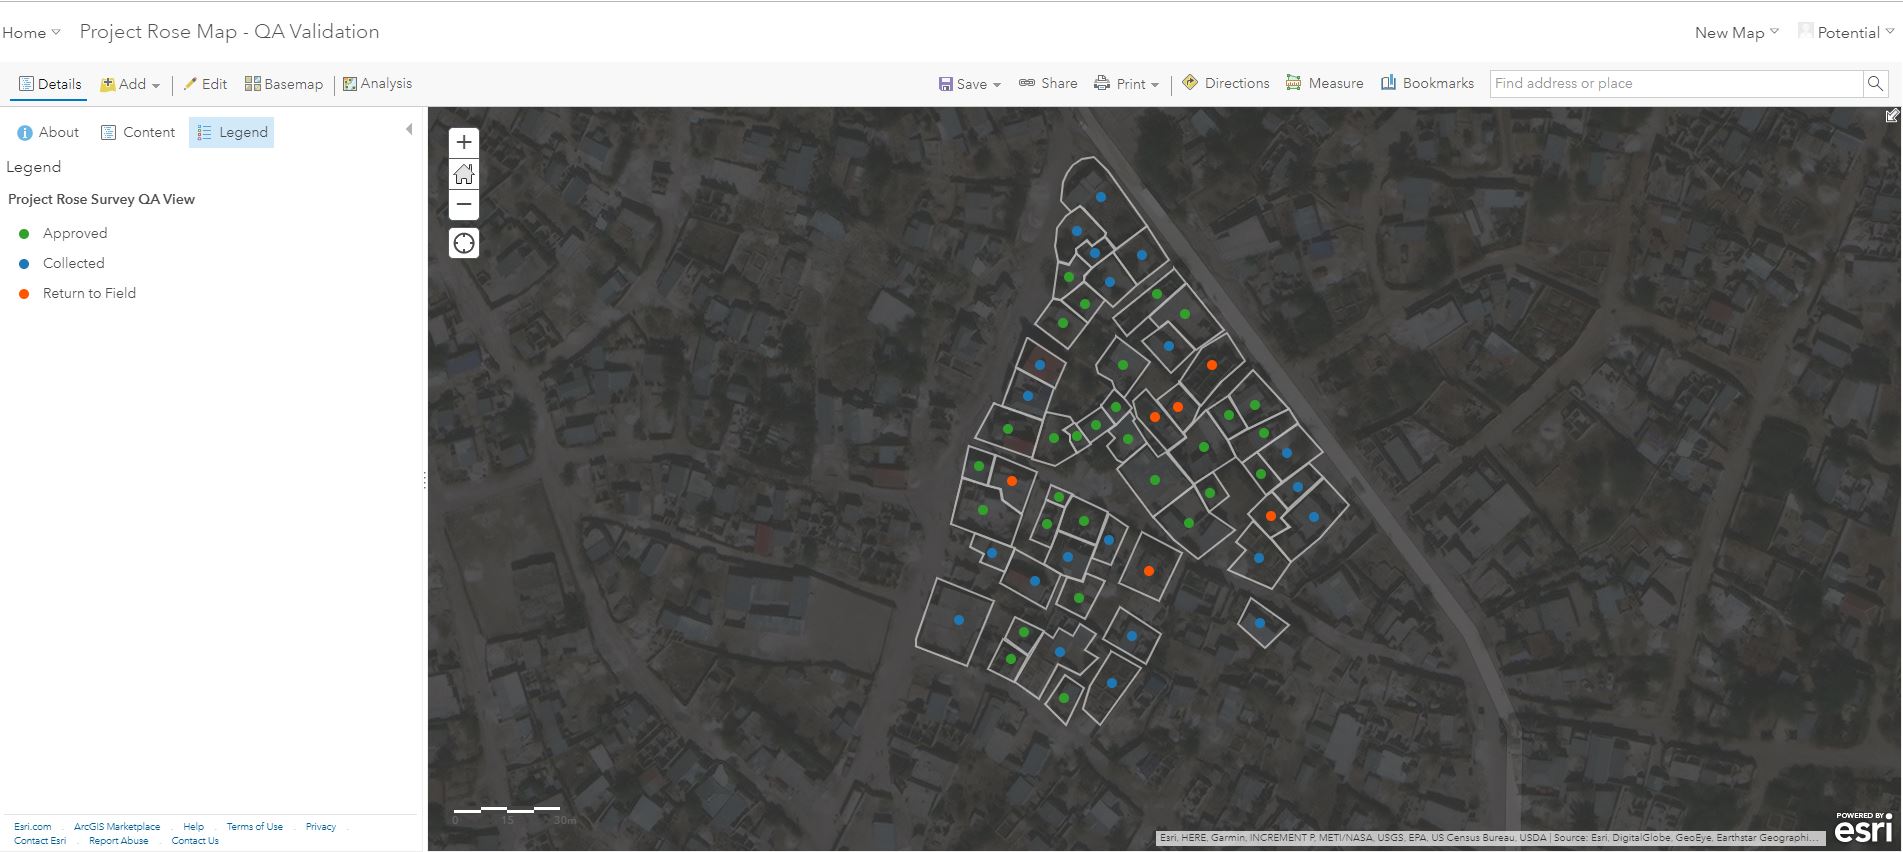
Press the Open in Map Viewer button

- See the Web Map
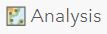
- Click Analysis
- See Perform Analysis sidebar
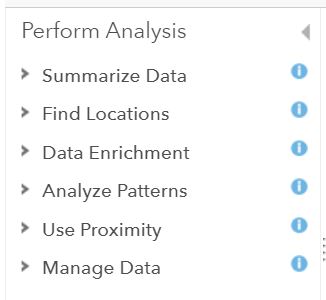
- Click Summarize Data

See Summarize Data
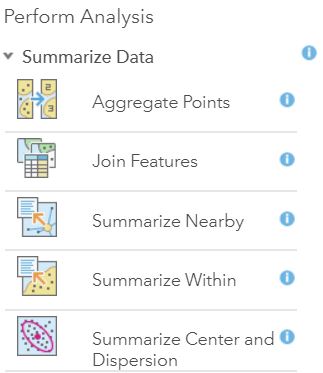
Click Join Features

See the Join Features Steps
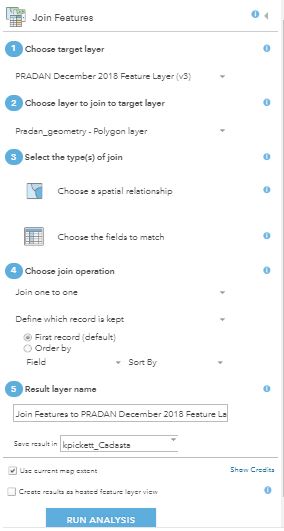
Choose your target layer (layer 1 mentioned in the pre-steps)
Note: This will be your geometry layer in this example

Choose your join layer (layer 2 mentioned in the pre-steps)
Note: This will be your survey layer in this example

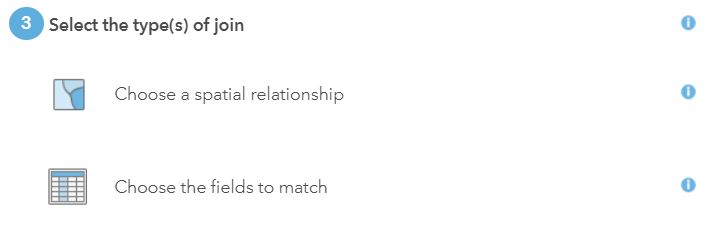
Select the Join Type, Choose the fields to match
Note: This example bases the join on fields (tables) and not on geometry (spatial)
Select the fields to join
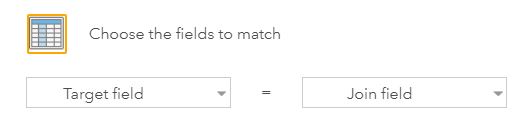
- Select GlobalID (layer 1)
- Select collectorID (layer 2)

Choose Join Operation, Join one to many
Note: This example uses a one to many relationship but you could use a one to one relationship for other reasons

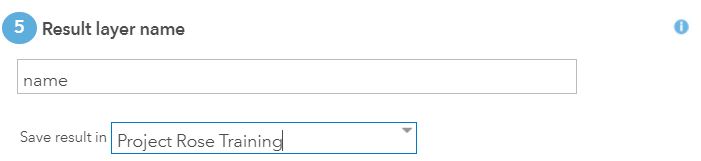
Name the join and select the folder to save the join in (remember the folder from the pre-steps)
Uncheck the "Use current map extent" checkbox and check the "Create results as hosted feature layer view"

- Click Run Analysis

- See your newly created Feature Layer in the Contents sidebar of the Web Map with the other Feature Layers