Purpose
This page will explain how use a WebApp in ArcGIS Online
Requirements
- You will need to have a username and password set up for you by a Cadasta team member. If you do not have a user please contact support@cadasta.org
- You will need to sign to your account - see Introduction to your account for a reminder.
Steps
From the ArcGIS Online (AGOL) homepage, navigate to the User Group page
Search for or scroll to the Web App
Click on the Web App to navigate to the item details then click on View Application


OR
Open the Web App by clicking on the thumbnail
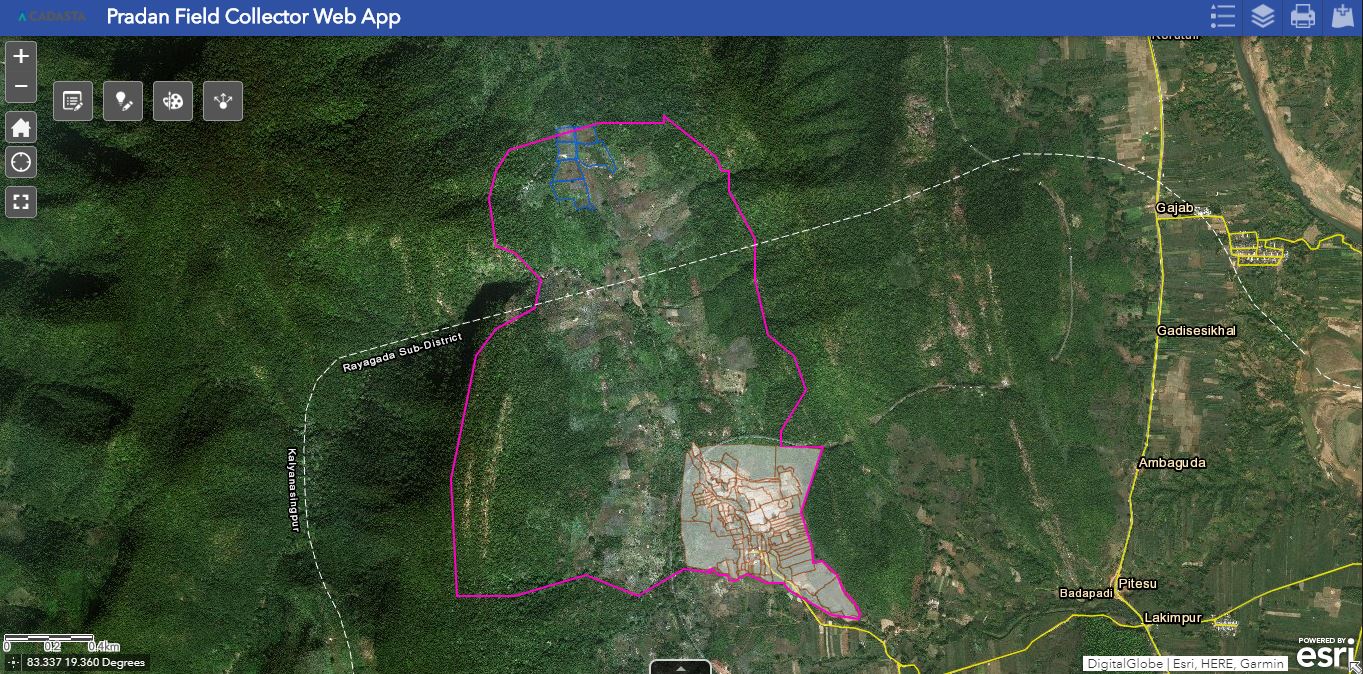
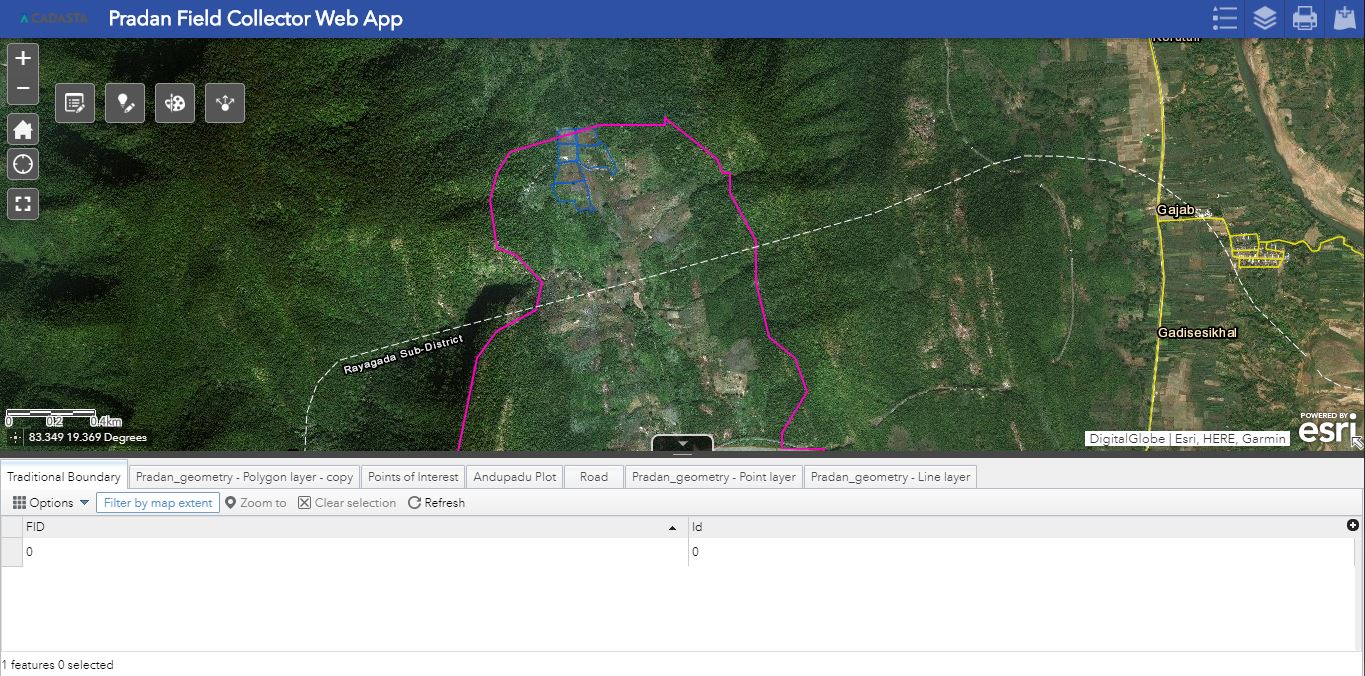
See the Web App
You can zoom in and out, go to the home location, navigate to your current location, and start full screen mode by using these buttons
Note: At any point you can place your mouse over any of the buttons and an identification pop-up will name the button

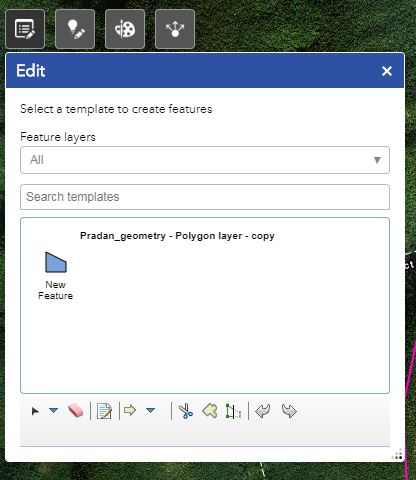
With the Edit
 button you can open the Edit Widget to add, delete, and edit features
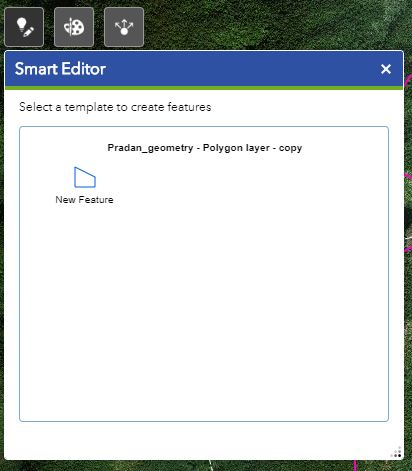
With the Smart Editor
 button you can open the Smart Editor Widget to create new features
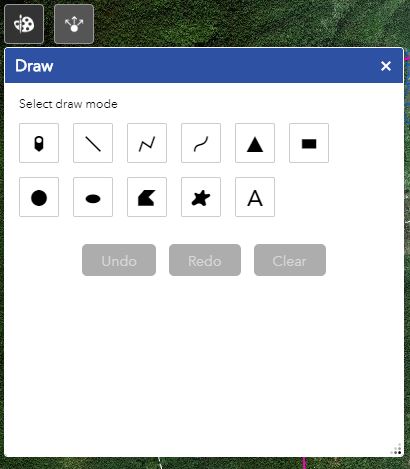
With the Draw button
 you can open the Draw Widget to add polygons, lines, points, and text
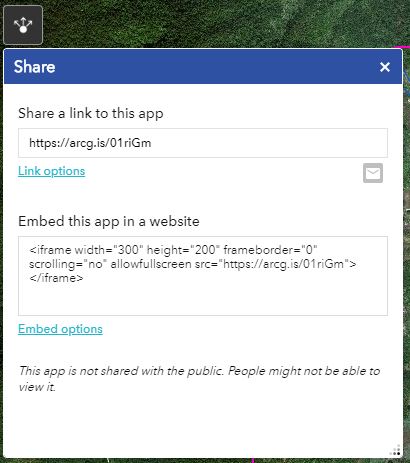
With the Share
 button you can open the Share Widget to email the web app link easily
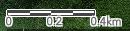
The scale bar looks like this and is in the left-bottom corner of the web app
The attribute table can be seen by pressing Open Attribute Table button

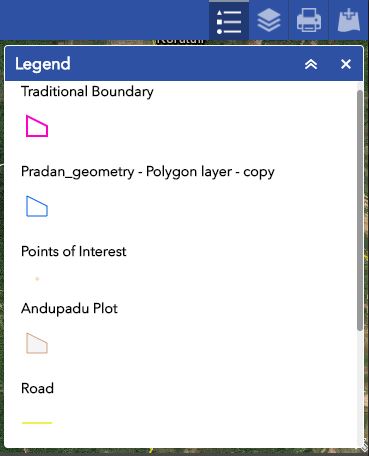
The Legend button
 shows the map’s legend
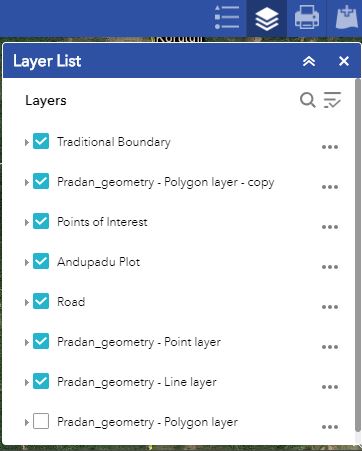
The Layer list
 buttondisplays the map’s layers
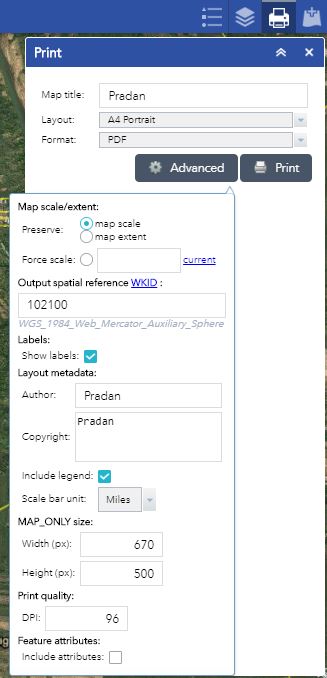
The Print button
 provides advanced map output options
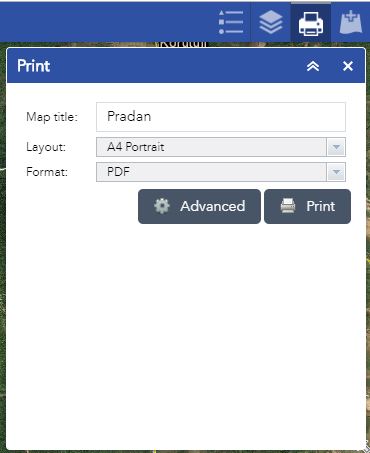
See the Advanced option for map layout options
The Add Data
 button allows you to search for more layers in your User Group and to add those or others from your files to the map

Additional Resources